Tutorials: Voice Widget: Make Outbound Call
Required Access: Voxtelesys Portal
The Make Outbound Call widget can be used to initiate a call to a specific number within a Flow execution. The initiated call is then controlled by the downstream widget. If the call fails for any reason, appropriate action can be taken by attaching widgets to specific call statuses on the widget. Once the call has been answered, it is controlled by the widgets attached to the “Answered” output.
*Disclaimer: You will need to have Voice API enabled on your account to do this you will need to open a ticket with support.
Last Updated: 9/26/2025
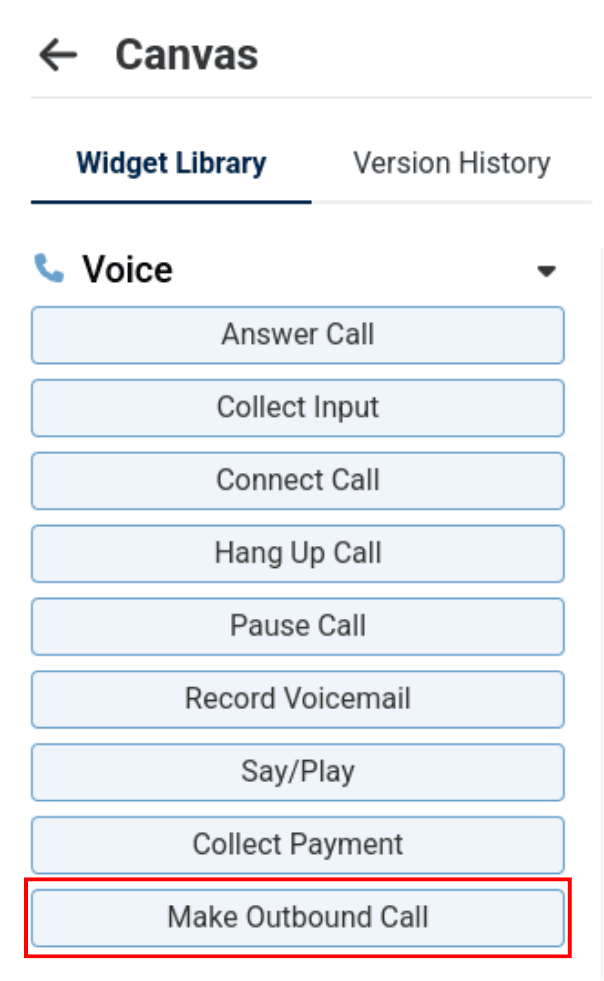
To use the widget simply click and drag it into the canvas.
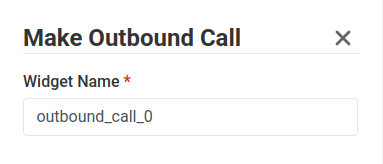
Note that naming the widget can help identify it with other tools later on.
It is case sensitive, does not accept spaces or dashes.
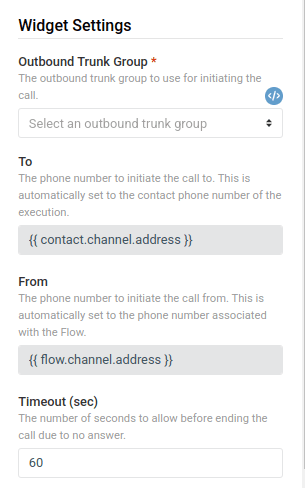
The Make Outbound Call widget has the following configuration abilities under Widget Settings:
Outbound Trunk Group (required)
The outbound trunk group to use for the call.
To (required)
The phone number to initiate the call to. This field is automatically populated with the number being contacted, and it cannot be changed. For example, if a Flow is triggered by an inbound SMS message, “To” will be populated with the phone number that sent the message.
From (required)
The phone number to initiate the call from. This field is automatically populated with the number associated with the Flow execution, and it cannot be changed. For example, if a Flow is triggered by an inbound SMS message, “To” will be populated with the phone number that received the message.
Timeout
The number of seconds to allow before ending the call due to no answer. The default is 60 seconds. The Type is integer.
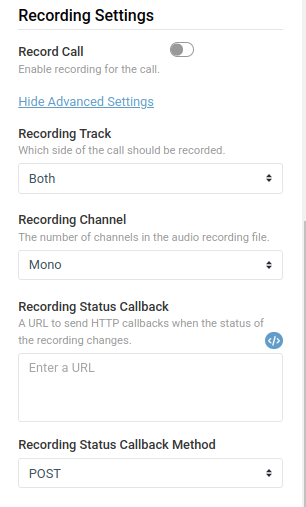
The Make Outbound Call widget has the following configuration abilities under recording settings:
Record Call
Whether recording should be enabled on the call. By default, recording is not enabled (false). Type is set to "boolean".
Recording Track
Which side of the call should be recorded. The options are “Inbound”, “Outbound” or “Both”, and the default is “Both”. “Outbound” only records the audio generated by the widgets in the Flow, and “Inbound” only records the callee’s voice.
Recording Channel
The number of channels in the audio recording file. The options are “Mono” and “Dual’, and the default is “Mono”.
Recording Status Callback
The absolute URL to send status updates to when the status of the recording is updated. The Type is "string" and the default is "none".
Recording Status Callback Method
The HTTP method to use for recording status callbacks. Options include "POST" and "GET", and the default is "POST".
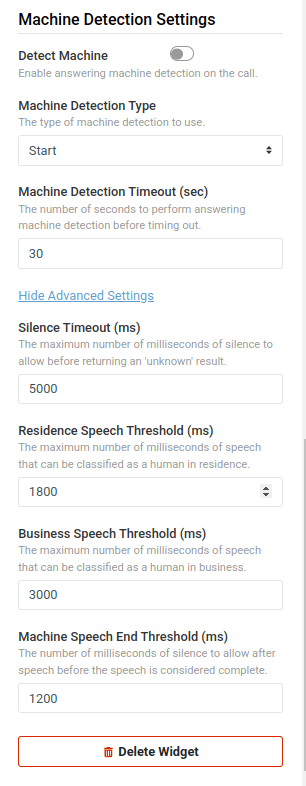
The Make Outbound Call widget has the following configuration abilities under Machine Detection settings:
Detect Machine
Whether answering machine detection should be enabled on the call. If enabled, the
Machine Detection Type
The type of machine detection to use. The options are “Start” and “End”, and the default is “Start”.
If this property is set to “Start”, then the widget attached to the “Answered” output will be executed as soon as a human or machine is detected on the call. If this property is set to “End”, then the widget attached to the “Answered” output will be executed as soon as a human is detected or once the answering machine has finished its message.
Machine Detection Timeout
The number of seconds to perform answering machine detection before timing out. If this timeout is reached, then unknown will be returned. The default is 30 seconds and the option is "integer".
Silence Timeout (ms)
The maximum number of milliseconds of silence to allow before returning an "unknown" result. The default is 5000 milliseconds and the option is "integer".
Residence Speech Threshold (ms)
The maximum number of milliseconds of speech that can be classified as a human in residence. The default is 1800 milliseconds and the option is "integer".
Business Speech Threshold (ms)
The maximum number of milliseconds of speech that can be classified as a human in business. The default is 3000 milliseconds and the option is "integer".
Machine Speed End Threshold (ms)
The number of milliseconds of silence to allow after speech before the speech is considered complete. The default is 1200 milliseconds and the option is "integer".
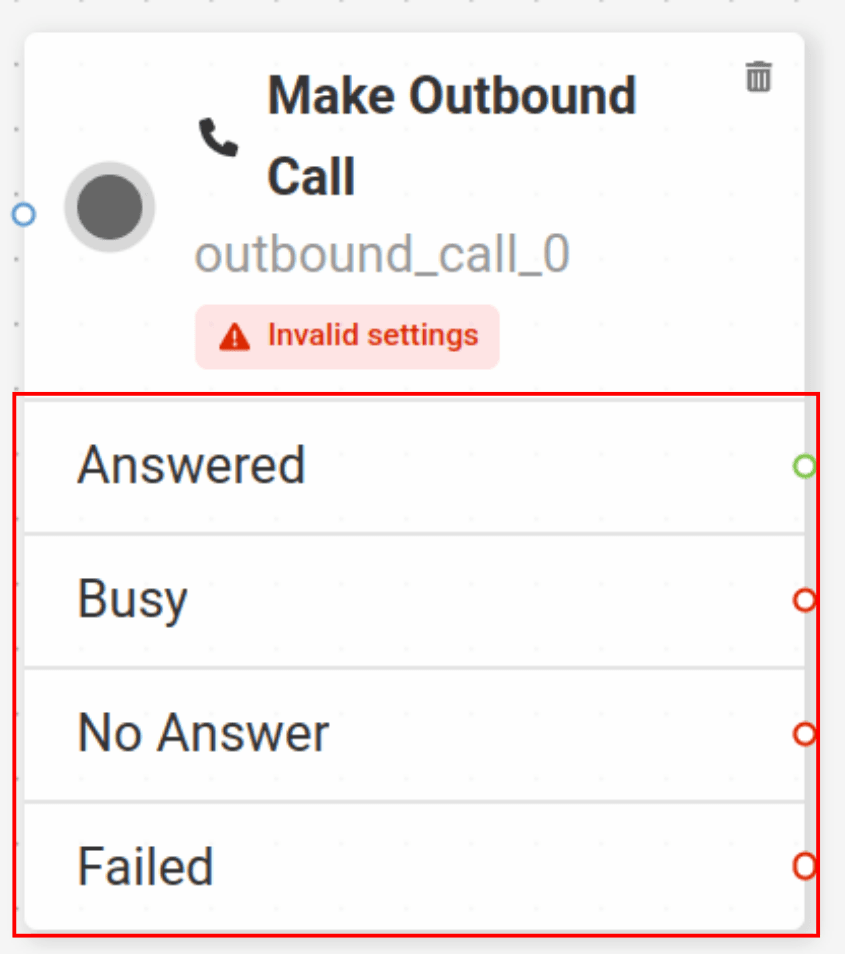
The Make Outbound Call widget has the following transition capabilities:
Answered
Activated when the call has been answered by the callee. The status of the call is “in-progress” in this scenario.
Busy
Activated when the call is updated to the “busy” status. The “Busy” output is triggered when the call has been rejected with a status of “busy”.
No Answer
Activated when the call is updated to the “no-answer” status.
Failed
Activated when the call is updated to the “failed” status.
The Make Outbound Call widget has the following limitations:
- The Make Outbound Call widget cannot be used within the context of an existing voice call.
- The Send & Wait for Reply widget cannot be used downstream of the Make Outbound Call widget.
Variable Structure
A widget variable is made of two parts: a customizable widget name and a predefined variable name.
The full variable is always written in the format: {{ <widget_name>.<variable_name> }}
<widget_name>: A placeholder for the unique name you give your widget. For example, if you name a widget outbound_dialer, you would use that name..<variable_name>: A fixed suffix that represents the specific data you want to retrieve. You cannot change this part of the variable.
Variables for "Make Outbound Call"
To use any of the variables below, simply combine your widget's name with the variable name. For example, to get the unique call ID for a widget named outbound_dialer, the full variable would be {{outbound_dialer.call_sid}}.
General Variables:
- .call_sid: A unique ID for the call.
- .call_status: The call's status. Possible values are in-progress, busy, no-answer, and failed.
- .call_duration: The call's duration in seconds.
- .to: The phone number the call was made to.
- .from: The phone number the call was made from.
Conditional Variable:
.answered_by: The result of answering machine detection, if enabled. The value of this variable depends on whether the detection type is set to "Start" or "End":
- "Start" Detection: human_residence, human_business, machine_start, fax, or unknown.
- "End" Detection: human_residence, human_business, machine_end_beep, machine_end_silence, machine_end_other, fax, or unknown.
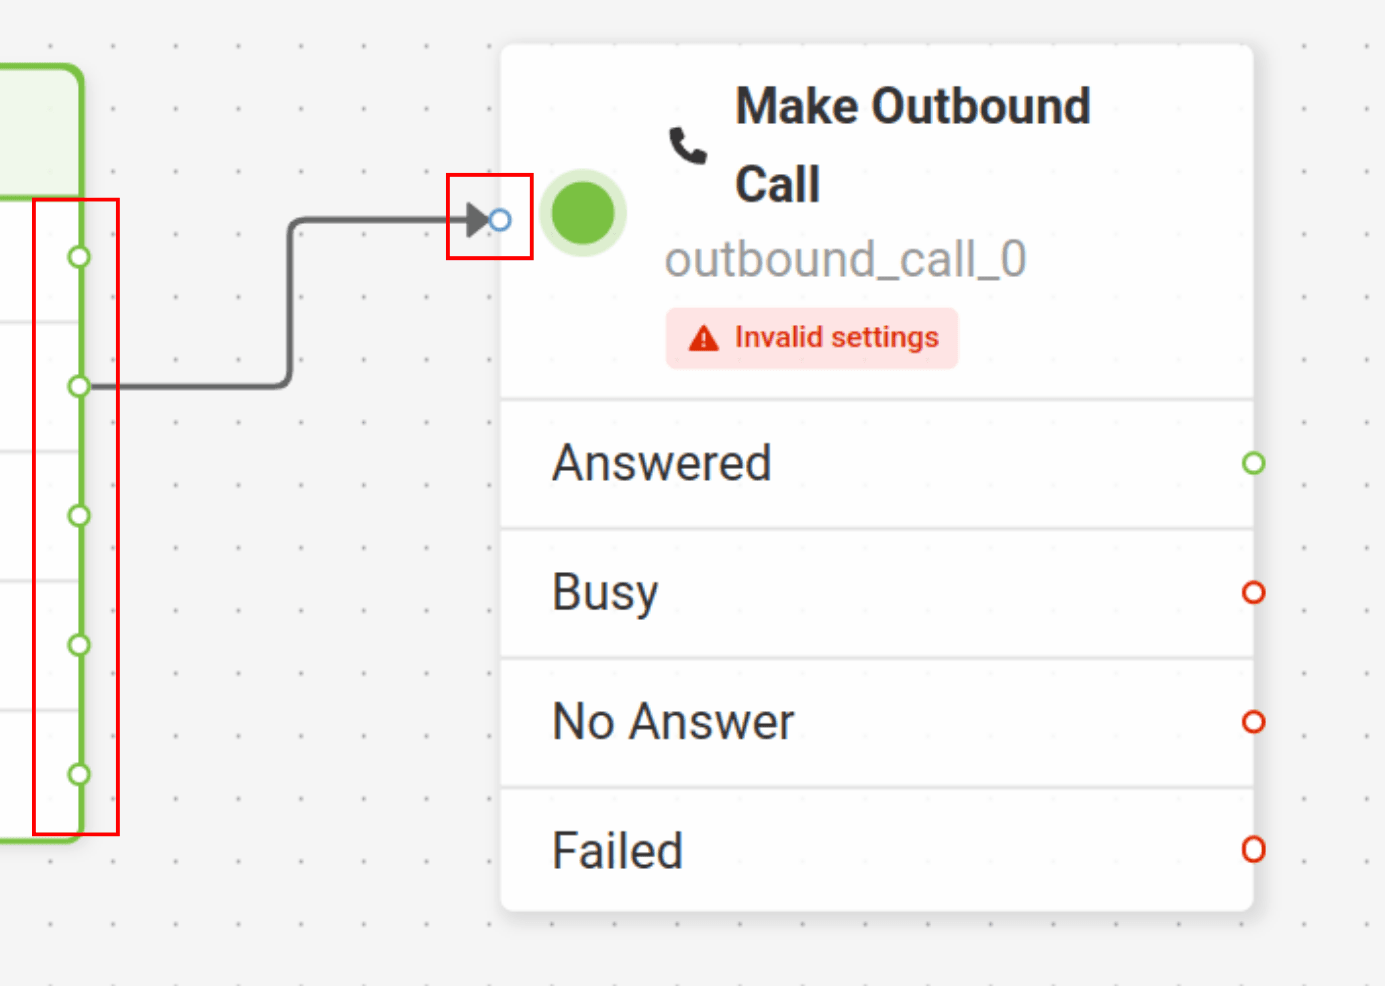
Now, you will want to connect the Make Outbound Call widget.

The Make Outbound Call widget cannot be used in the context of an existing voice call. So, the widget cannot be placed downstream of an existing Make Outbound Call widget, and it cannot be used in Flow executions that are triggered by an inbound or outbound call.
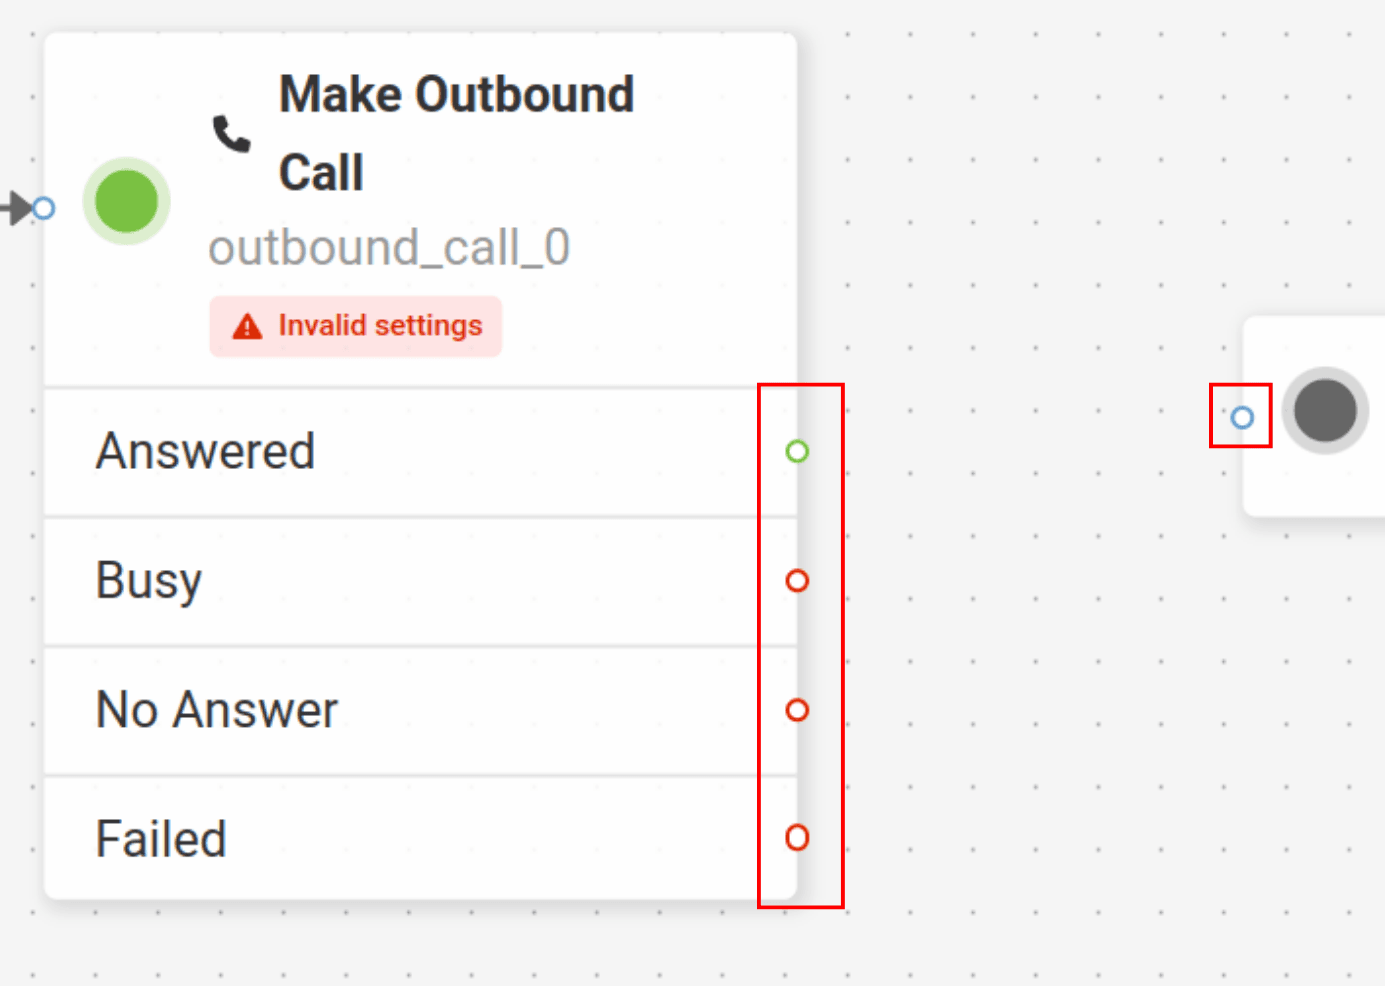
Adding the Make Outbound Call widget is completed!
To continue the flow, connect more widgets to the opposite end of the Make Outbound Call widget.
Now connect more widgets! Click on the links below to view more tutorials:
Voice
- Answer Call
- Collect Input
- Connect Call
- Hang Up Call
- Pause Call
- Record Voicemail
- Say/Play
- Collect Payment
- Make Outbound Call
Messaging
Tools
Control


