Tutorials: Tool Widget: Send Email
Required Access: Voxtelesys Portal
The Email Widget goes under the tools category in missio™ Canvas. This widget sends an email based on a provided email template created from the Email Builder.
*Disclaimer: You will need to have Email API enabled on your account to do this you will need to open a ticket with support.
Last Updated: 9/26/2025
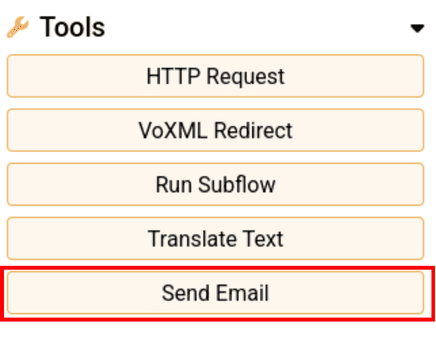
To use the widget simply click and drag it into the canvas.
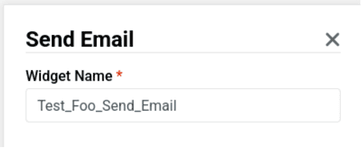
Note that naming the widget can help identify it with other tools later on.
It is case sensitive, does not accept spaces or dashes.
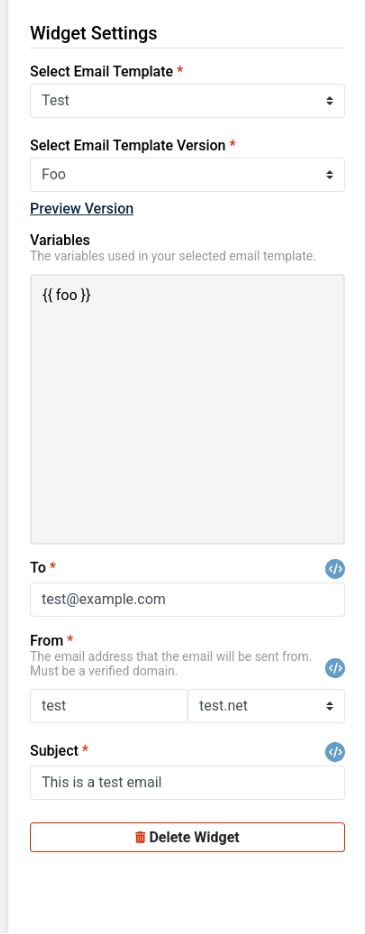
The Send Email widget has the following configuration abilities:
Select Email Template
This is how you will determine which template to choose a version to send.
Select Email Template Version
This is how you will determine which template version should be used when sending the email.
Variables
Email templates have the ability to have {{ imported_variable }} variables injected into them.
Due to flow-builder having many entry points, this widget handles variables differently than others.
When a template version is selected a display of available variables will be displayed below the selected version. These variables can come from either the HTTP request parameters or from the set variables widget. Refer to Step 4: Variable Precedence for more information
To
This is who will receive the email.
From
This is a split input where you will provide the username, and select a validated domain created through the portal. To send emails, users must first validate their email domain. Users can add email domains through the Portal’s Email Domains page. Please note that users must add a domain before validating it.
Subject
This is the subject of the email template
Variable Precedence (Which Value Wins)
When a variable exists in both the HTTP request parameters and the "set variables" widget, the set variables widget takes precedence. This means the value from the set variables widget will be used in the email template, even if the HTTP request provides a different value.
Example:
- Your HTTP request provides a variable foo with the value 'bar'.
- You then use a "set variables" widget to set the variable foo to the value 'foo'.
When the email is sent, the variable {{ foo }} will be replaced with 'foo', not 'bar'. The value from the "set variables" widget overrides the value from the HTTP request.
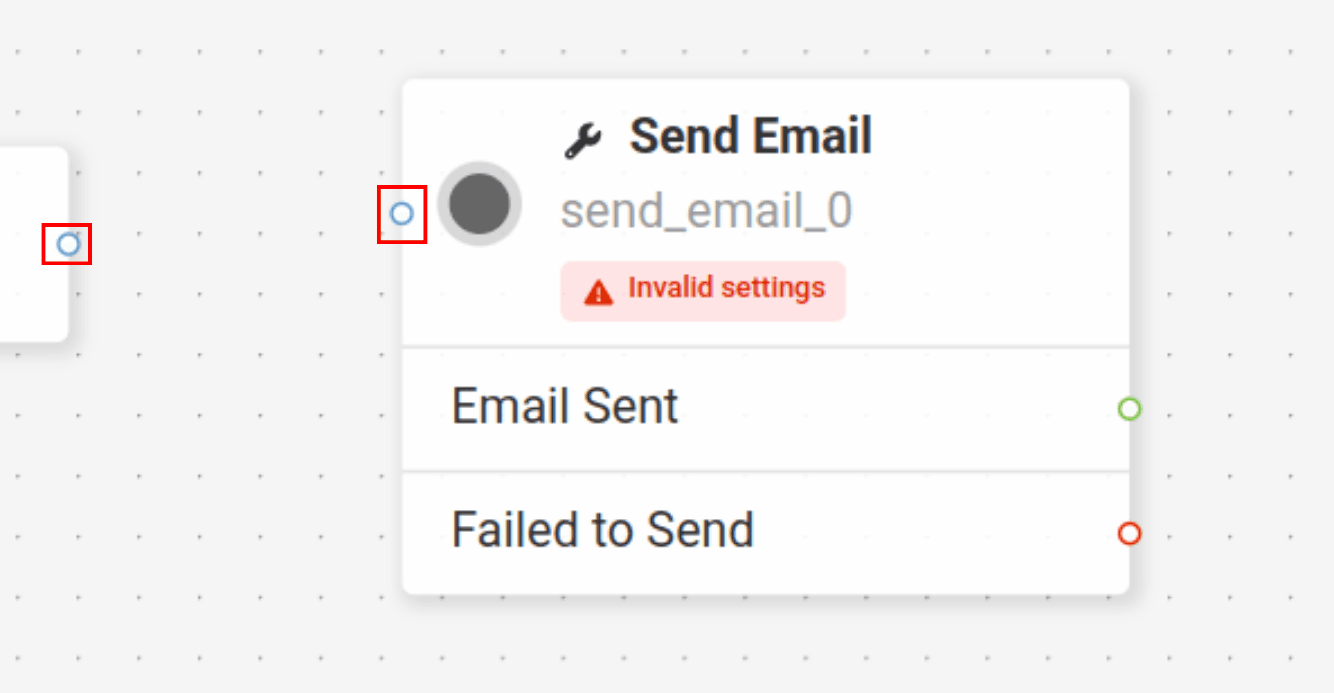
Now, you will want to connect the Send Email widget.
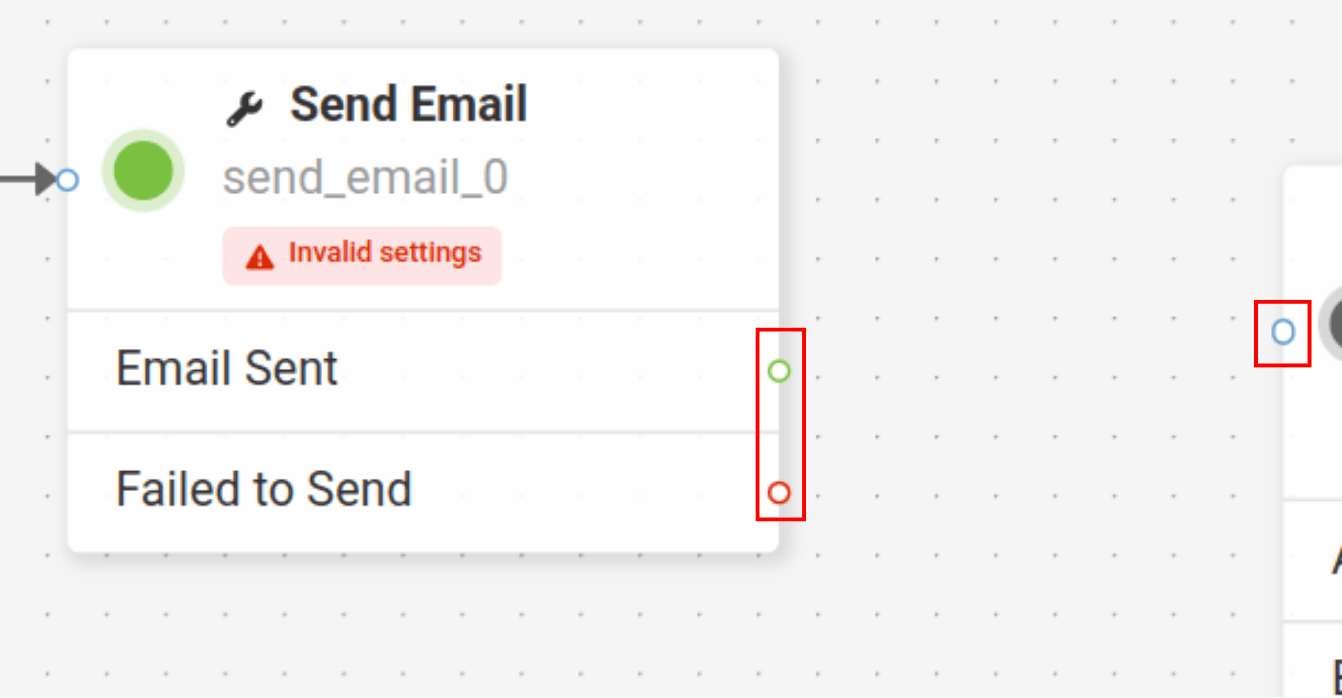
Adding the Send Email widget is completed!
To continue the flow, connect more widgets to the opposite end of the Send Email widget.
Now connect more widgets! Click on the links below to view more tutorials:
Voice
- Answer Call
- Collect Input
- Connect Call
- Hang Up Call
- Pause Call
- Record Voicemail
- Say/Play
- Collect Payment
- Make Outbound Call
Messaging
Tools
Control