Tutorials: VoxSBC Setup with PowerShell
In this guide we are going to show you how to set up the VoxSBC with your Microsoft Teams account. You will need access to the Microsoft Admin page, as well as PowerShell as Admin.
To use Teams dial pad, you will need a phone system license on your Teams Users. This is included in E5 but added on in E1/E3.
Last Updated: 12/5/2025
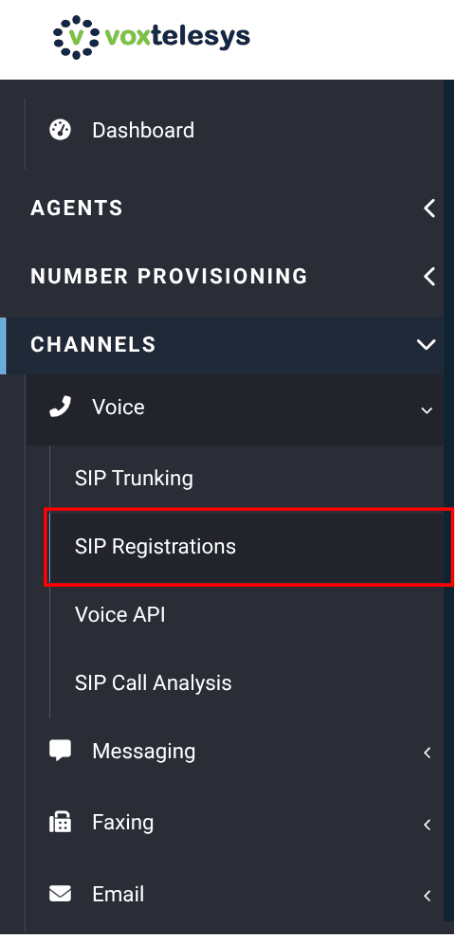
Reach out to Voxtelesys and get your VoxSBC Domain. Go to the "Channels" category open the "Voice" drop-down and select "SIP Registrations" in the Voxtelesys Dashboard.
Note that this guide will go through creating the Teams SBC integration via PowerShell, if you are not comfortable with PowerShell the recommended setup is through the Teams UI and using the Voxtelesys Portal to configure users.
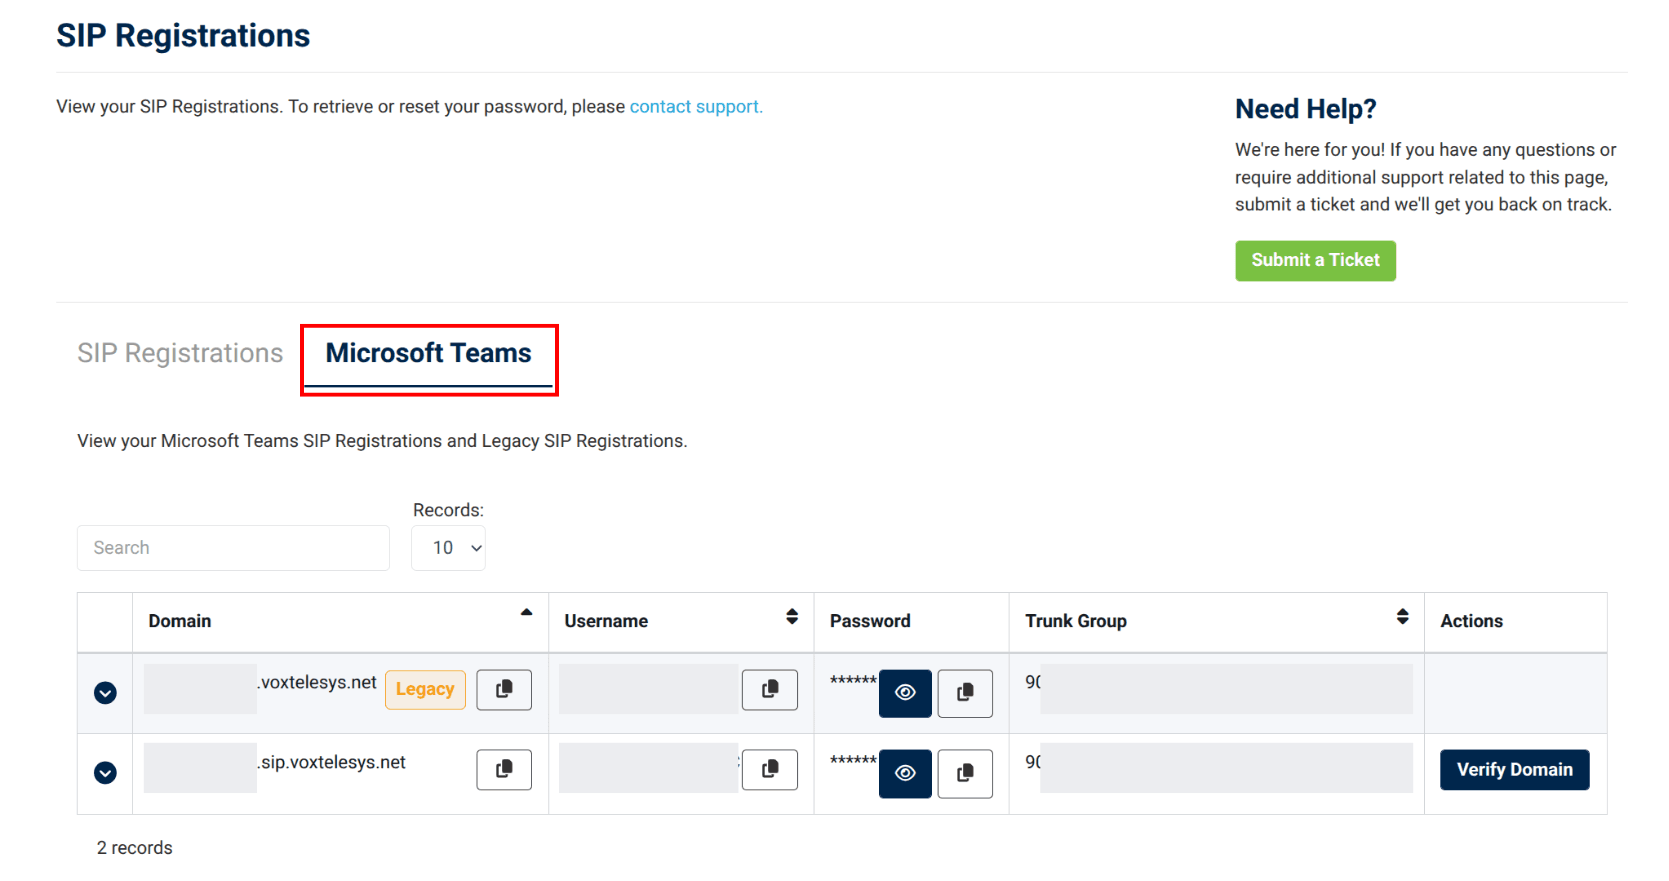
Under SIP Registrations, toggle to "Microsoft Teams".
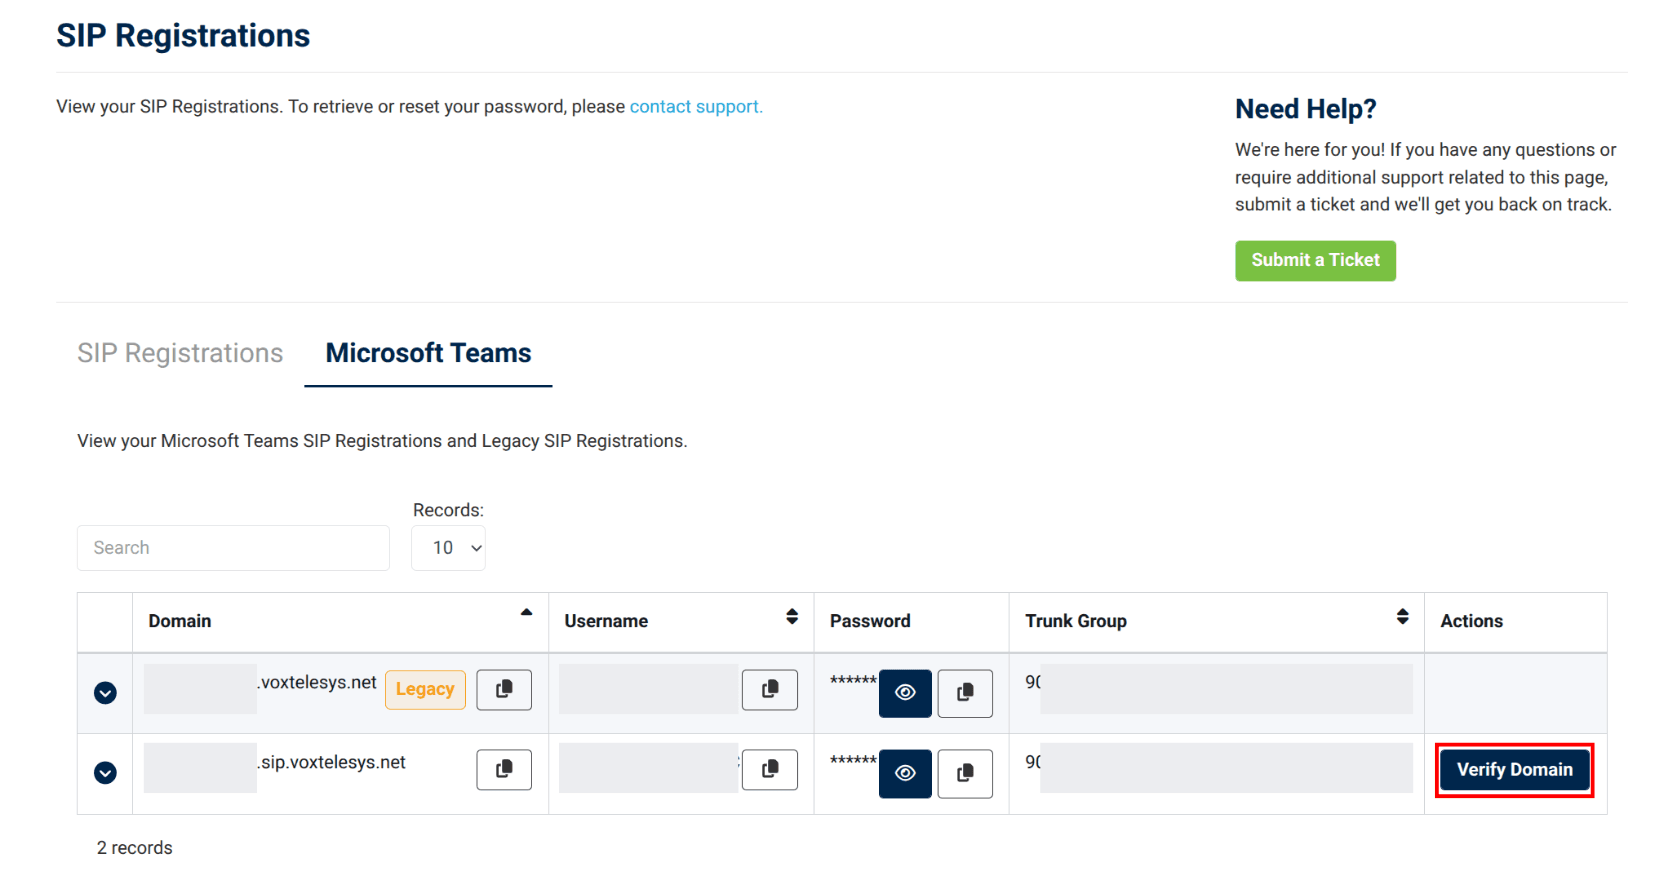
Under "Actions" click on "Verify Domain" on the domain you want to set up.
Log in to the Microsoft Admin Center
To add a domain: Side Panel > Show All > Settings > Domains > + Add Domain

In the "Domain name" text box, copy and paste the "Primary Domain Name" from the SBC guide (Should look like *****-****.sip.voxtelesys.net).

Add a TXT record to the Domain's DNS records.

Copy the TXT Value from Microsoft and paste into the SBC guide (Should look something like MS=ms********).

Wait a couple minutes for the record to update, then verify it.

Now that you have verified the domain you will need to add a new user and verify the domain in PowerShell.
Add a new user: Users > Active Users > + Add a User

You can add the Display name as VoxSBC, Username as sbc, and for the Domain select your *****-****.voxtelesys.net

For licensing, the user needs an E1, E3, or E5 license and global admin privileges.
Once you have completed the SBC setup in PowerShell, you can remove the licensing for the domain user.

After you have created the domain and user in Teams you can then use PowerShell to create the Trunk, Routes, dial plan, etc!
Before any of these steps can be completed the customer will have to have created the Domain in Microsoft 365 and added a user with a license.
If you want to create the PSTN connection, voice routes, and dial plan in one command check out step 21!
Verify that the SBC is not already created:
Get-CsOnlinePSTNGateway -Identity xxxxxx-xxxx.sip.voxtelesys.net
If the domain is not created we can create one
New-CsOnlinePSTNGateway - Identity xxxxxx-xxxx.sip.voxtelesys.net -Enabled $true -SipSignalingPort 5061 -MaxConcurrentSessions 24
After created verify again that it was created with:
Get-CsOnlinePSTNGateway -Identity xxxxxx-xxxx.sip.voxtelesys.net
Note: You can adjust the MaxConcurrentSessions, if needed 24 is default.
Create a new PSTN usage
Set-CsOnlinePstnUsage - Identity Global - Usage @{Add="xxxxxx-xxxxVoxPSTN"}
Verify that the PSTN usage records created
Get-CSOnlinePSTNUsage
Create a new Voice Route:
New-CsOnlineVoiceRoute -Identity "xxxxxx-xxxxVoxVoiceRoute" - NumberPattern ".*" - OnlinePstnGatewayList xxxxxx-xxxx.sip.voxtelesys.net -Priority 0 - OnlinePstnUsages "xxxxxx-xxxxVoxPSTN"
Verify the Voice Route
Get-CsOnlineVoiceRoute
Create a new Voice Routing Policy:
New-CsOnlineVoiceRoutingPolicy "xxxxxx-xxxxVoxVoicePolicy" - OnlinePstnUsages "xxxxxx-xxxxVoxPSTN"
Verify the Voice Routing Policies
Get-CsOnlineVoiceRoutingPolicy
Create a new Dial Plan
New-CsTenantDialPlan - Identity xxxxxx-xxxxVoxDialPlan - Description "DP for Voxtelesys" - SimpleName "xxxxxx-xxxxVoxDialPlan"
Verify the Dial Plans: Get-CsTenantDialPlan
Check the dial plan in the Portal to make sure the rules are correct
Expression = ^(+1|1)?([2-9][0-9][0-9][2-9][0-9]{6})$
Then do this = 1$2
Add North American Dial Plan
$nr1=New-CsVoiceNormalizationRule -Parent Global -Description 'NANP Dialing' -Pattern '^(\+1|1)?([2-9][0-9][0-9][2-9][0-9]{6})$' -Translation '1$2' -Name NANP -IsInternalExtension $false -InMemory
Set-CsTenantDialPlan -Identity xxxxxx-xxxxVoxDialPlan -NormalizationRules @{add=$nr1}
Add Extension Routing
- Pattern '^+?([0-9]{4})$' for the {4} that is your extension length, in this example they have 4 digit extension length, for 3 digit you would put in '^+?([0-9]{3})$'
$nr1=New-CsVoiceNormalizationRule -Parent Global -Description 'Extension to extension routing between 3rd party PBX and Teams.' -Pattern '^\+?([0-9]{4})$' -Translation '$1' -Name CalltoPBX -IsInternalExtension $false -InMemory
Set-CsTenantDialPlan -Identity xxxxxx-xxxxVoxDialPlan -NormalizationRules @{add=$nr1}
Verify the Dial Plan after modifying
Get-CsTenantDialPlan
So now we have created the SBC in teams, with routes, dial plans, etc; we can now assign these policies to the users.
Grant-CsOnlineVoiceRoutingPolicy - Identity "[email protected]" - PolicyName "xxxxxx-xxxxVoxPSTN"
If you need to check your Voice Routing Policies you can do that with
Get-CsTenantDialPlan
Assign these Dial Plan to the users
Grant-CsTenantDialPlan - Identity [email protected] - PolicyName xxxxxx-xxxxVoxDialPlan
If you need to check your Dial Plans you can do that with
Get-CsTenantDialPlan
Assign a Phone number to a user or resource account with
Set-CsPhoneNumberAssignment - Identity [email protected] - PhoneNumber +1xxxxxxxxxx - PhoneNumberType DirectRouting
Verify a users policies with
Get-CsOnlineUser "[email protected]" | select OnlineVoiceRoutingPolicy
Use the following to verify the users dial plan
Get-CsOnlineUser "[email protected]" | select TenantDialPlan
By using the script you will automatically create the PSTN, Voice route, Voice Policy, and Dial plan! After creation it will run a check to verify they are built, once built you can assign to users! Add to users via the Teams UI or use the script below for users.
Make sure you are logged in via Connect-MicrosoftTeams
Now you can copy the script below to a note pad and edit all the placeholders xxxxxx-xxxx with your VoxSBC information.
# Setup your PSTN connection in Teams
New-CsOnlinePSTNGateway -Identity xxxxxx-xxxx.sip.voxtelesys.net -Enabled $true -SipSignalingPort 5061 -MaxConcurrentSessions 24
# Setup Usage ID in PSTN connection
Set-CsOnlinePstnUsage -Identity Global -Usage @{Add="xxxxxx-xxxxVoxPSTN"}
# Create a Voice Route
New-CsOnlineVoiceRoute -Identity "xxxxxx-xxxxVoxVoiceRoute" -NumberPattern ".*" -OnlinePstnGatewayList xxxxxx-xxxx.sip.voxtelesys.net -Priority 0 -OnlinePstnUsages "xxxxxx-xxxxVoxPSTN"
# Create a Voice Policy
New-CsOnlineVoiceRoutingPolicy "xxxxxx-xxxxVoxVoicePolicy" -OnlinePstnUsages "xxxxxx-xxxxVoxPSTN"
# Create a Dial Plan
# Create a new Dial Plan
New-CsTenantDialPlan -Identity xxxxxx-xxxxVoxDialPlan -Description "DP for Voxtelesys" -SimpleName "xxxxxx-xxxxVoxDialPlan"
# Modifiy your dial plan
$nr1 = New-CsVoiceNormalizationRule -Parent Global -Description 'NANP Dialing' -Pattern '^(+1|1)?([2-9][0-9][0-9][2-9][0-9]{6})$' -Translation '1$2' -Name NANP -IsInternalExtension $false -InMemory
# Set the normalization rule for the Dial Plan
Set-CsTenantDialPlan -Identity xxxxxx-xxxxVoxDialPlan -NormalizationRules @{add=$nr1}
# Check PSTN Setup
Get-CsOnlinePSTNGateway
# Check PSTN Usage
Get-CSOnlinePSTNUsage
# Check Voice Route
Get-CsOnlineVoiceRoute
# Check Voice Policy
Get-CsOnlineVoiceRoutingPolicy
# Check Dial plan
Get-CsTenantDialPlan
# Command End
Script to add dial plans, voice routes, etc to user.
- Change the email to your user and match the voice and DP plans to what you named them above.
# Command 1
Grant-CsOnlineVoiceRoutingPolicy -Identity "[email protected]" -PolicyName "xxxxxx-xxxxVoxVoicePolicy"
# Command 2
Grant-CsTenantDialPlan -Identity [email protected] -PolicyName xxxxxx-xxxxVoxDialPlan
# Command 3 Phone number
Set-CsPhoneNumberAssignment -Identity [email protected] -PhoneNumber +1xxxxxxxxxx -PhoneNumberType DirectRouting
# Command End


