Tutorials: VoxSBC Setup with Teams Admin Panel
The VoxSBC can be used to connect Voxtelesys SIP Trunking or your PBX System to Microsoft Teams. Since the Teams Phone System has been released this process has changed multiple times. There are currently two ways of configuring it: mostly using the Teams Admin Panel or mostly using PowerShell. If you prefer PowerShell, we do have a guide on that as well!
Table of Contents
- Make Sure Your Account is Set Up to Support VoxSBC
- Start the VoxSBC Wizard
- Log in to MS 365 Admin Center
- Add the Domain
- Add a TXT Record
- Copy the TXT Record and Add to Wizard
- Finish Up the Domain Setup
- Create a Temporary User to Authorize the Newly Created Domain
- Add Basics
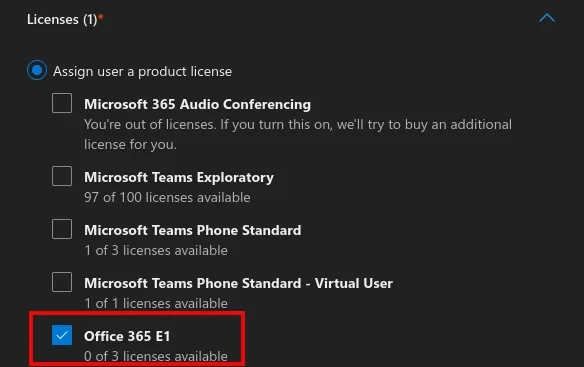
- Add Office 365 License E1, E3, or E5
- Optional Setting
- Create an SBC in Microsoft Teams Admin
- Fill in SBC Information
- Create PSTN Usage Records
- Create Voice Routes
- Create Voice Routing Policies
- Configure Policy
- Create Dial Plans in Microsoft Teams Admin
- Add New Normalization Rules
- Domestic PSTN Rule
- Extension Rule
- Update User Policies
- Edit Assigned Policies
- Add Voice plans to Users
- Add Number to User Via Powershell
- Enable Voice for User via Powershell
Last Updated: 12/5/2025
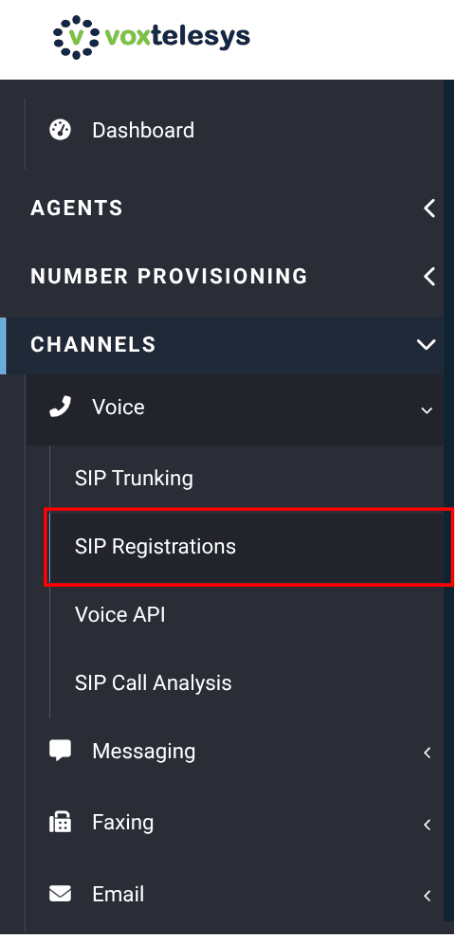
You can check this by looking at your registrations on the Portal. To make sure your account is set up to support VoxSBC first navigate to SIP Registrations in the Voxtelesys Portal.
In the "Channels" category open the "Voice" drop-down and select "SIP Registrations".
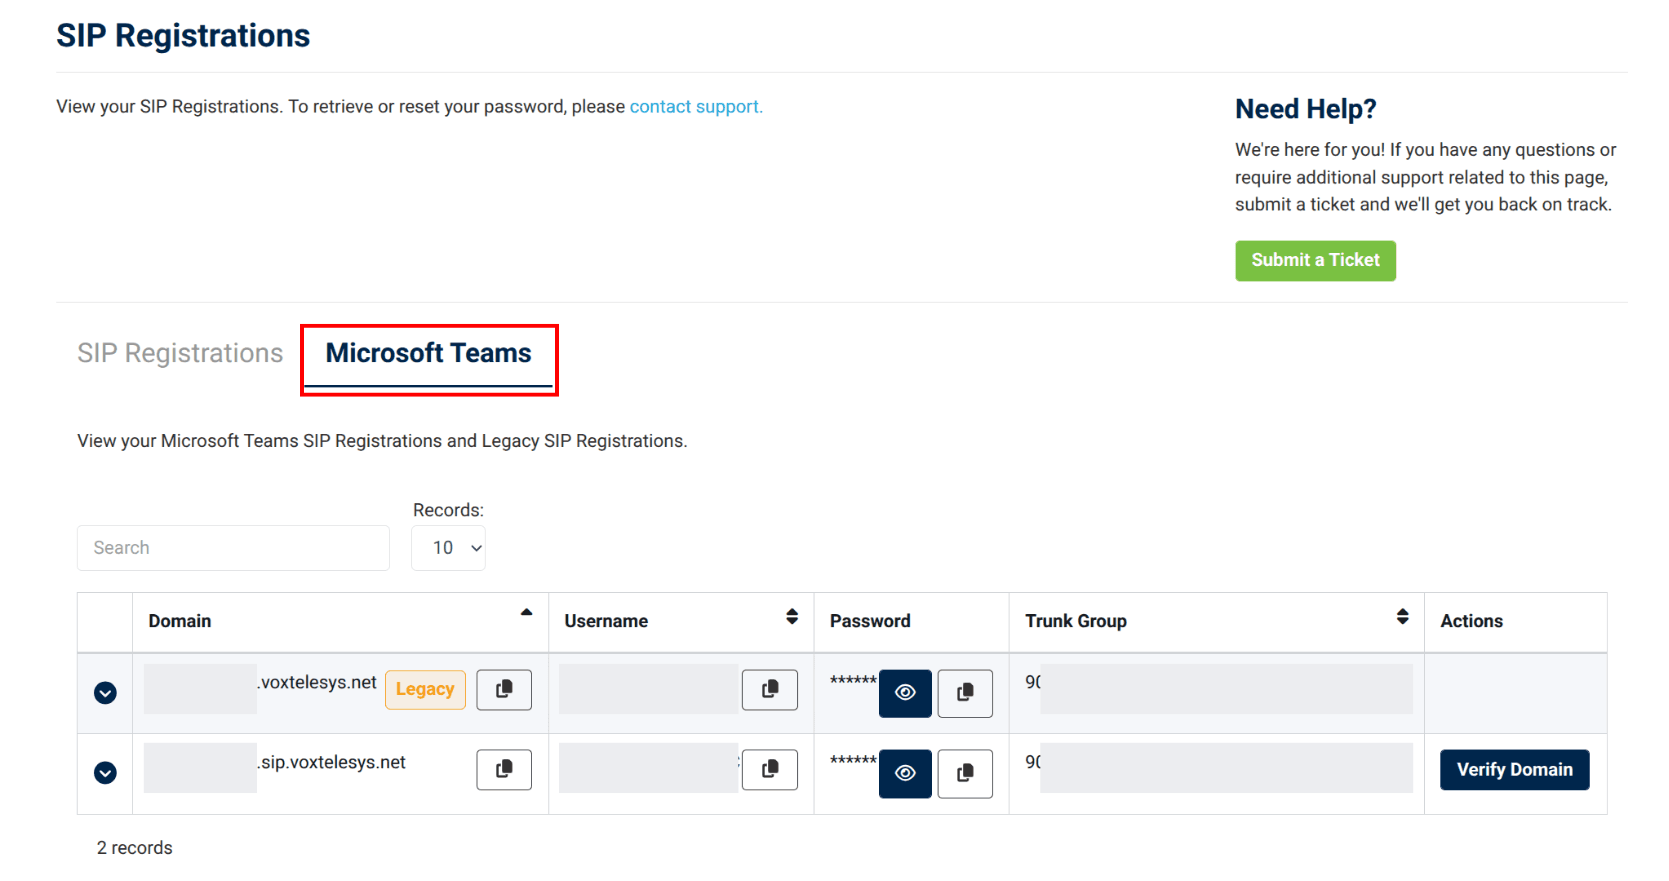
Toggle to "Microsoft Teams".
If there is no SIP Registrations in the table below, reach out to [email protected] to update your registration type.
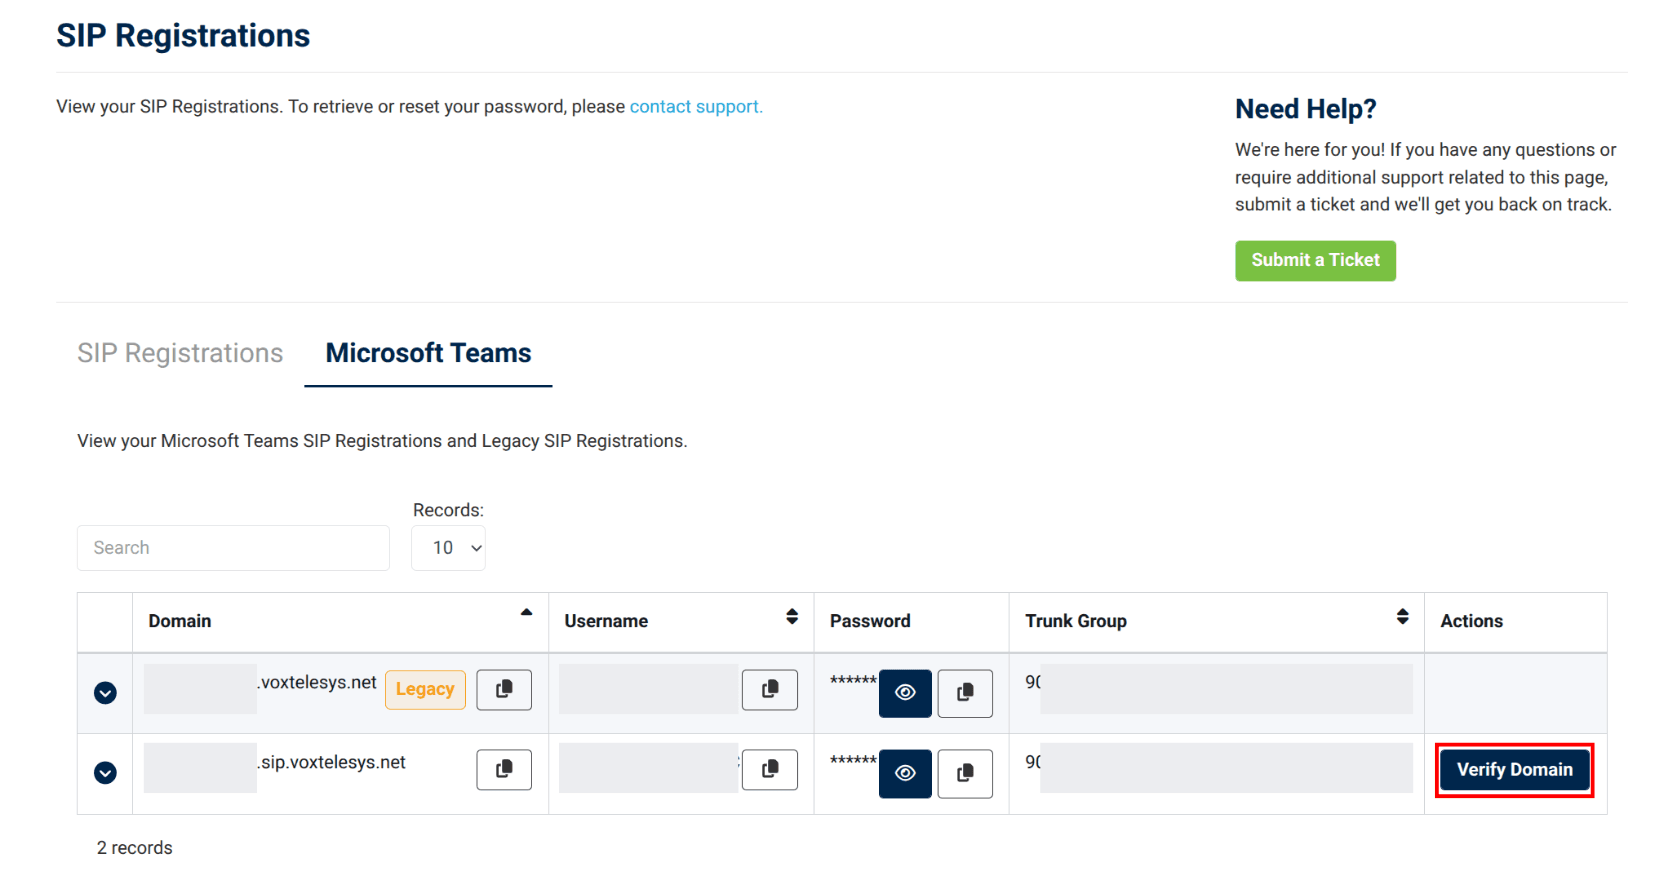
Start the VoxSBC Wizard. Under actions click on the "Verify Domain" button for the domain you want to set up.
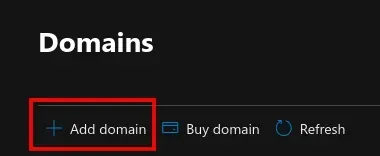

Add the Domain. From the Wizard, copy the Primary Domain Name:
xxxxxx-xx.sip.voxtelesys.net
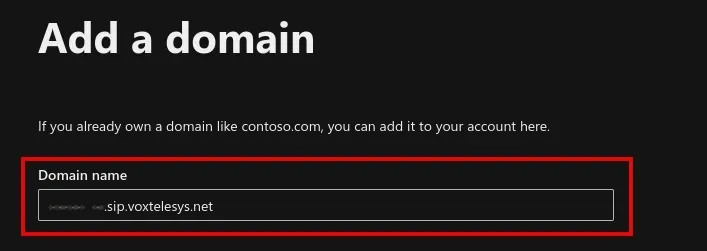
Paste Domain into the MS Domain setup
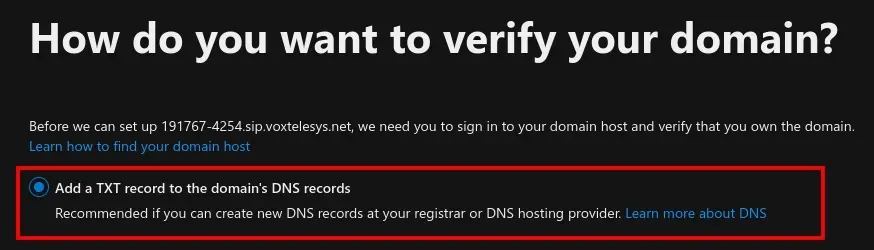
Add a TXT Record.
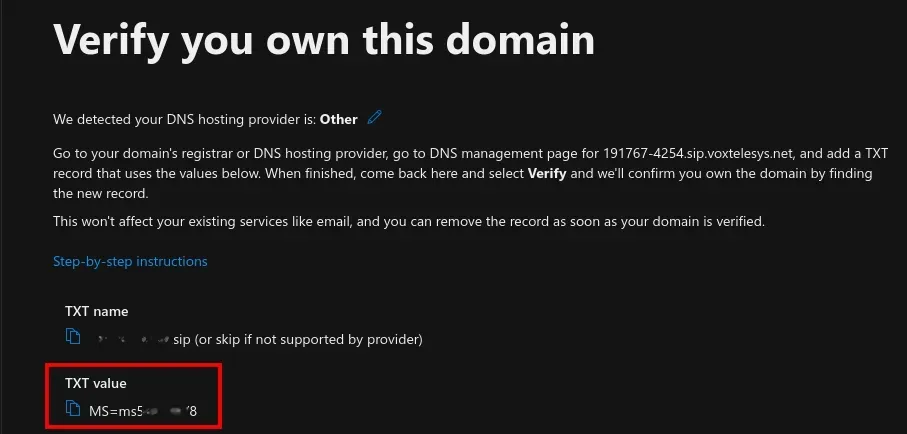
Copy the TXT record.
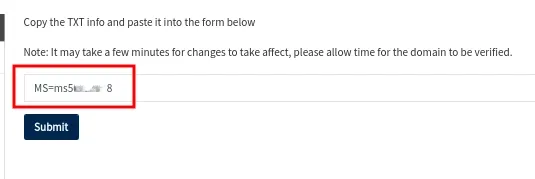
Paste in Wizard
Submit on Wizard
Verify on Microsoft Admin page
If there is an error, wait 5 minutes and hit try again. Repeat until it clears.
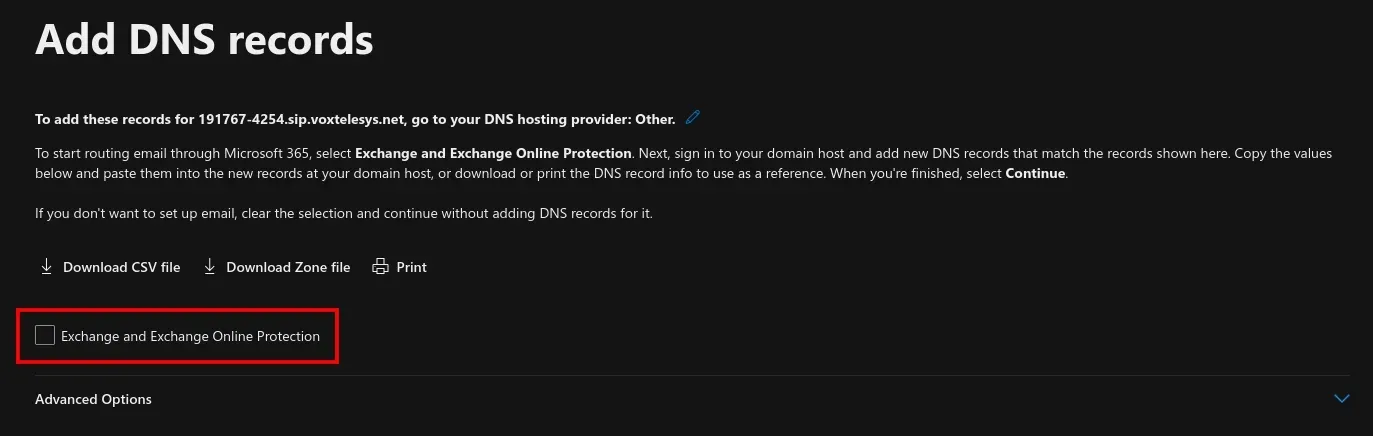
Uncheck "Exchange and Exchange Online Protection"
Continue
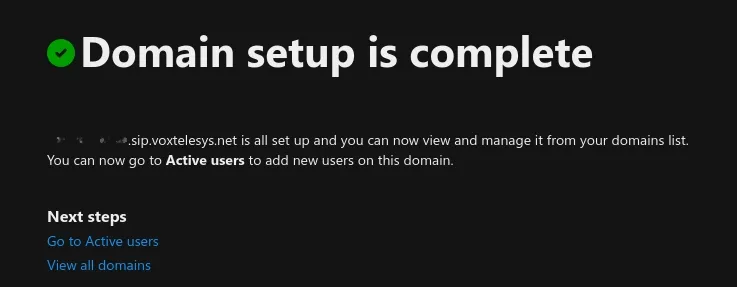
Your Domain is set up!
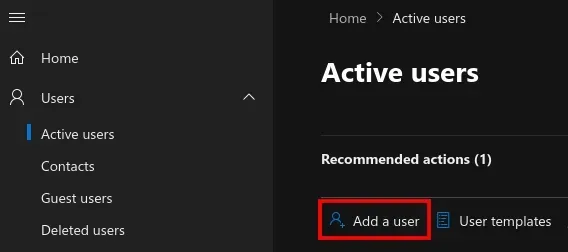
Create a New User
Users > Active Users > Add a user
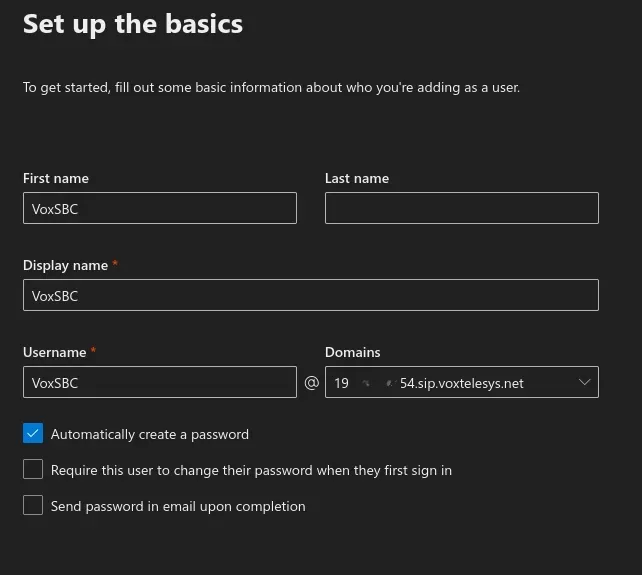
The Domain will be the VoxSBC Domain provided earlier.
Please Note: this can be removed later after the Domain verification is completed.
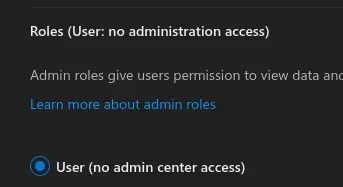
This user does not need any Admin privileges.
Log in to your Teams Admin Page
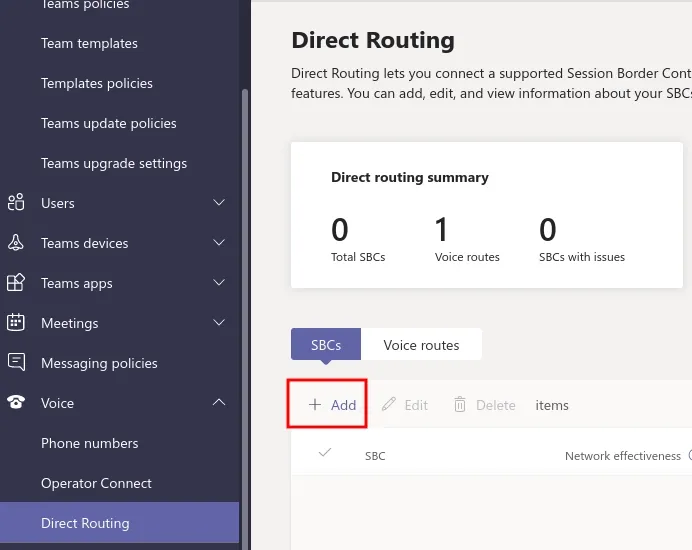
Voice > Direct Routing > SBCs > + Add
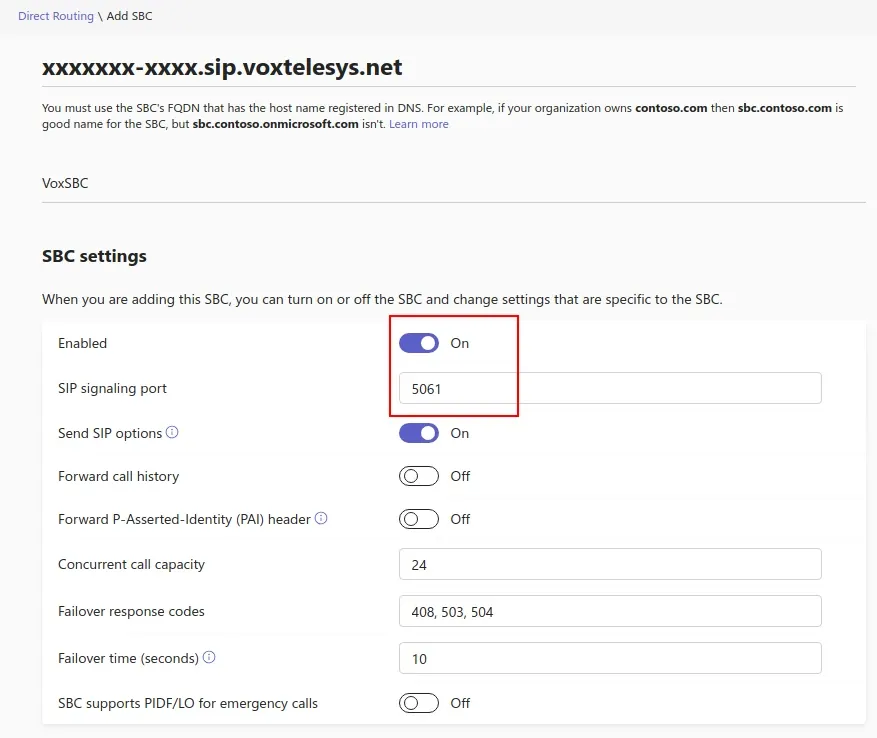
Fill in SBC information:
- FQDN for the SBC: Your VoxSBC domain (xxxxxx-xx.sip.voxtelesys.net)
- Enabled: On
- SIP Signaling Port: 5061
Create
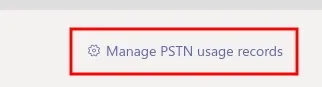
Still under Voice > Direct Routing > SBCs > in the upper right corner, click on "Manage PSTN Usage Records"
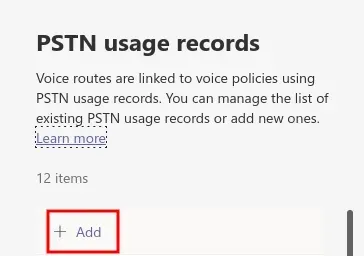
Press "+ Add"
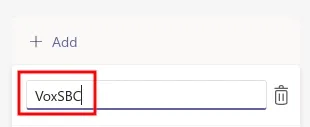
Name it VoxSBC
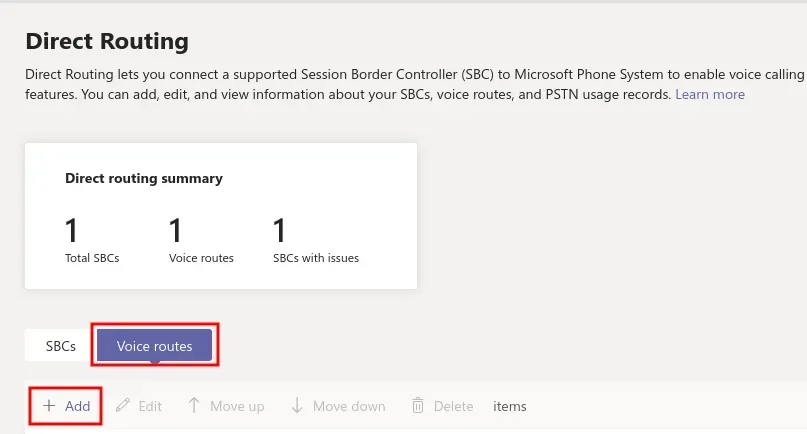
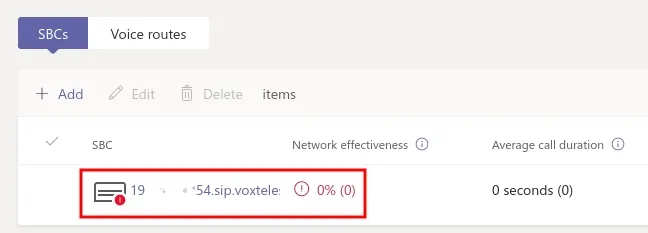
Still under Voice > Direct Routing > change from SBC to Voice Routes
Click + Add
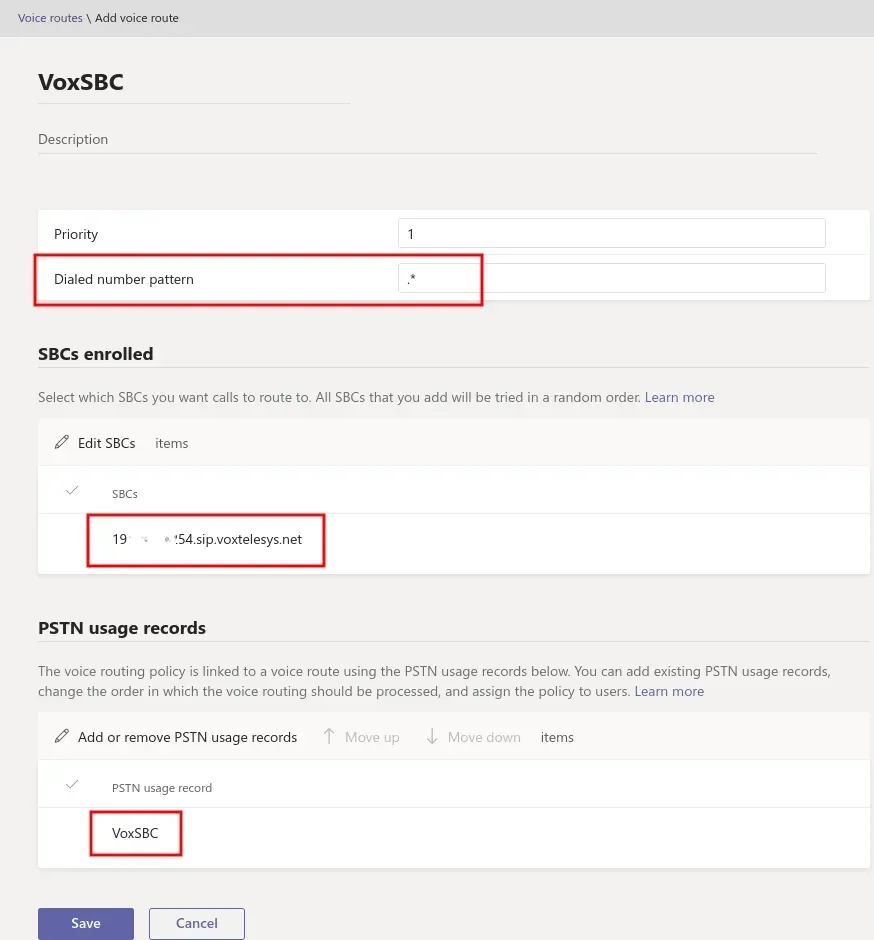
Create the voice route:
- Name: VoxSBC
- Priority: 1
- Dialed Number Pattern: .*
- SBCs Enrolled: Add your VoxSBC Domain
- PSTN Usage Records: Add VoxSBC
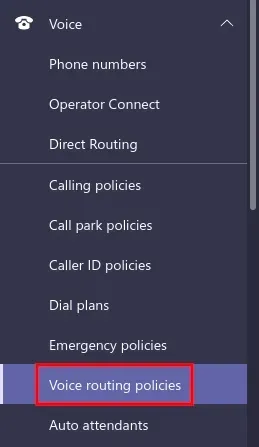
Navigate to "Voice > Voice routing policies"
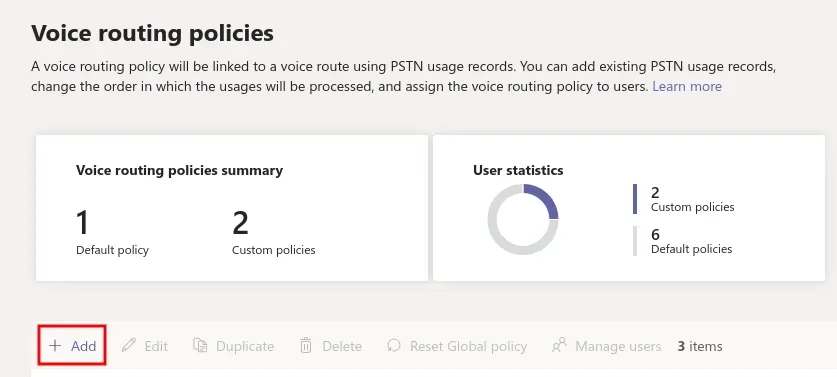
Add a new Policy.
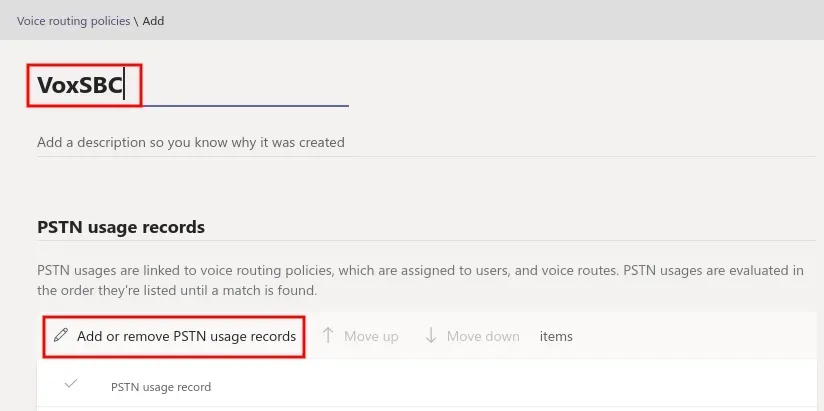
Configure Policy:
- Name the Policy: VoxSBC
Click "Add or remove PSTN usage records"
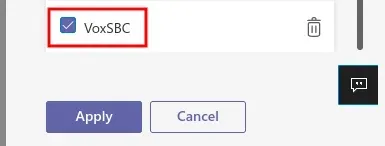
Select VoxSBC as the PSTN Usage Record.
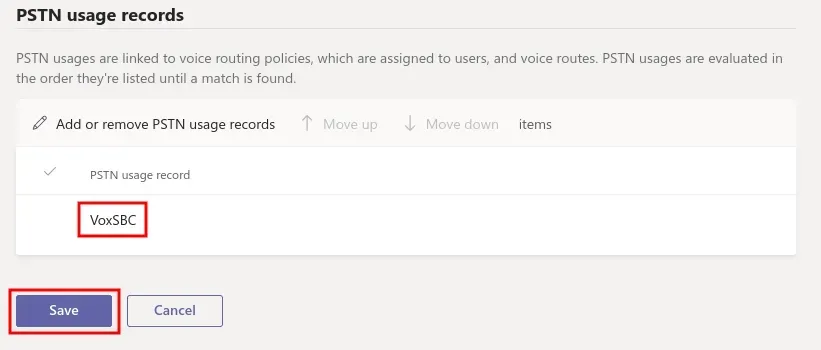
Click "Save"
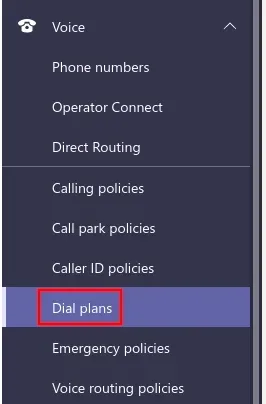
First, create or edit your Global Dial plan
Navigate to Voice > Dial plans
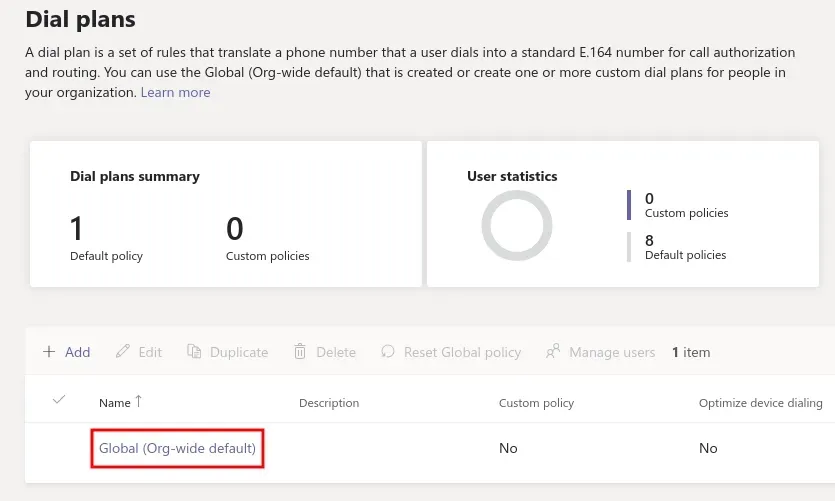
Edit the Global Dial plan

Add New Normalization rules
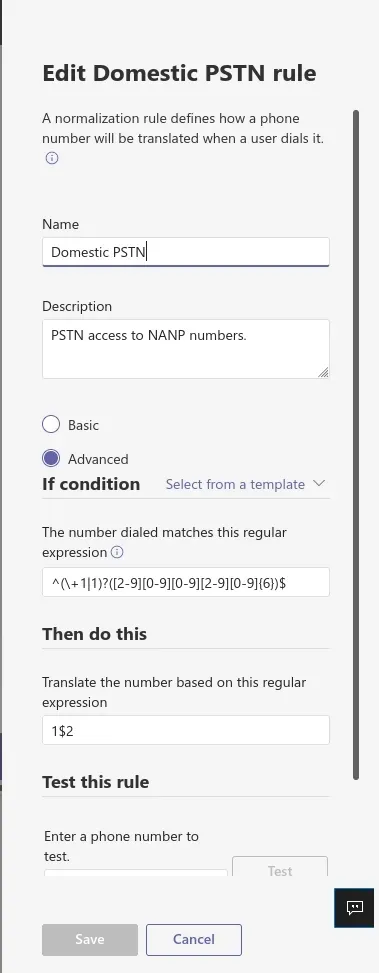
Enter the following:
- Name: Domestic PSTN
- Description: PSTN access to NANP numbers
- Advanced: Selected
The number dialed matches this regular expression:
^(\+1|1)?([2-9][0-9][0-9][2-9][0-9]{6})$
Translate the number based on this regular expression:
1$2
Click "Save"

This rule would be used if you were connecting your Teams account to a PBX system. It can be used in conjunction with the Domestic rule.
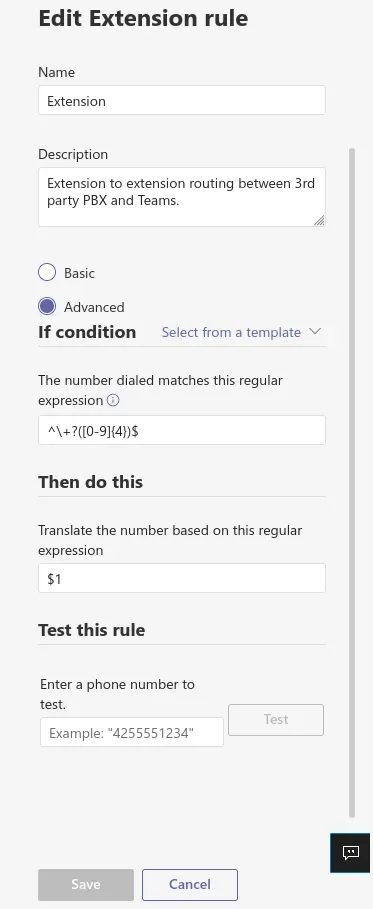
Enter the following:
- Name: Extension
- Description: Extension to extension routing between 3rd party PBX and Teams
- Advanced: Selected
The number dialed matches this regular expression:
^+?([0-9]{4})$
Note: the 4 in {4} would be changed to whatever extension length your PBX has, so a 3 digit extension would be ^+?([0-9]{3})$*
Translate the number based on this regular expression:
$1
Click "Save"
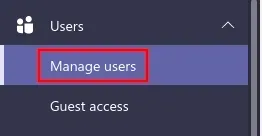
Navigate to Users > Manage users
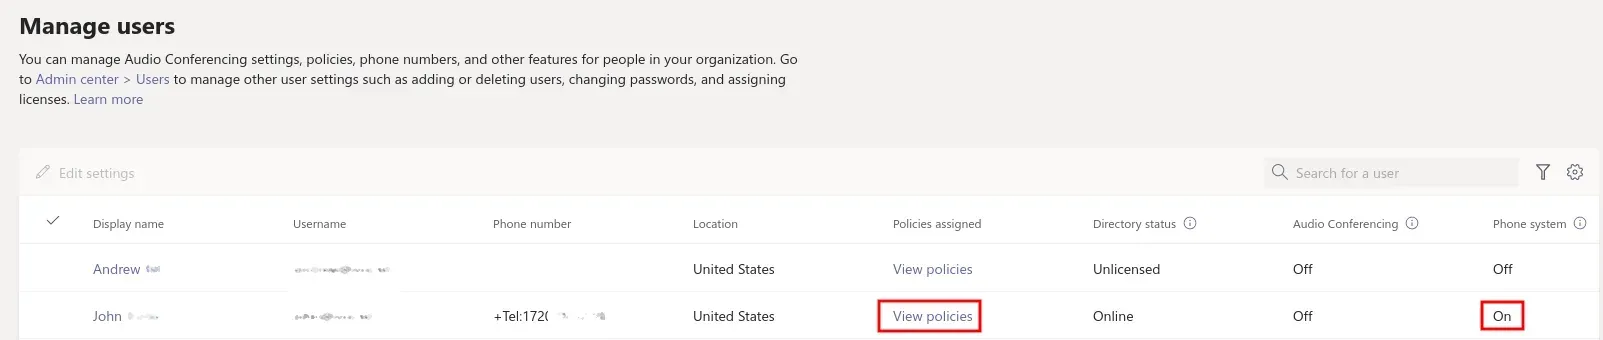
Click on "View policies" on the user you want to update.
User will need the phone System license "On."
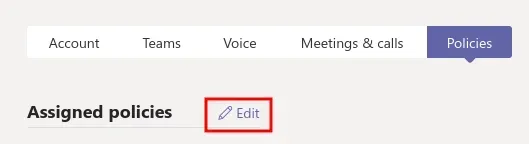
Click on "Edit" next to Assigned policies.

Change the following:
- Voice routing policy: VoxSBC
- Dial Plan: If you created a new Dial plan then update that here as well.
Click "Apply"
Any updates may take some time to complete, 1+ hours in some cases.
Assign Numbers to users
Numbers can be added to user or resource groups via Powershell or the Voxteleys Portal.
Use the command below to add a number to a user/resource group if you opted for the PowerShell configuration.
Set-CsUser -Identity "Username" -OnPremLineURI tel:"1xxxxxxxxxx"
Use the command below to enable voice to a user if you opted for the PowerShell configuration.
Set-CsUser -Identity "Username" -EnterpriseVoiceEnabled $true


