Tutorials: How to Create an Email Template in the Voxtelesys Portal
Required Access: Voxtelesys Portal
Disclaimer: You can create and design email templates without a verified domain. However, a verified domain is required to send emails. Please reference our Email Domain Management tutorial to learn more about domain verification.
Table of Contents:
- Log in to the Portal
- Email Templates Dashboard
- Creating a New Email Template
- Email Builder Overview
- HTML Editor
- Variables
- Testing
- Save New Version
- Version History and Restoring a Previous Version
- Using Your Template in missio™ Canvas
- Viewing Versions From the Email Template Dashboard
Last Updated: 11/14/2025
Navigate to the Voxtelesys Portal.
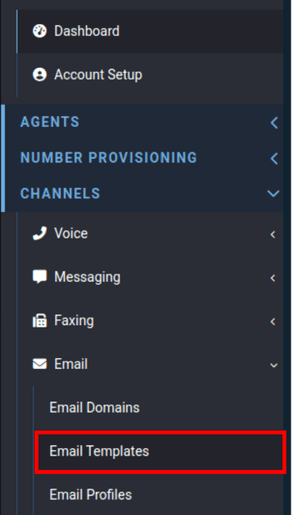
Go to the Channels category, open the email drop-down, and select "Email Templates".
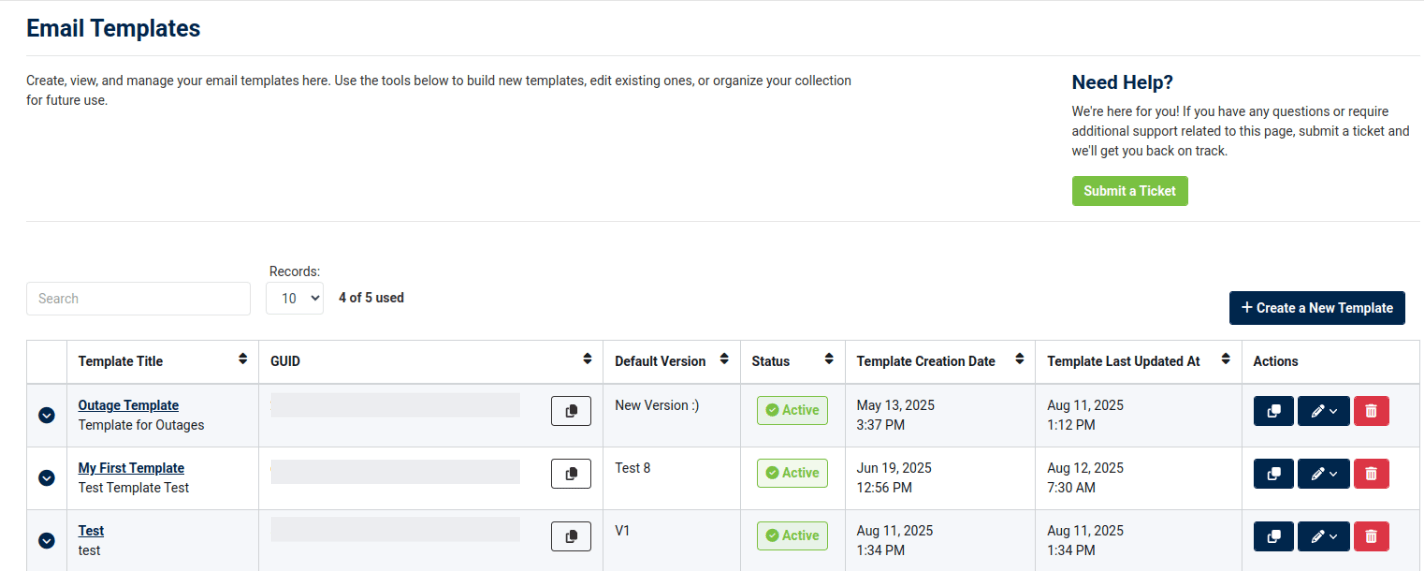
Template Title: The Name of the Template.
GUID: The unique of ID of the Email Template.
Default Version: Current version.
Status: Active or Draft. Active Status Displays the most recently saved version.
Template Creation Date: Date of Creation.
Template Last Updated At: Date of last update.
Actions: Duplicate template, Edit Template Design and Edit Template Details, Delete template.
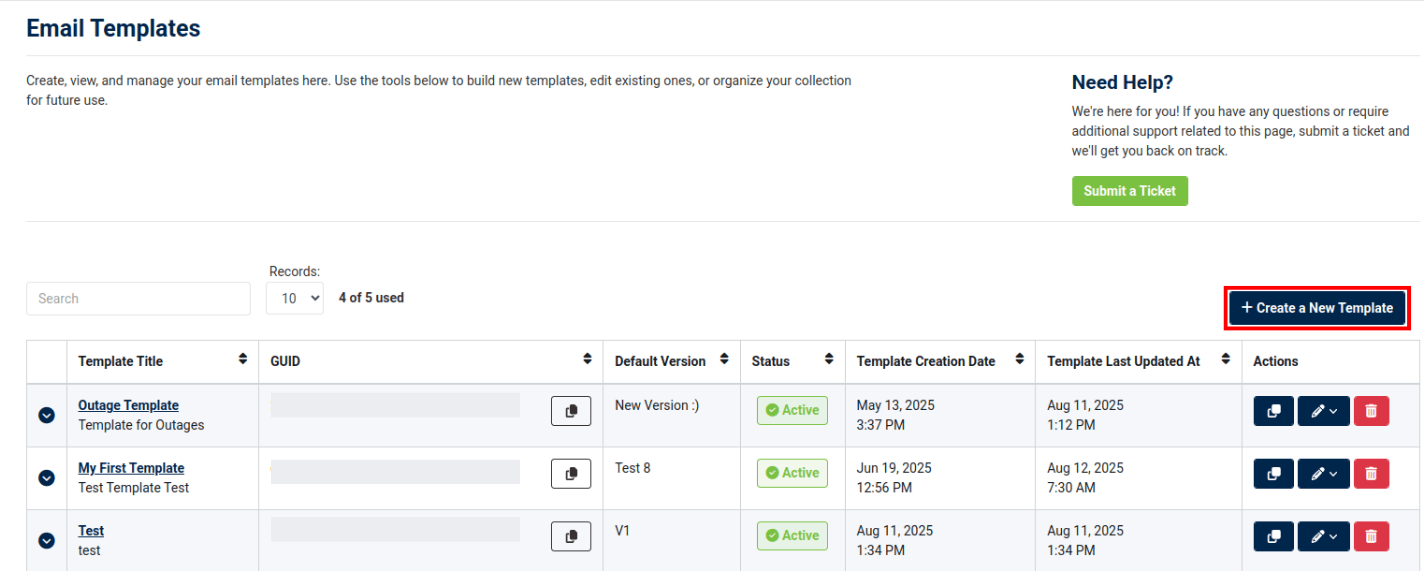
Create New Template
To create a new template, click the "+Create a New Template" button.
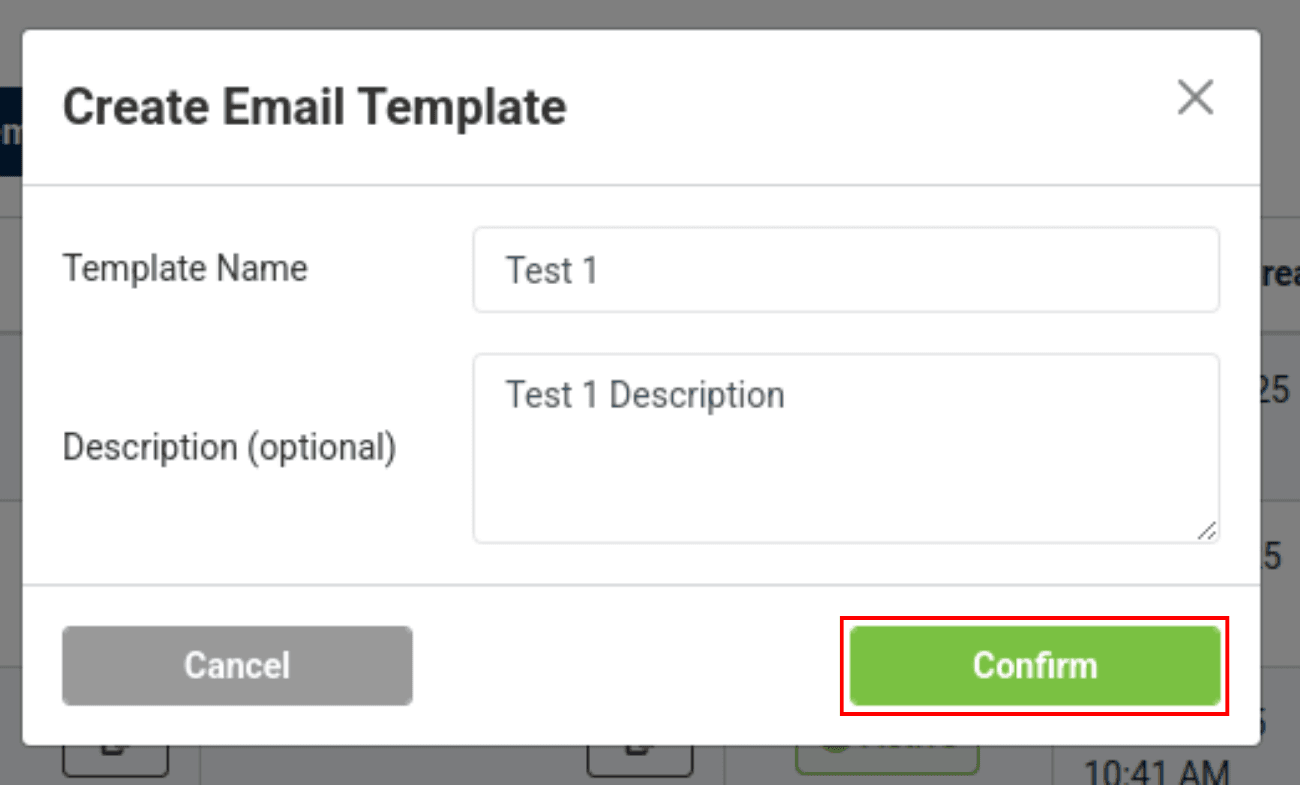
Enter the following:
- Template Name: Give your email template a unique name.
- Description (Optional): Adding a Description helps to identify specific email templates.
Once finished click "Confirm"
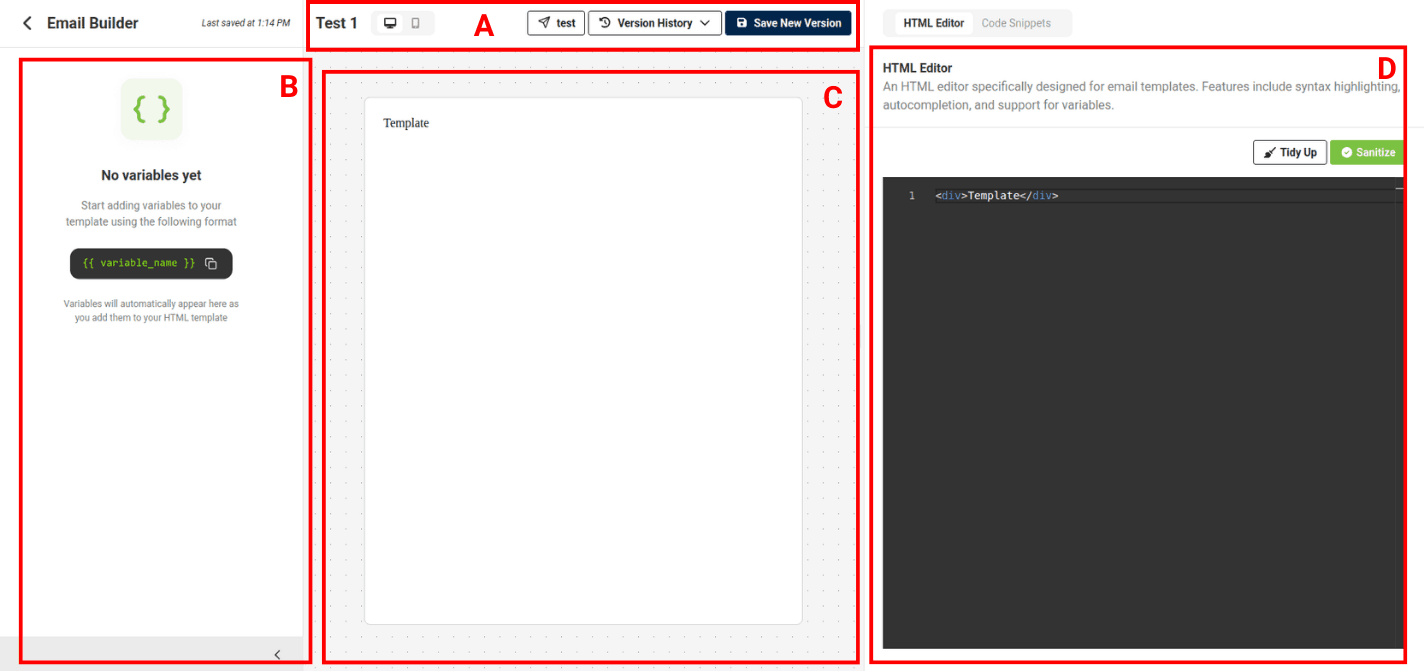
Within the email builder, there are the following elements:
A. Email Builder Toolbar: Save Versions, Test Templates, and View Version History from the toolbar.
B. Variables: Variables will automatically appear here as you add them to your HTML template.
C. Live Preview: View your HTML outputs in real time.
D. HTML Editor: Specifically designed for email templates. The HTML editor includes features such as syntax highlighting, auto-completion, and support for variables.

Code Snippets
Code Snippets are a basic list of HTML templates to get you started with your email template.
Options include the basic HTML template structure, a table with column, heading text, a centered button, and more.
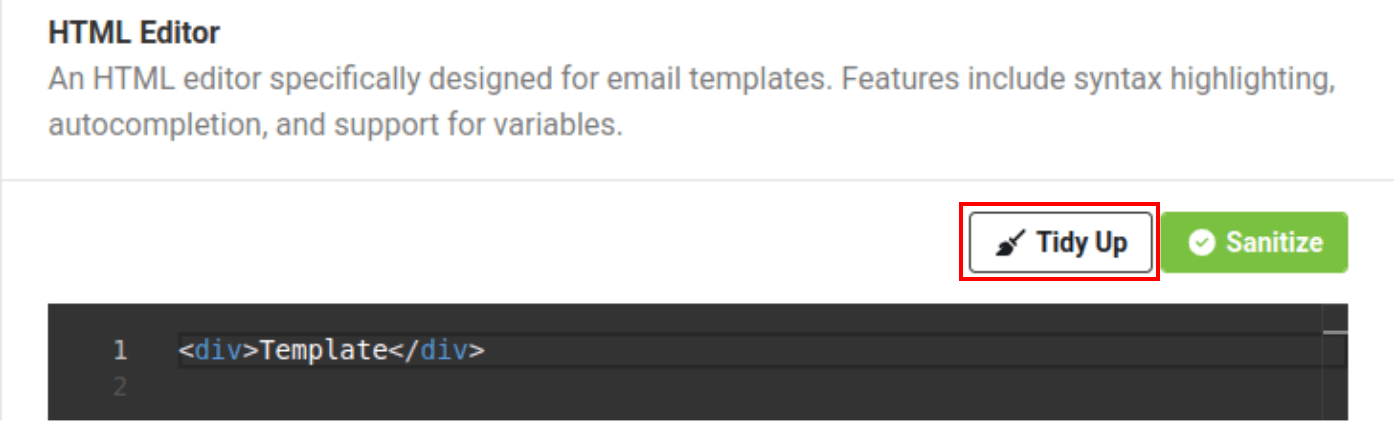
Tidy Up
The Tidy Up button will clean up your HTML.
Before clicking Tidy Up:

Tidy Up
After clicking Tidy Up:
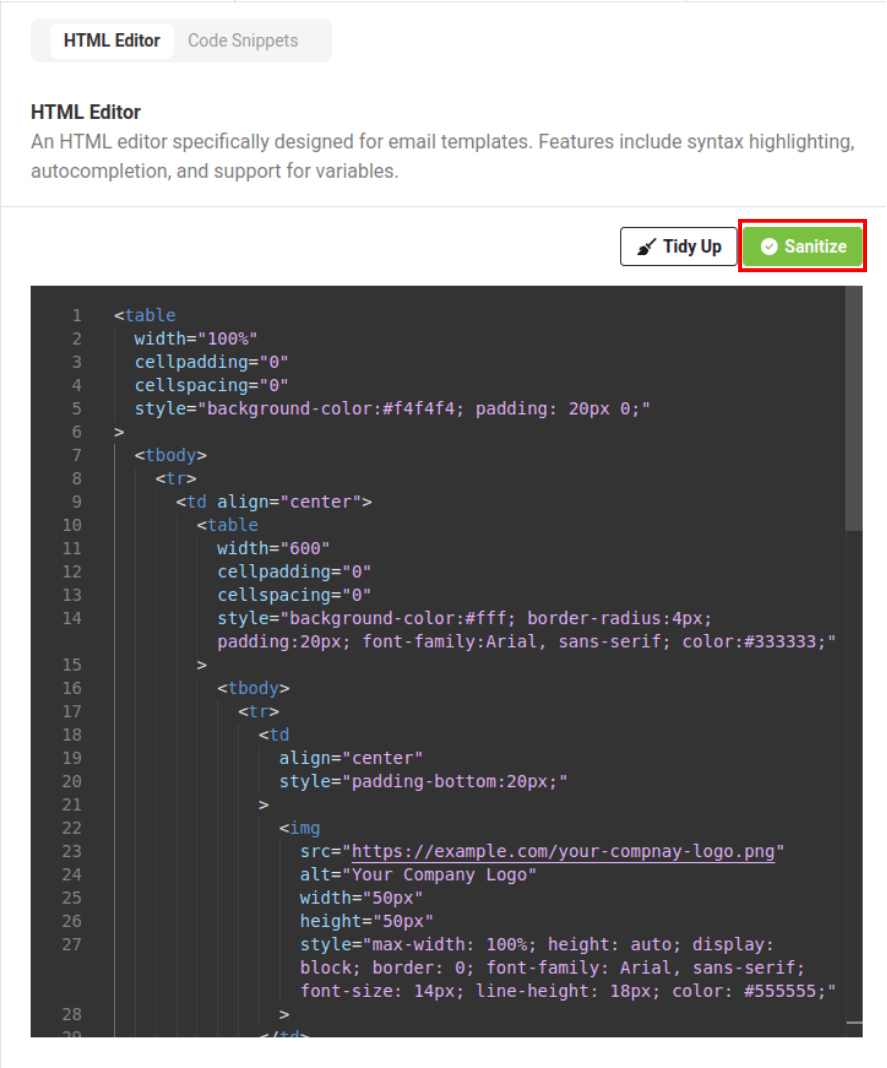
Sanitization
Before saving, the HTML must be sanitized, this will remove any elements that are not supported.
This Platform supports liquid templating along with injected variables via {{ variable_name }}.

We have specific guidelines in place for supported content. JavaScript and XML are not permitted, and any unsupported code will be flagged when you save or use the Sanitize option. Additionally, interactions inside the Preview Frame are limited. Most links and buttons will not function directly within the preview. To test links, please open them in a new tab or use Ctrl + Click.
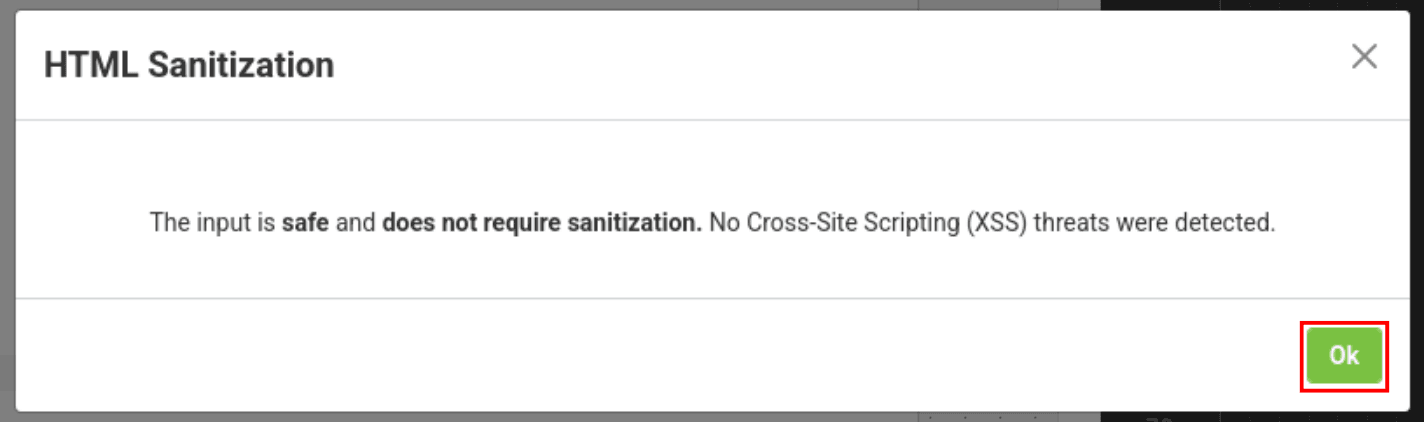
Sanitization
The following message will appear if there are no issues after pressing "Sanitize":

Sanitization
The following message will appear if there is HTML that needs to be sanitized:
If you wish to proceed, click "Apply Sanitization", this will remove or modify any harmful elements.

Sanitization
If you press "Close" instead of "Apply Sanitization" a Sanitization Summary will appear below the HTML editor.
To sanitize all harmful elements click the "Sanitize" button.
Please note, all elements must be sanitized before you can save your template. Templates cannot be saved without sanitization.
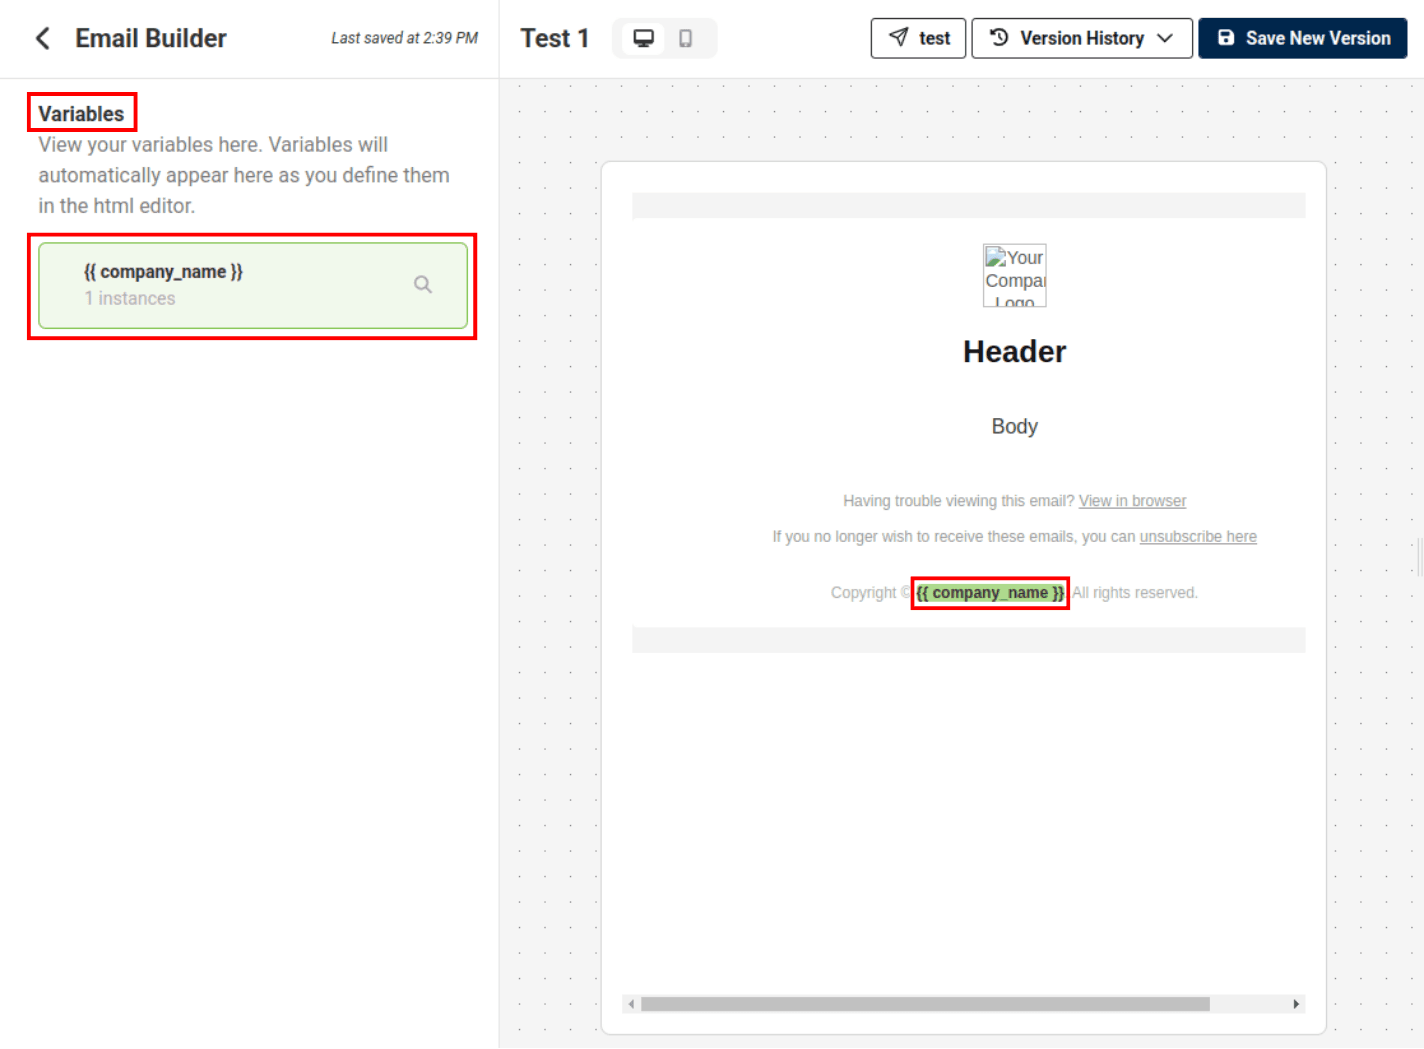
Variables
You can view any variables on the left side of the email builder. This tab will also keep track of number of instances each variable occurs.
Clicking on the variable in this list will highlight where the variable(s) occurs within the Live frame and within the HTML editor.
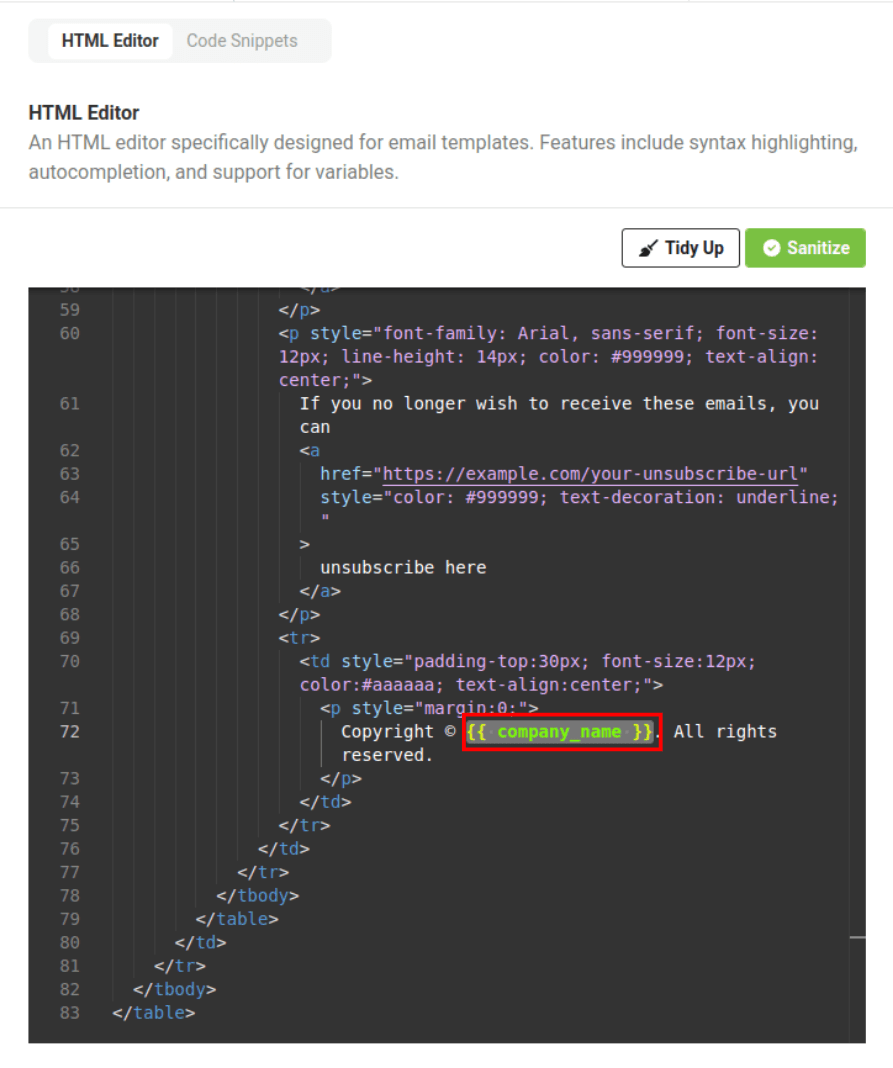
Variables
Within the HTML editor, the variables will appear in the following formatting: {{variable_name}}
Variables will have yellow brackets and green text.
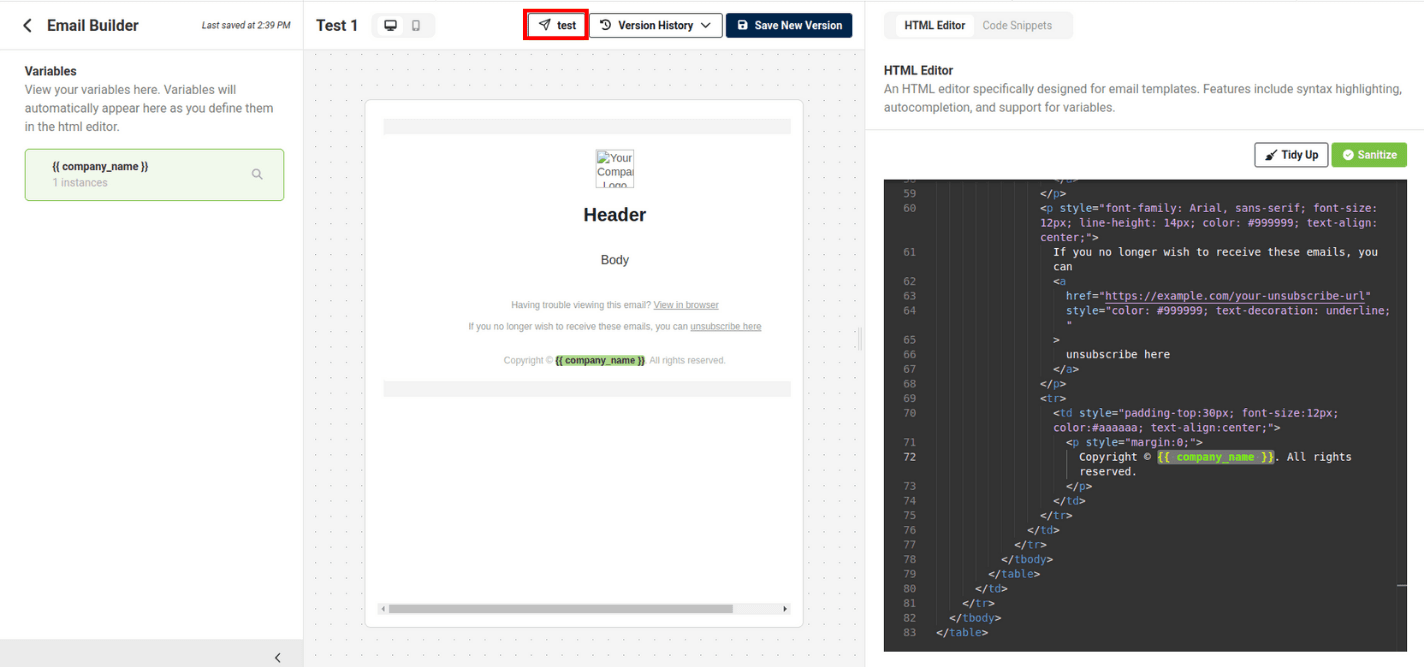
Testing
To test your email template, press the "Test" button above the email preview.
To test an email you must have contacts and verfied domains.

Testing
You will be directed to a test page where you can send a test email. Under "Send Test Email" you can select the desired version, "to" email addresses, and a "from" email address.
From this page you will also see a preview window; this preview window is not a good representation of what an email may look like across different platforms.
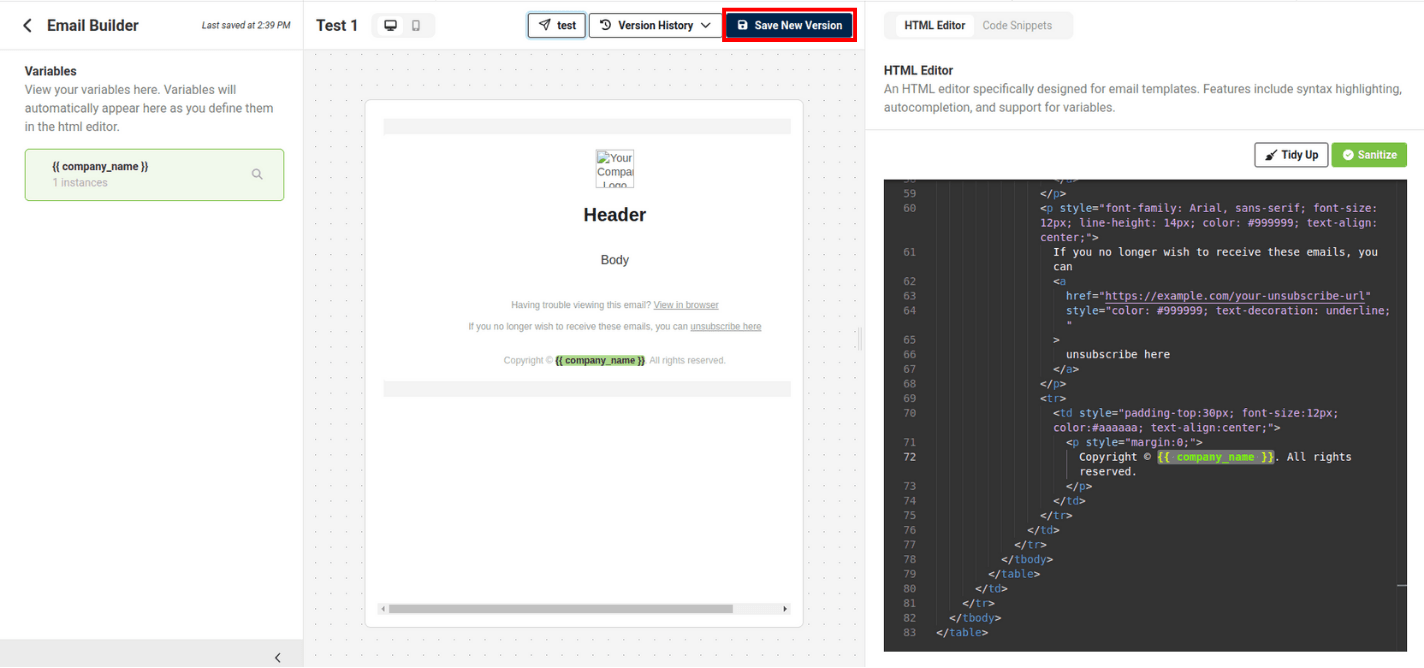
Saving a New Version
To save a template click "Save New Version" which is located next to the test button.
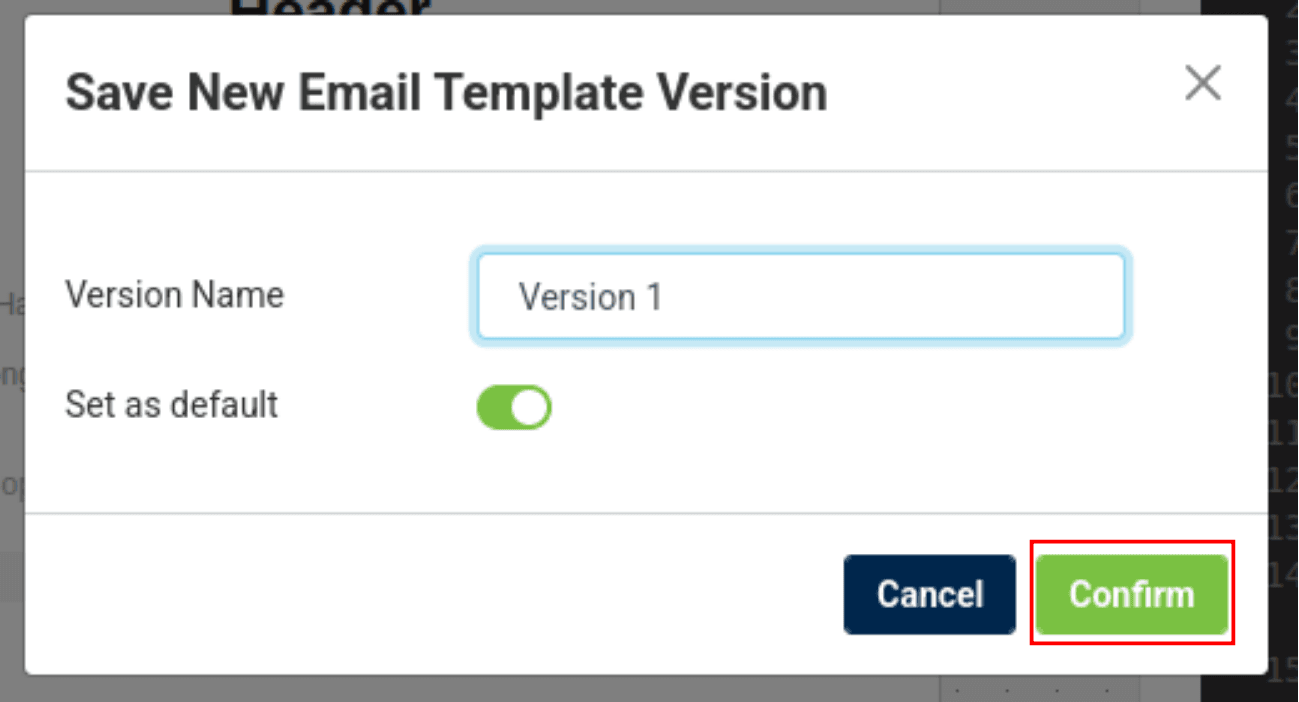
Saving a New Version
Enter a version name, the first time you save a version this is automatically set as the default version.
Click "Confirm"
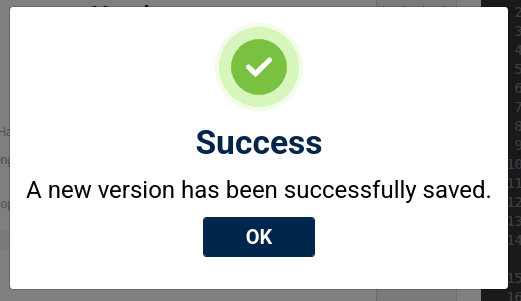
Saving a New Version
New Version Successfully Saved Message:

Saving a New Version
When you save another version "default" will be automatically turned off, to set that version as default, toggle on, which will replace the current default.
Name the version, and click "Confirm"
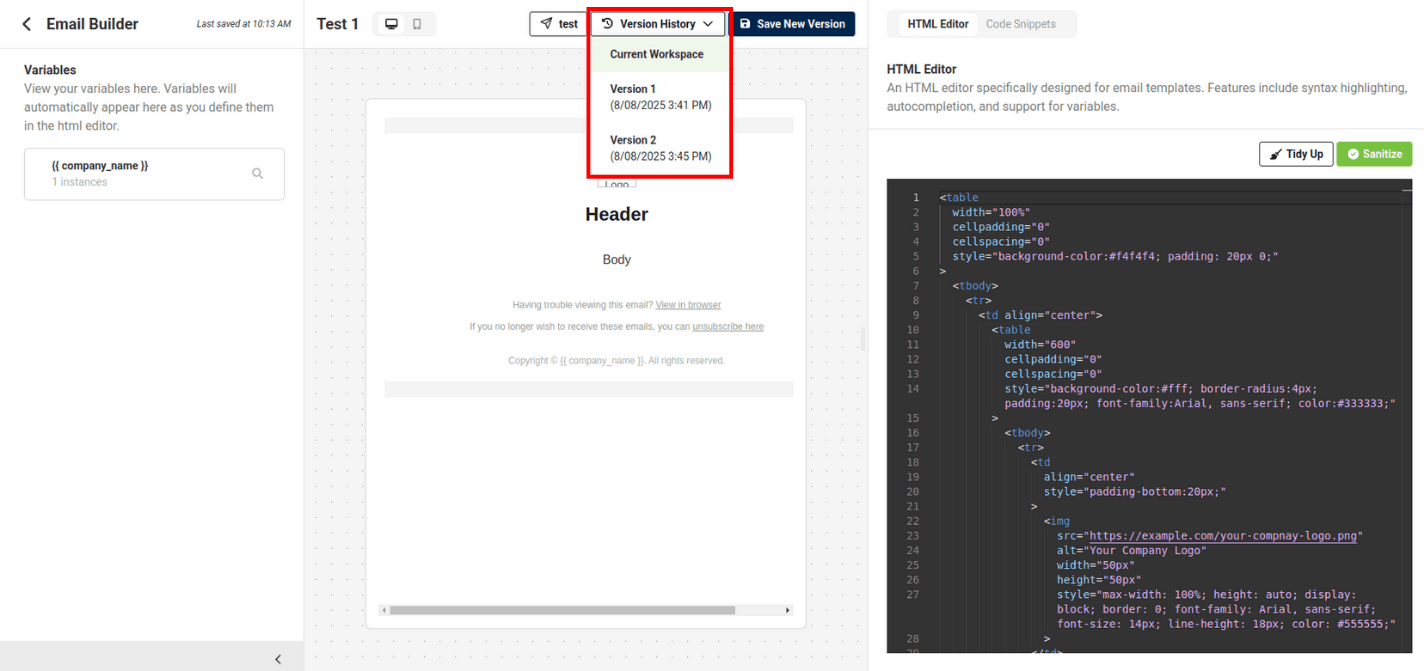
Version History
In the email builder, you can view version history from the "Version History" drop-down
To view a previous version select a version in the drop-down
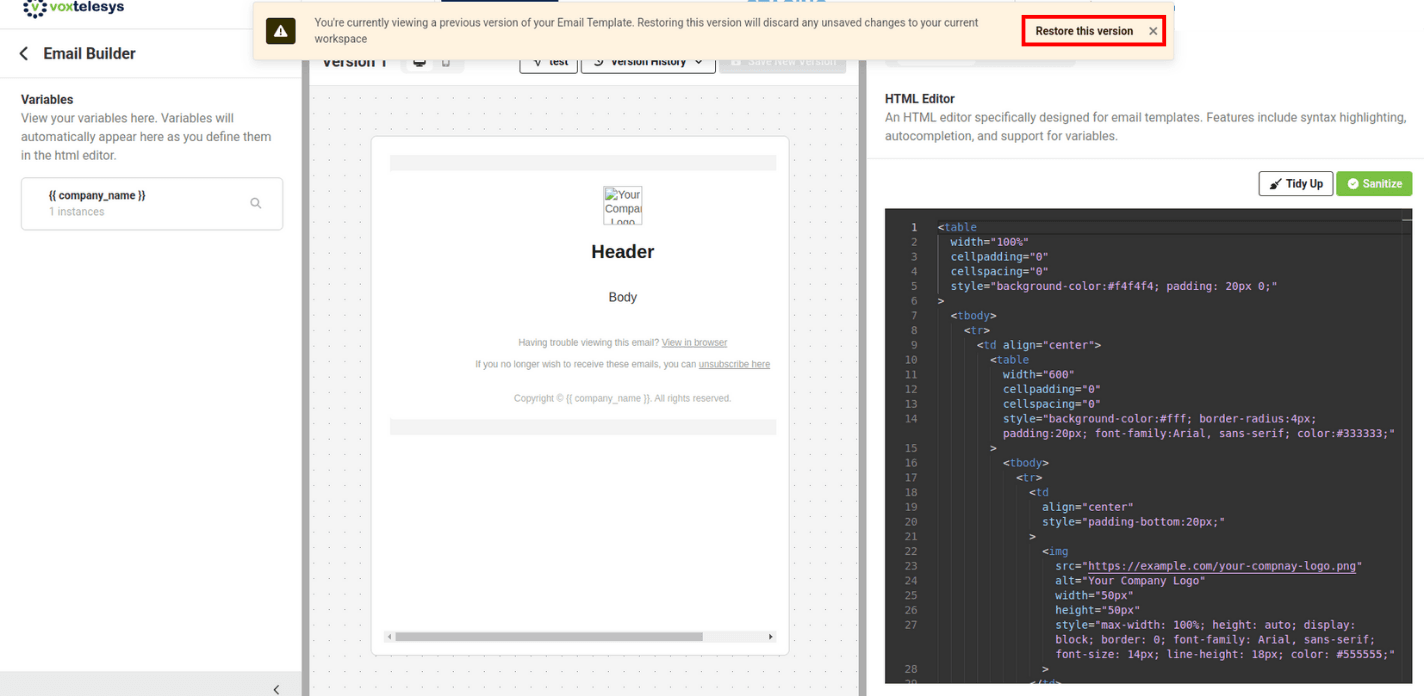
Restoring a Previous Version
To restore a previous version click on "restore version" in the yellow warning alert.
Restoring a previous version will discard any unversioned changes in the current workspace.
After you have saved a versioned email template and verified your email domains, your template is ready to use in missio™ Canvas. Please reference the tutorial below for more details.
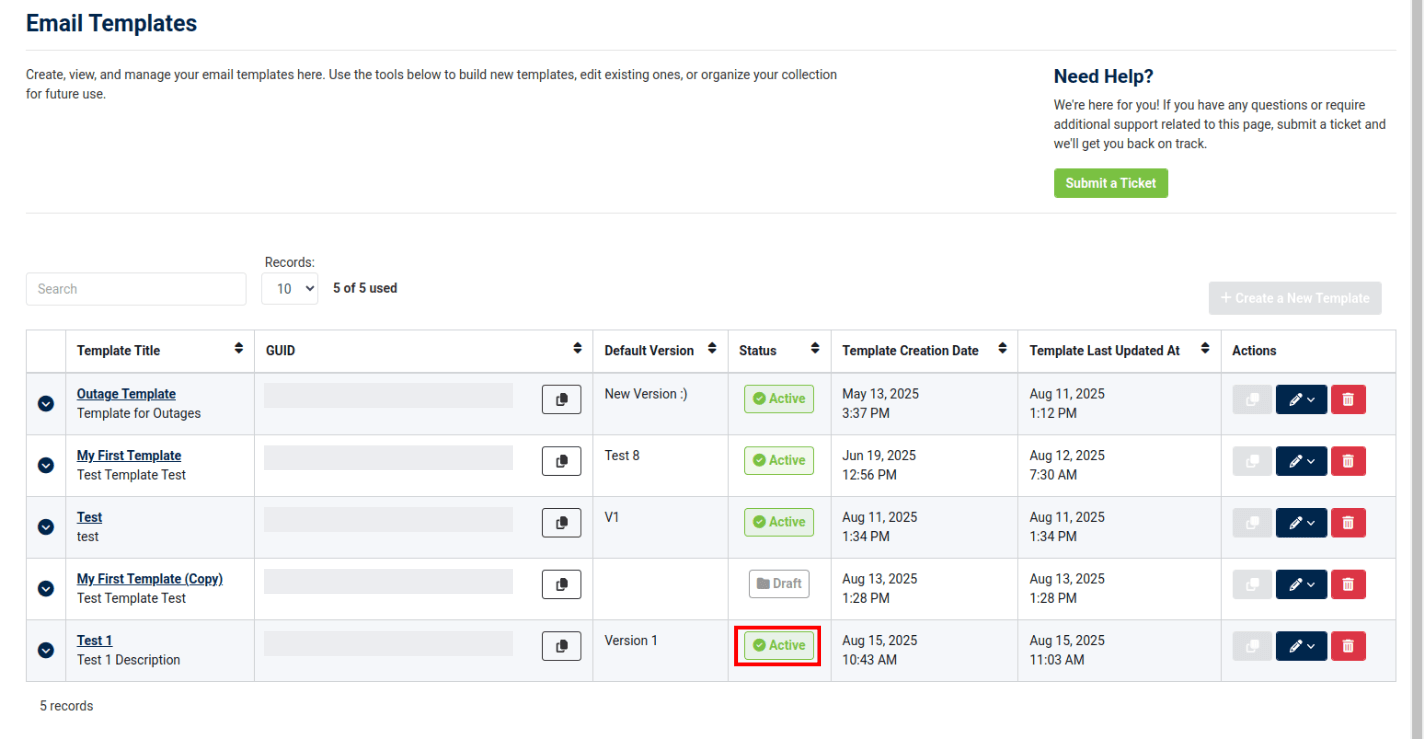
Email Template Status
Back in the email template dashboard, your template staus will update from "Draft" to "Active" once you save your first version.
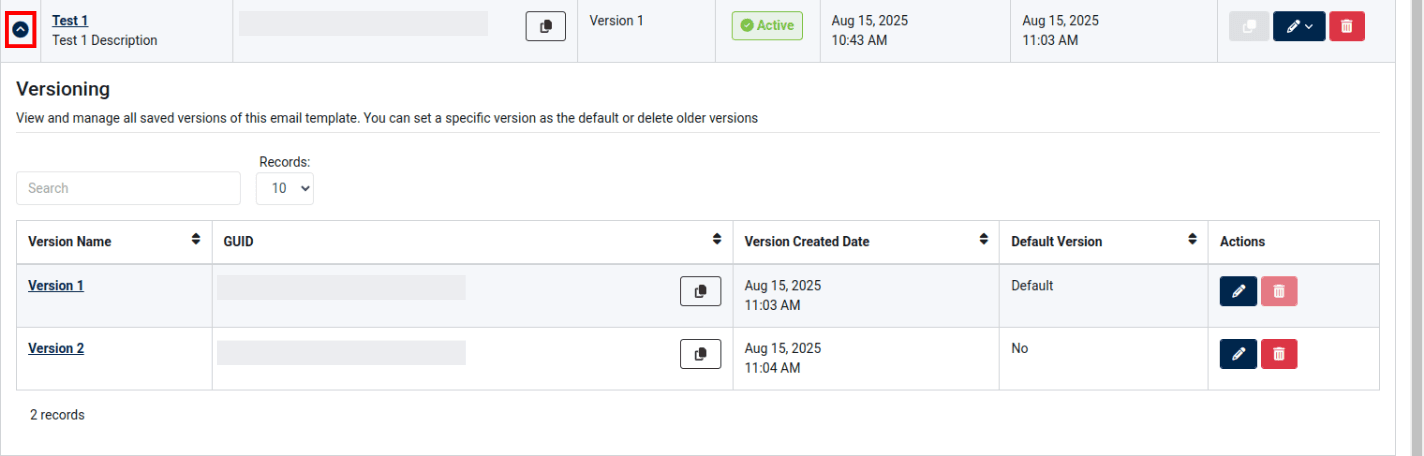
Email Version History
To view version history, open the email template drop-down from the table.
From here ,you can go to the version in the email builder, set a specific version as the default (edit action), and delete older versions.
Please refer to the following tutorials to learn more about email management in the Voxtelesys Portal:


