Tutorials: Creating a Primary Transfer Route
Required access: Voxtelesys Portal
Estimated time to complete tutorial: 5 minutes
You can set up 2 types of transfers. The first is a primary transfer this is done because you want a calls to a certain number or numbers to route to another number. The second is called a fail-over where you want to call to go to one destination but if that destination is down you want it to transfer to another number. This tutorial is for a primary transfer, if you would like to set up a failover transfer please see the Add a Failover Transfer tutorial.
Last Updated: 9/5/2025
Navigate to the Voxtelesys Portal .
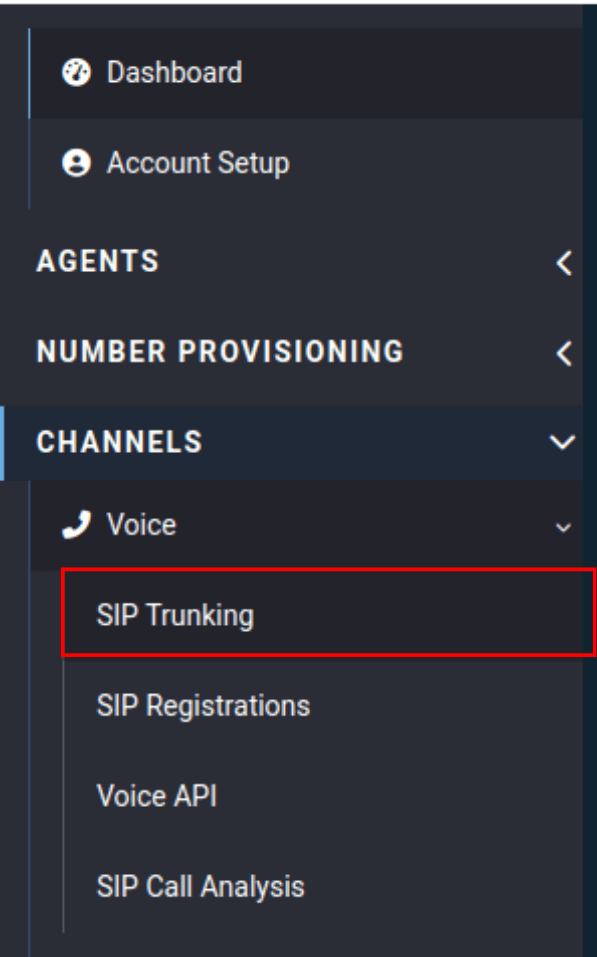
Go to the Channels category, open the Voices drop-down, and select "SIP Trunking".

Click on your inbound trunk to expand it.

Click "Routing."

Click the box with the plus sign.

Click the "Description" field.
Enter the name you want for your transfer.

Click "Confirm."

Click the new route to expand it.

Click the box with the pencil to edit it.

For Destination Type select Transfer.

Click the "Destination" field.
Enter the transfer number in national format (10 digits).

Select your outbound trunk.

Click "Confirm."
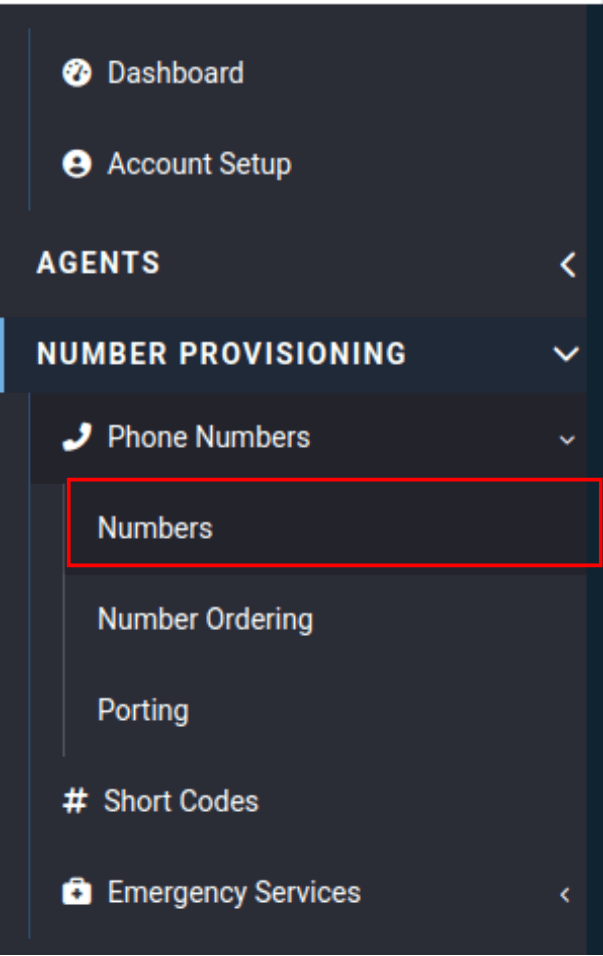
Go to the Number Provisioning category, open the Phone Numbers drop-down, and select "Numbers".

Click the edit pencil on the number you want to set the transfer on.

Select "Standard Routing" for "Route Type" if nothing is selected.
Then for "Route Profile" select the route you just created.

Click "Confirm."
You can also bulk update your numbers if they are all set on the default route.
Go to the Channels category, open the Voices drop-down, and select "SIP Trunking".

Expand the inbound trunk.

Click "Routing."

Click the pencil to edit.

Change the route profile to the new route you created.

Click "Confirm."


