Tutorials: Yeastar SMS Setup
Required Access: Yeastar Portal, Voxtelesys Portal
Disclaimer: Please open a Support Ticket in the Voxtelesys Portal to update Voxtelesys's SMS settings to Yeastar’s requirements.
Table of Contents:
- Create a Message Channel in Yeastar
- Configure Message Channel– Authentication
- Create a Messaging Application In the Voxtelesys Portal
- Configure Messaging Channel– Messaging Settings
- Complete Message Channel Activation
- Creating a Message Queue
- Creating a Message Campaign
- Starting a Session
Last Updated: 4/2/2026
Log in to Yeastar.
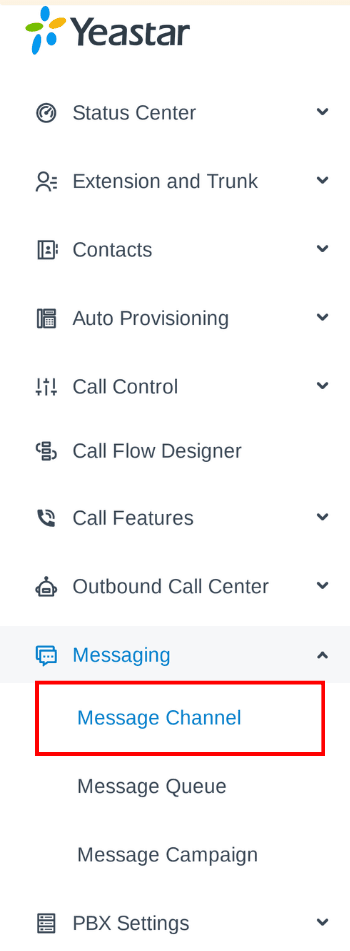
Navigate to the "Messaging", and select "Message Channels" from the dropdown.
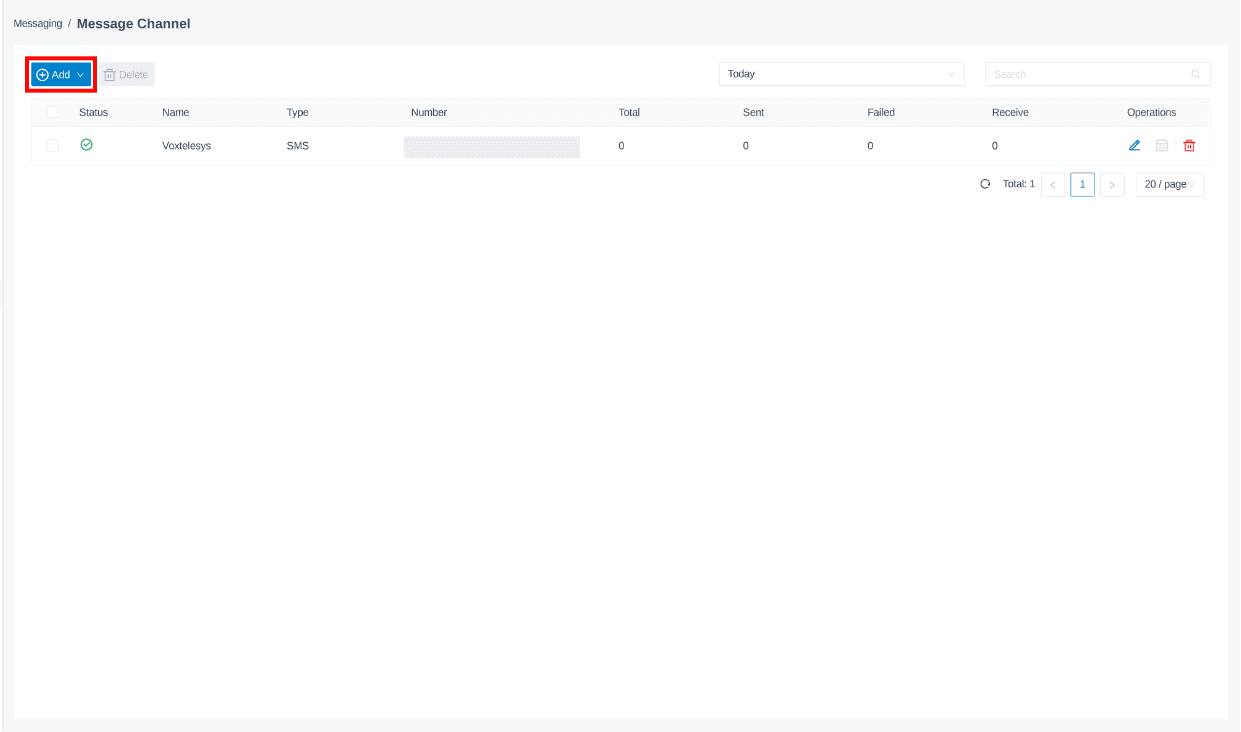
Click the "+Add" button to create a messaging channel.
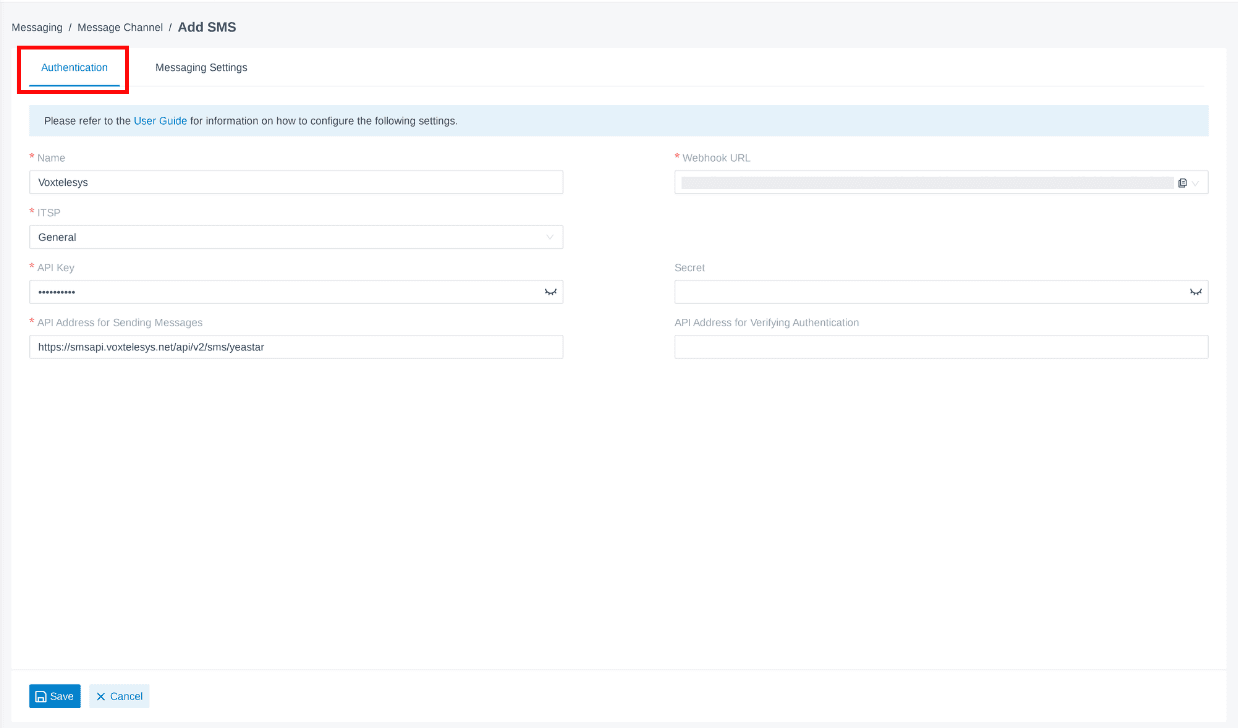
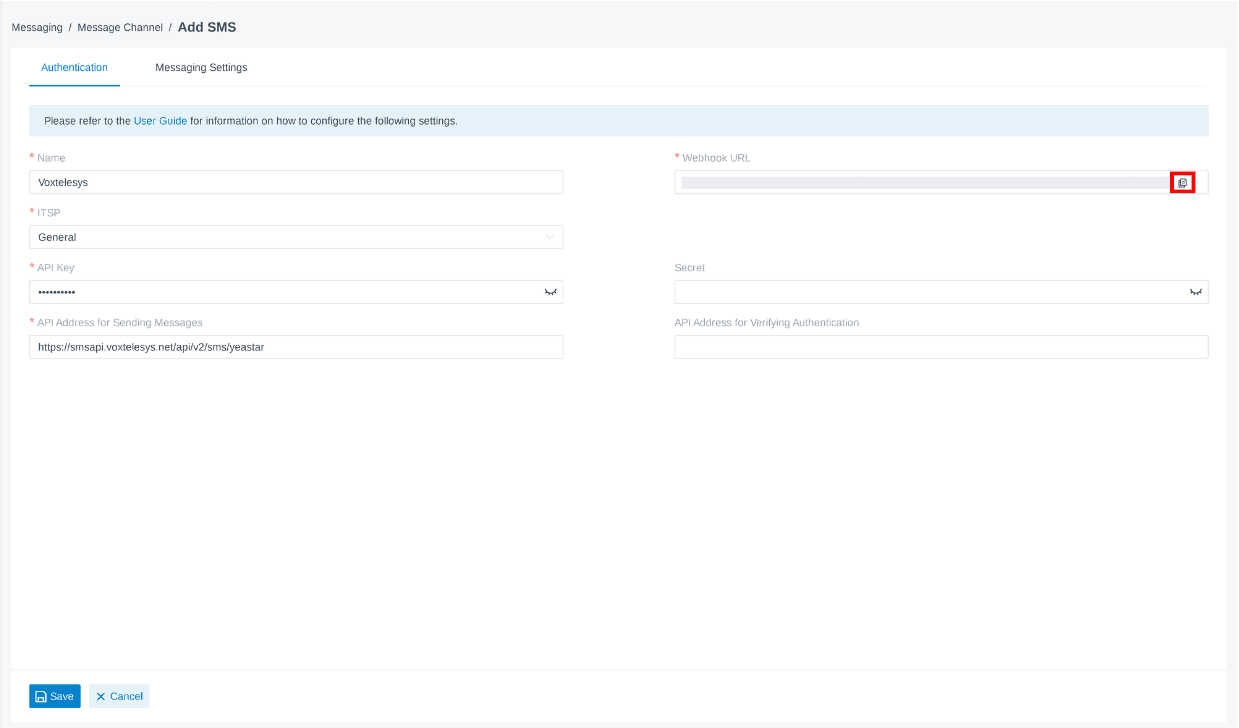
To ensure SMS works correctly, please configure the following required settings under "Authentication":
- Name: Can be any name for the message Channel.
- ITSP: Must be set to General for integration.
- API Key: SMS enabled API key which the customer can find in the Voxtelesys Portal (in API Keys), it is the same as our existing SMS.
- API Address for Sending Messages: The API that Outbound messages are sent to. Yeastar has their own route, and they must go to: https://smsapi.voxtelesys.net/api/v2/sms/yeastar
- Webhook URL: This cannot be edited or removed. This URL will be used for the HTTP request section when the customer adds a Messaging Application in the Voxtelesys Portal (shown in Step 3).
Log into the Voxtelesys Portal.
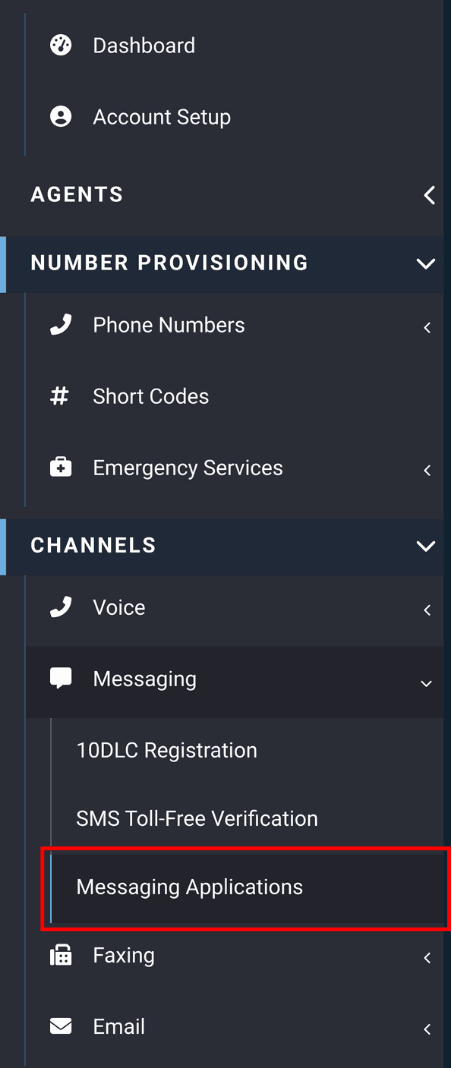
Navigate to "Messaging Applications" which is located under the "Messaging" drop-down in the "Channels" category.
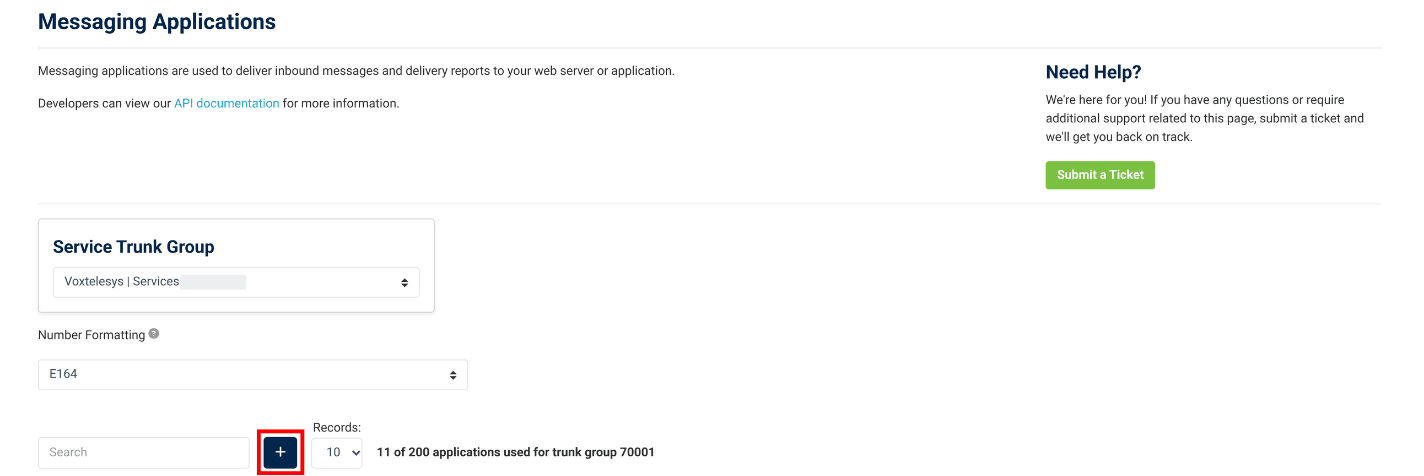
Click on the blue plus "+" button to create the messaging application.
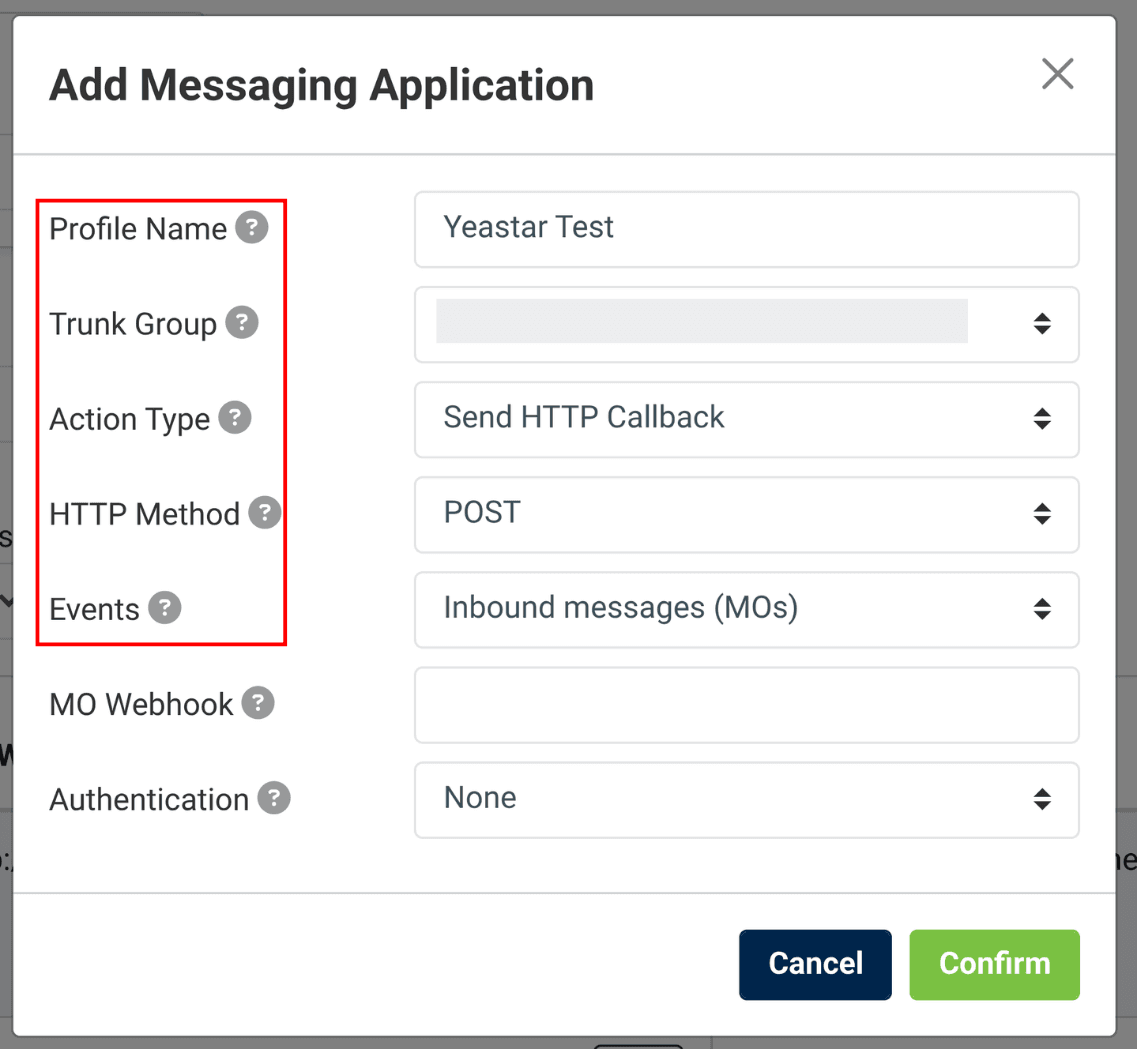
Enter the following:
- Name: The name of the messaging application
- Action Type: HTTP Callback
- HTTP Method: POST
- Events: Inbound messages (MOs), Yeastar does not support DRs
Navigate back to the Yeastar Portal and copy the the Webhook URL.
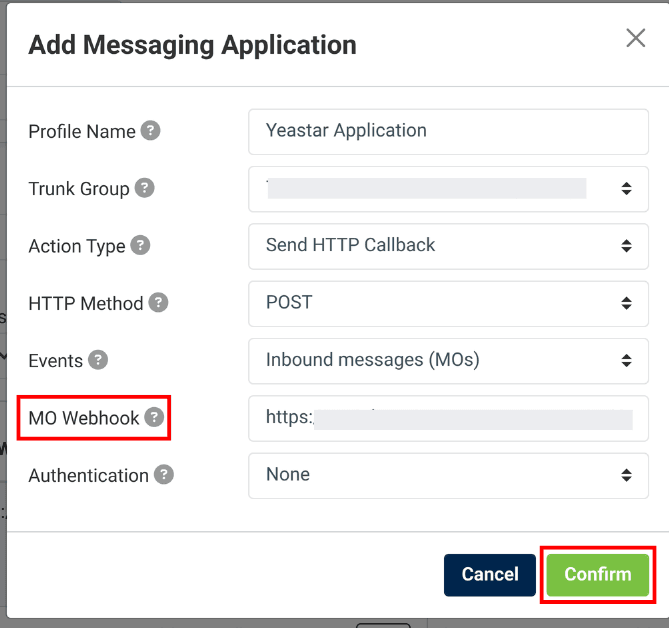
Paste the Webhook URL into the "MO Webhook" field and click "Confirm".
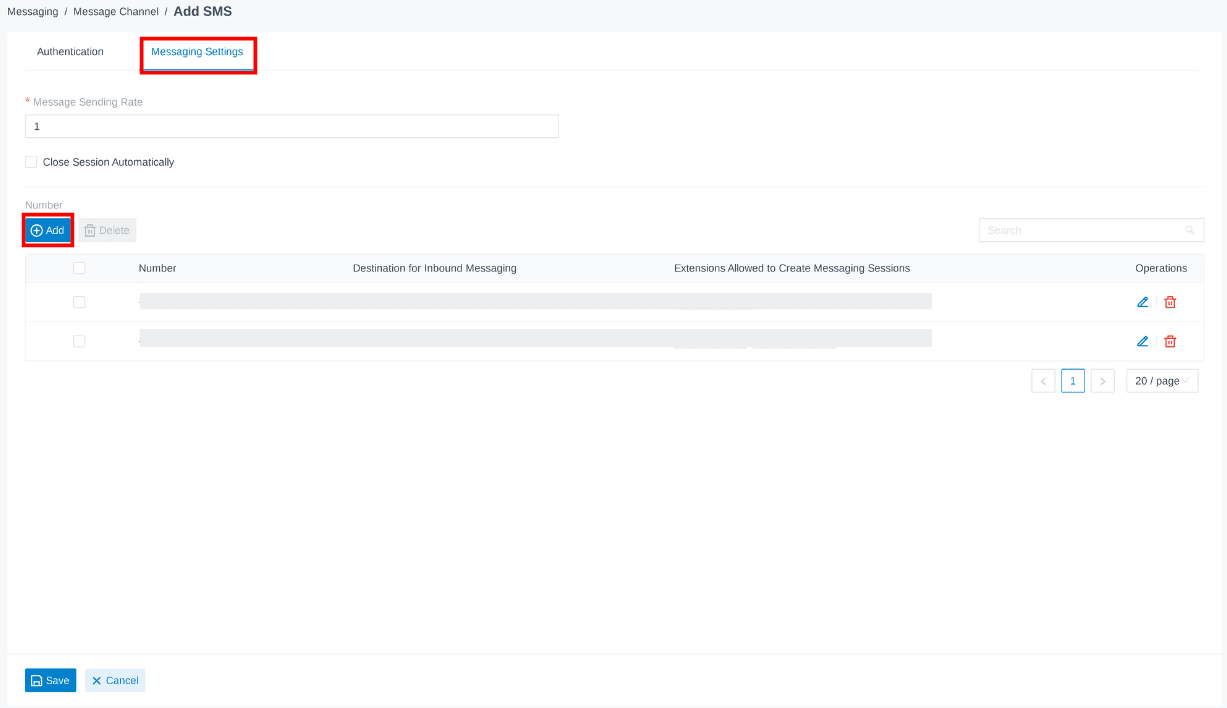
Navigate back to the Yeastar Portal and switch to "Messaging Settings".
From here, click the "+ Add" button to assign numbers to the channel.
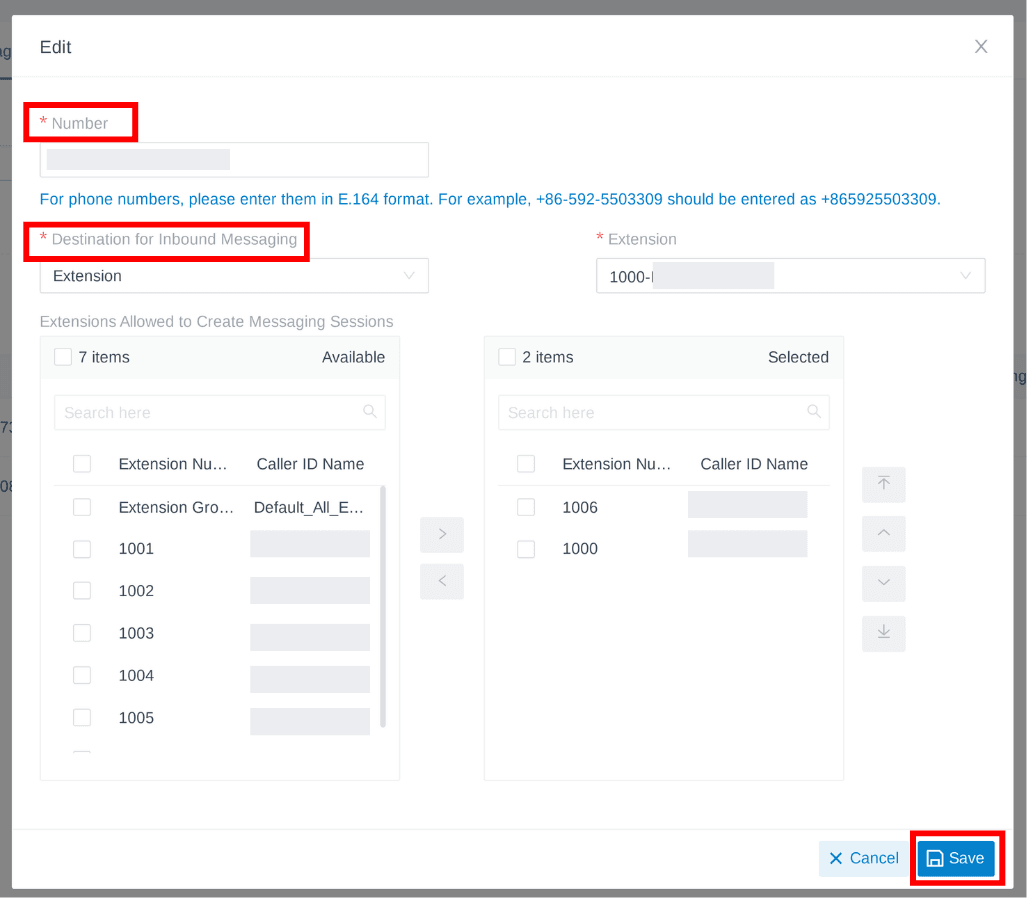
To assign a number to a channel, enter the number in E164 format and select the Destination for Inbound Messaging.
Two Destinations are available:
- Extension
- Message Queue
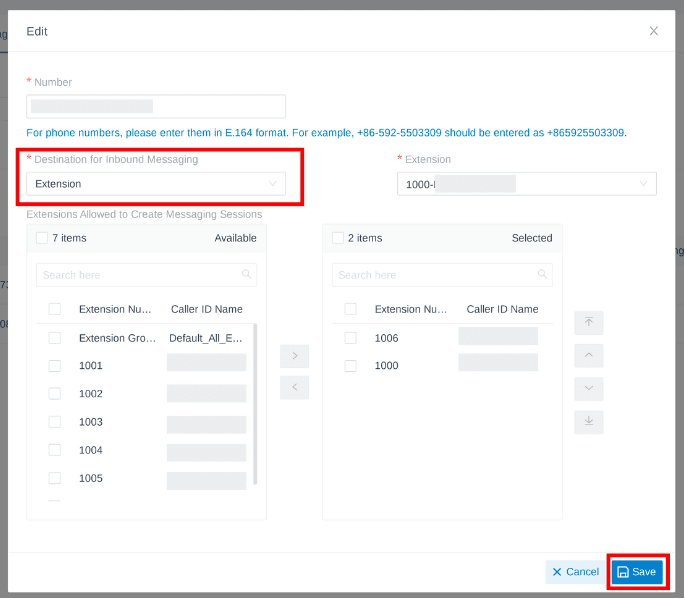
If Extension is selected, the assigned extensions can receive SMS notifications sent to that number and send outbound messages from it.
Under "Extensions Allowed to Create Messaging Sessions", select the extensions that should be allowed to start messaging sessions for that number. Only the selected extensions will be able to initiate sessions.
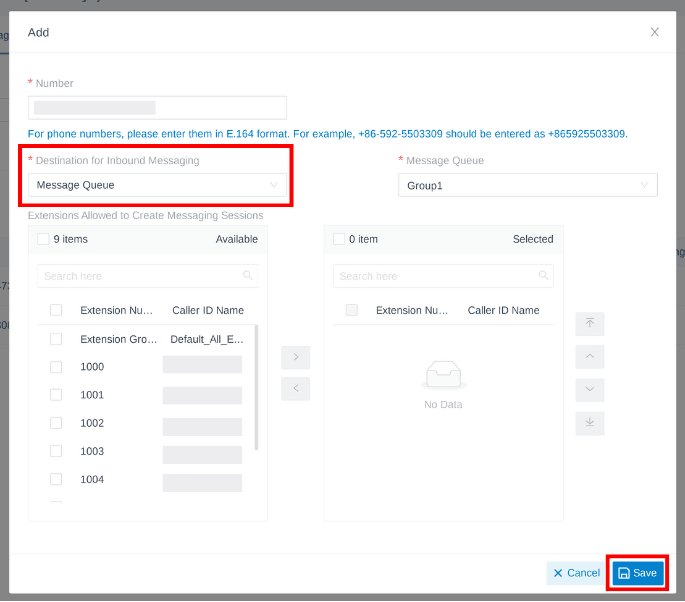
If Message Queue is selected, incoming messages are placed into the selected queue and can be picked up manually or automatically by assigned extensions.
A message queue must be created before it can be selected. For setup instructions, refer Step 6 of this tutorial.
Once Authentication and Message settings are configured, click "Save".
After setting up the Yeastar Messaging Channel and creating the Messaging Application in the Voxtelsys Portal, please submit a Support Ticket through the Voxtelsys Portal to complete the activation process.
To create a message queue, open the messaging drop-down and select "Message Queue".
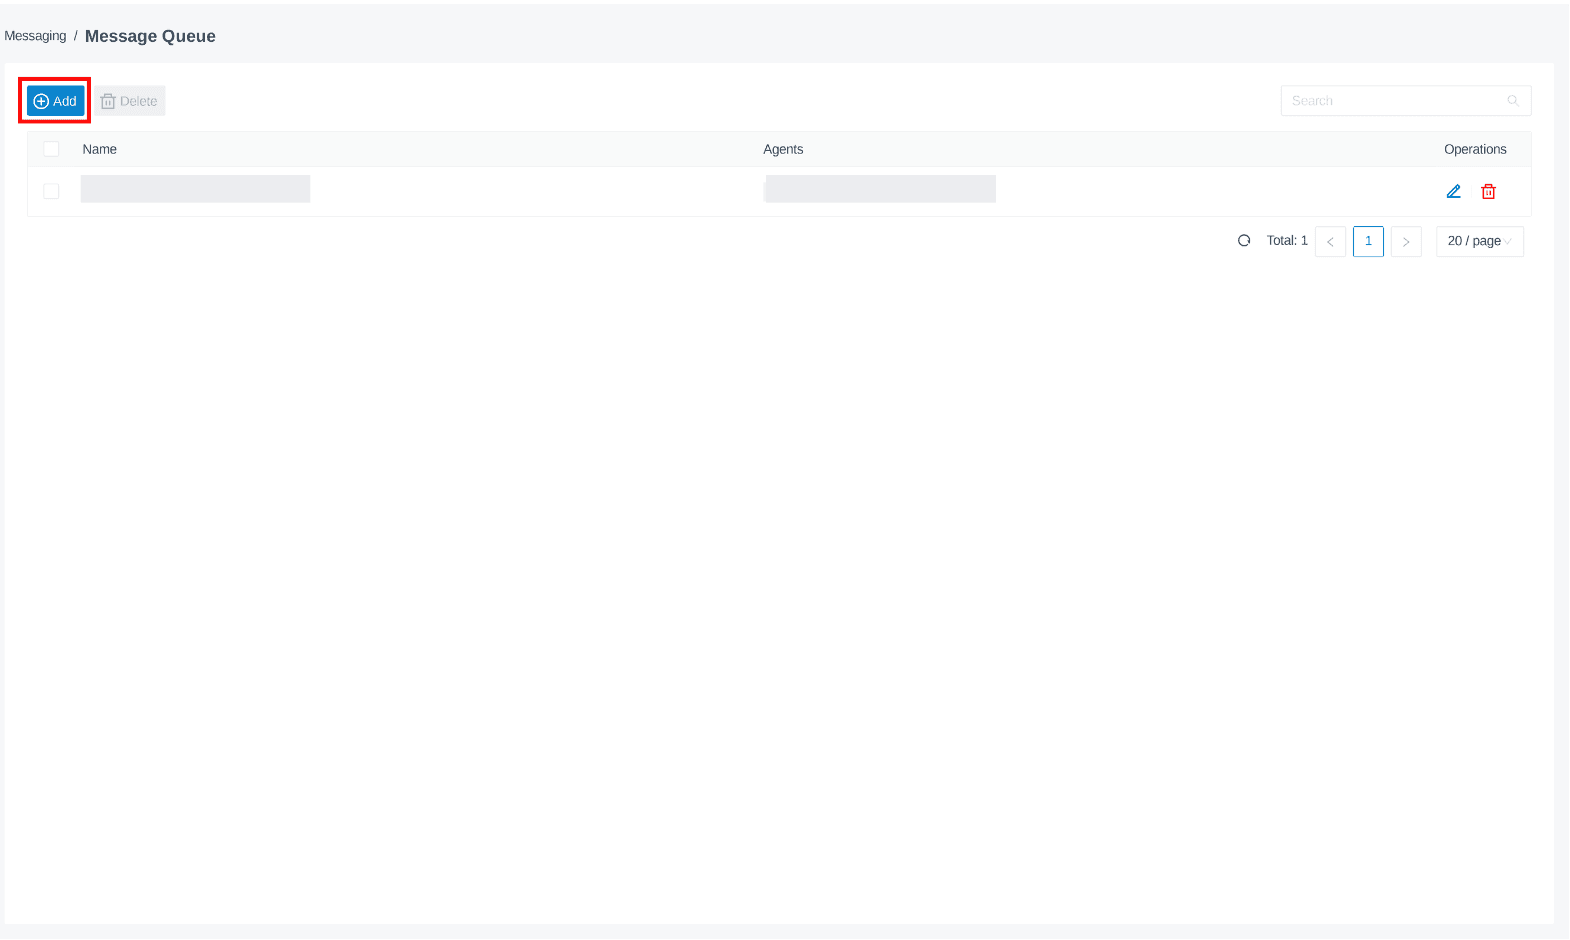
Click the "+Add" button to create a new Queue.
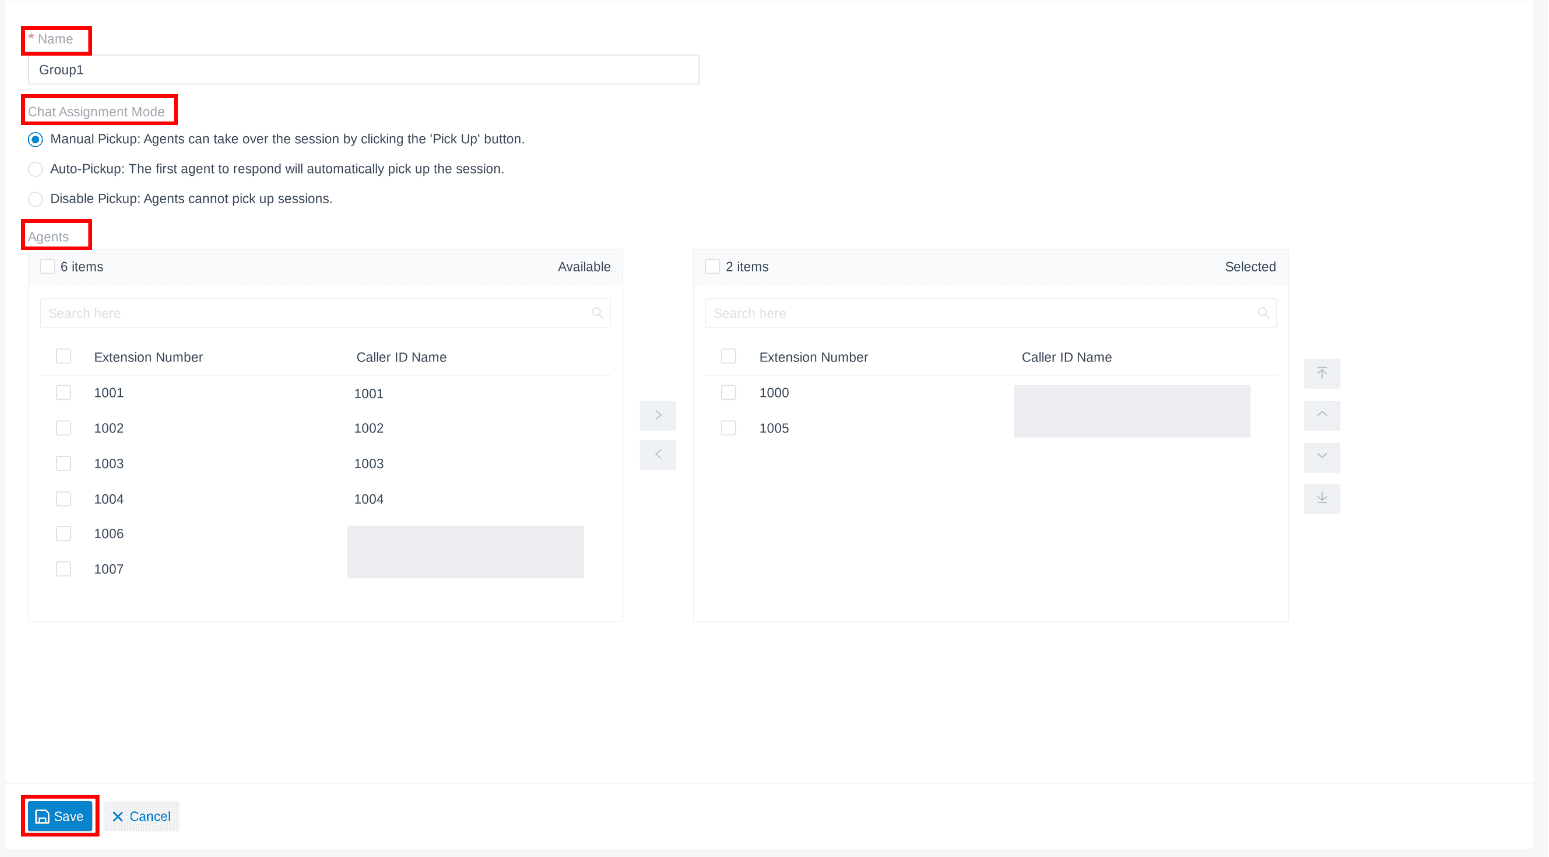
Configure the Message Queue:
- Name: Enter a name for the queue.
- Chat Assignment Mode: Manual Pickup, Auto Pickup, Disable Pickup.
- Agents: Assign extensions/agents to the call queue.
Once configured click "Save".
Once a Message Channel is configured, Message Campaigns can be created.
To create a Message Campaign, navigate to "Message Campaign" in the Messaging dropdown.
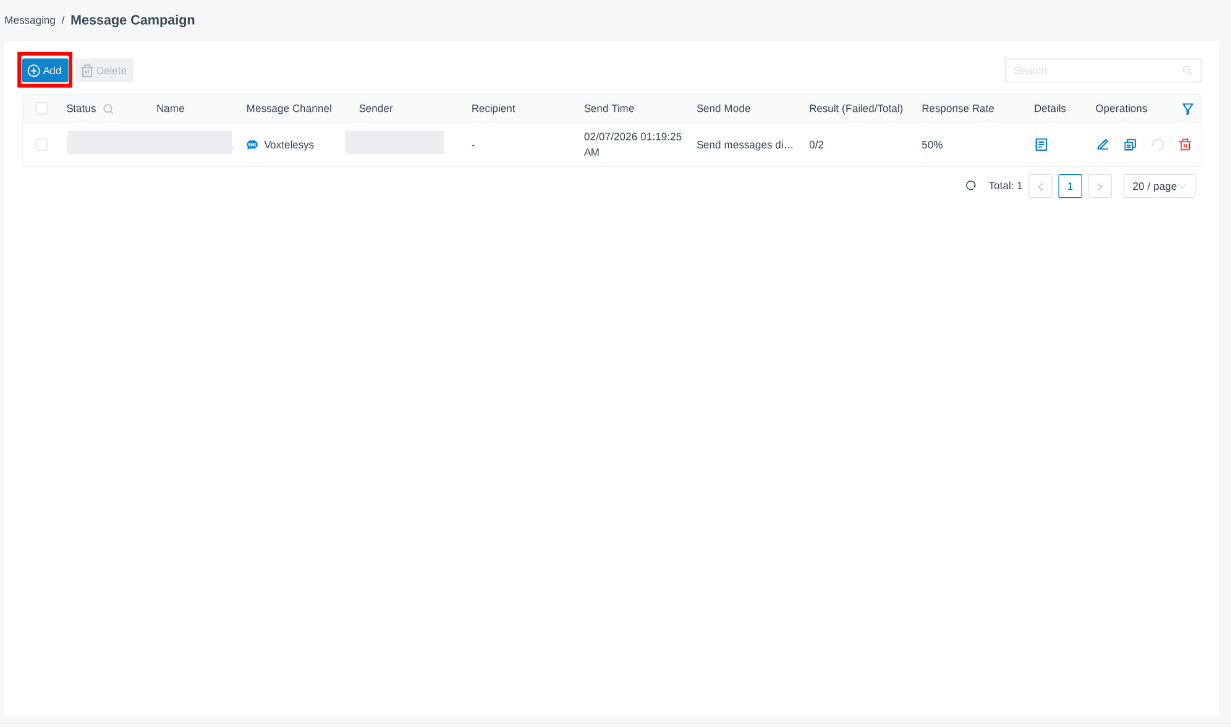
Click on the "+Add" button to create a new Campaign.
Users can send multiple messages at a single time with Yeastar Campaigns.
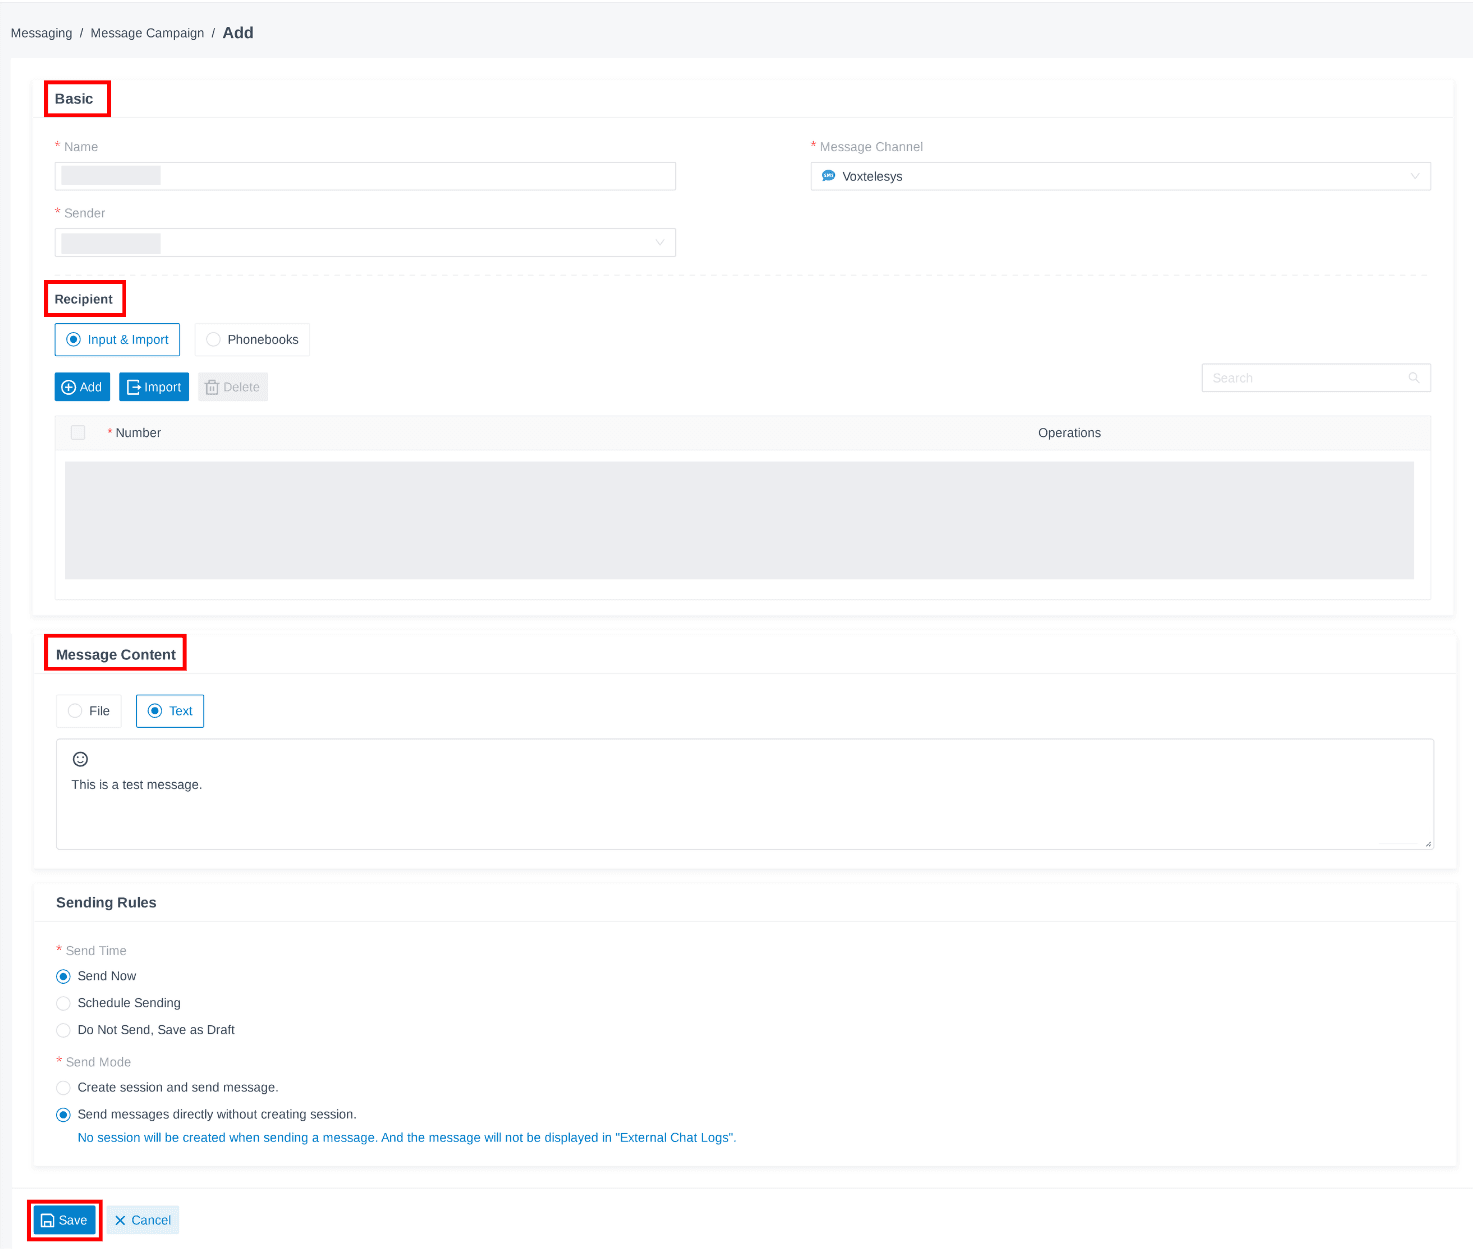
To configure the campaign, Enter the following information:
- Basic: Enter the Campaign Name, Sender, and Message Channel.
- Recipient: Enter numbers for the message to be sent to.
- Message Content: Enter the message in the text box or upload a file.
- Sending Rules: Select the send time and send mode.
Once completed click "Save".
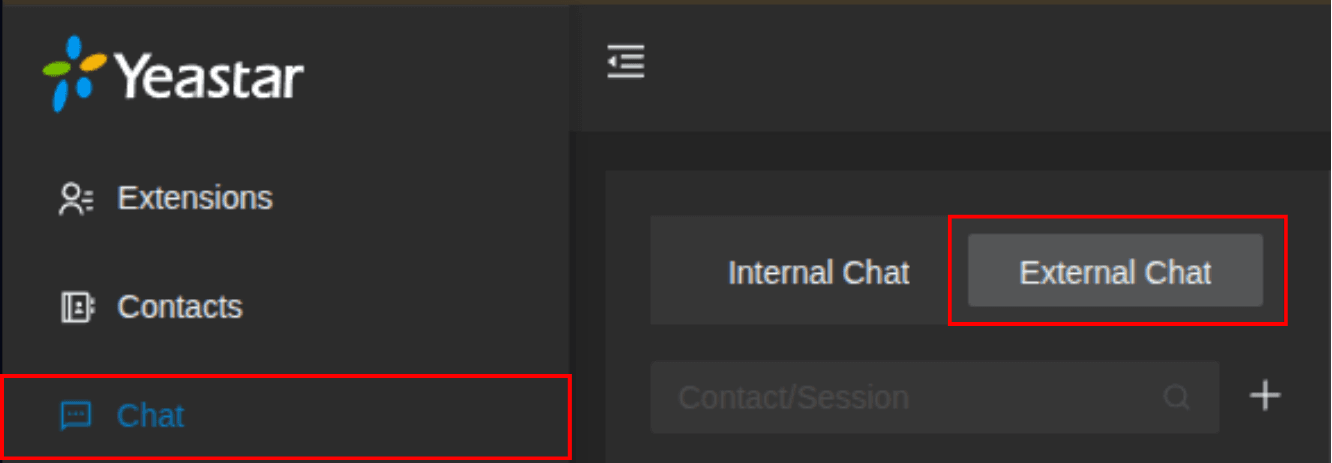
To start a new session go to the "Chat" tab in Yeastar and toggle to "External".
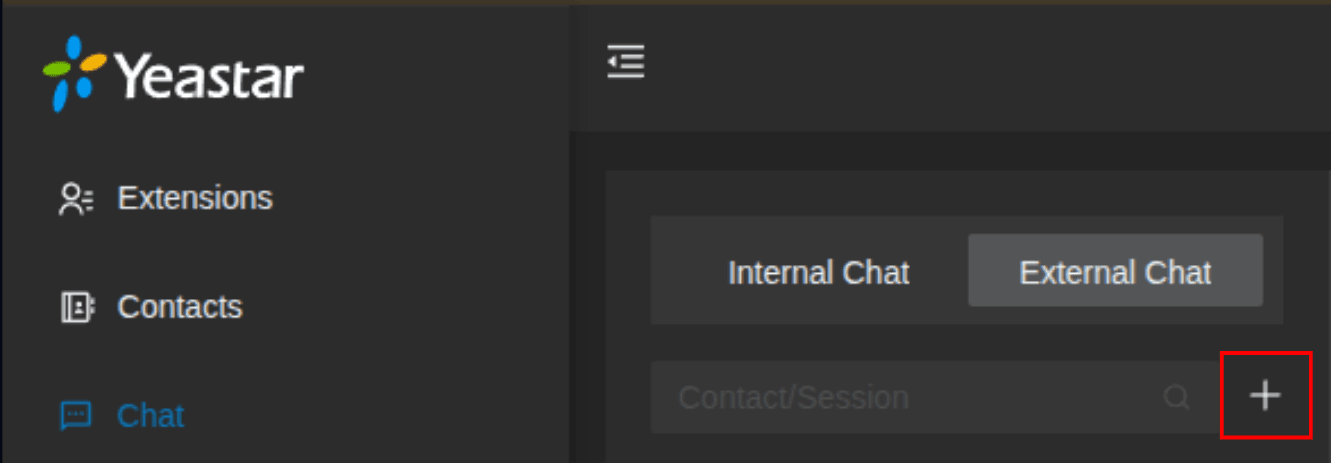
To start a new session click the plus "+".

Users can select any phone number that their extension has permission to access as the sender for outbound messages. Only numbers assigned to that extension will be available for selection.
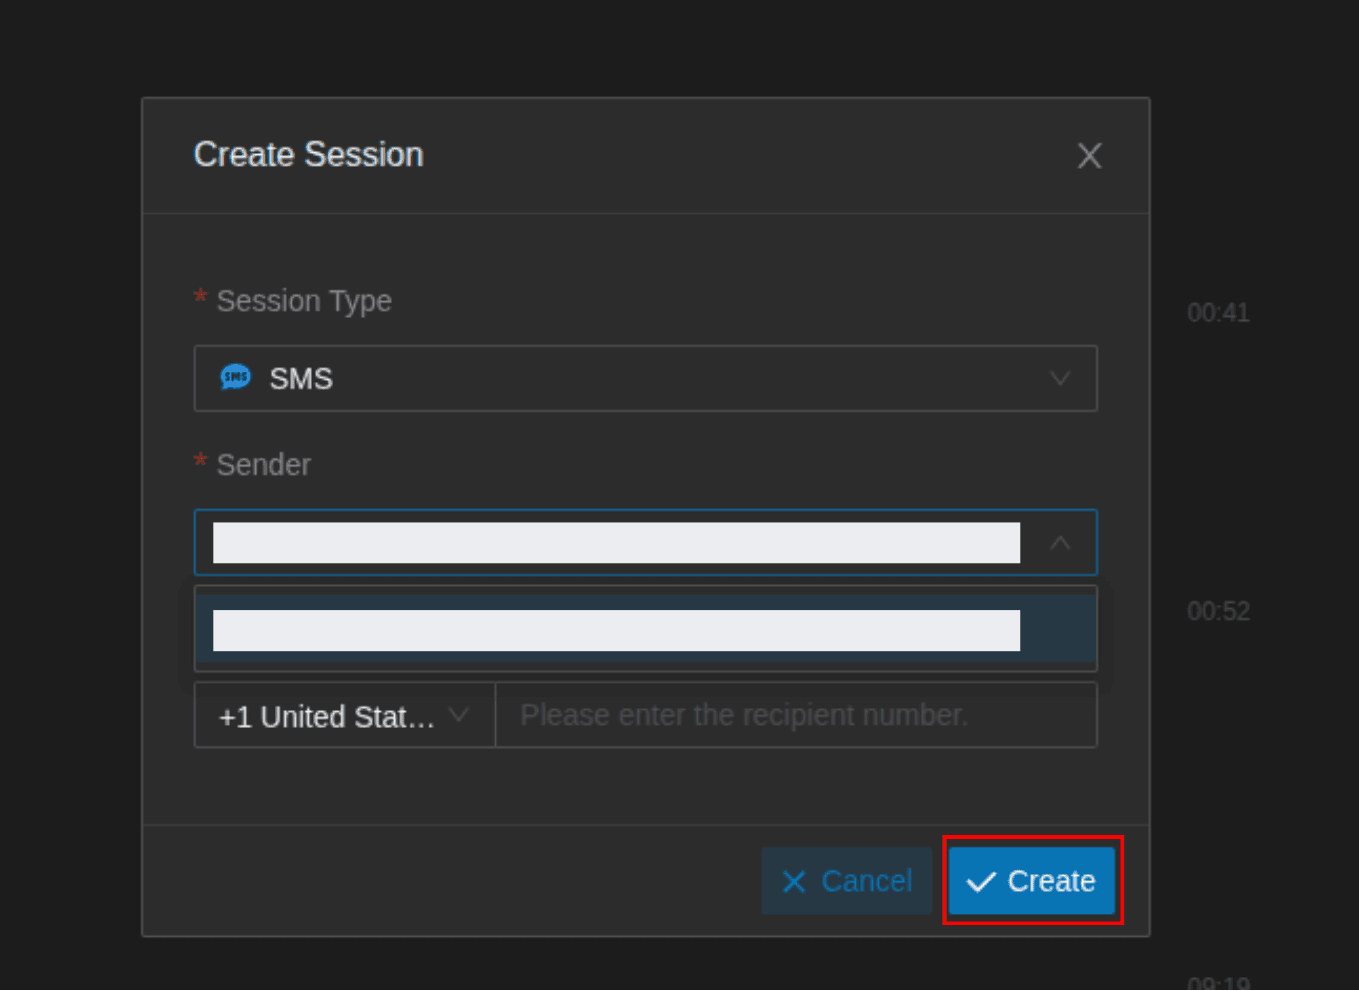
Enter the session type, sender, and recipient and click "Create".


