Tutorials: Order/Add DIDs
Required Access: Voxtelesys Portal
Last Updated: 2/13/2026
Go to the Voxtelesys Portal and log in.
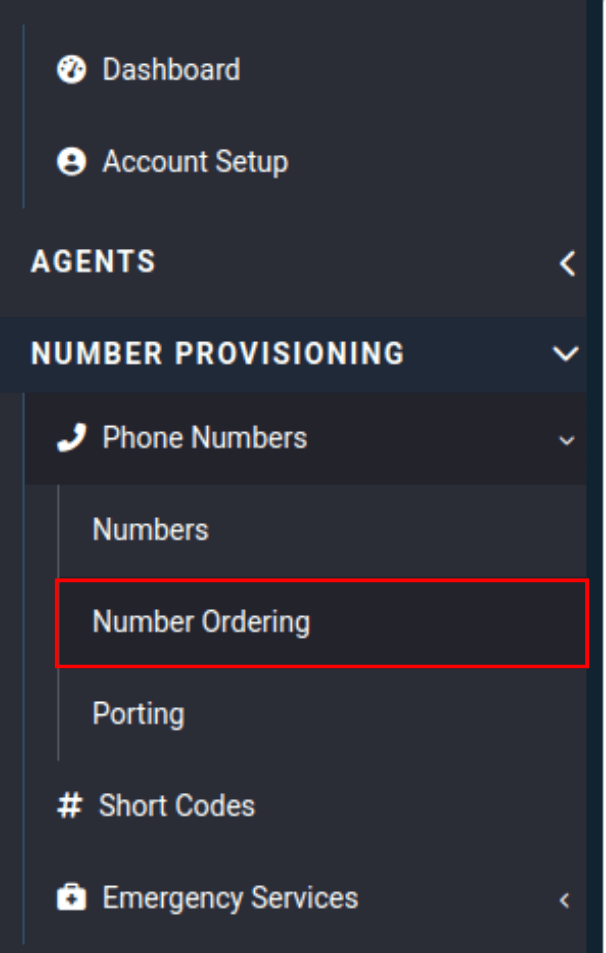
In the Number Provisioning Category, select the "Phone Numbers" tab, then click on "Number Ordering" from the drop-down menu.
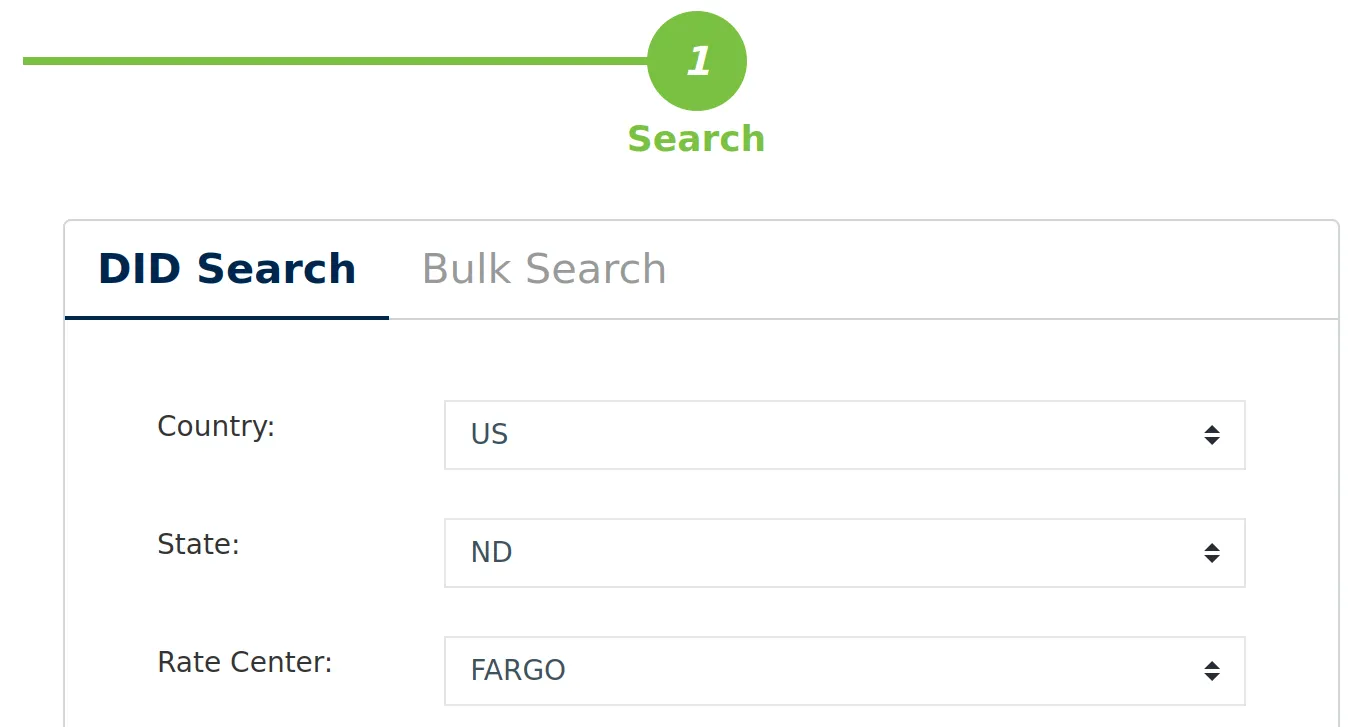
DID Search allows you to lookup DID numbers using a variety of settings!
Enter the following:
- Country: Select the United States or Canada from the drop-down menu.
- State: Select the State or Province from the drop-down menu.
- Rate Center: Select a geographical location from the drop-down menu.
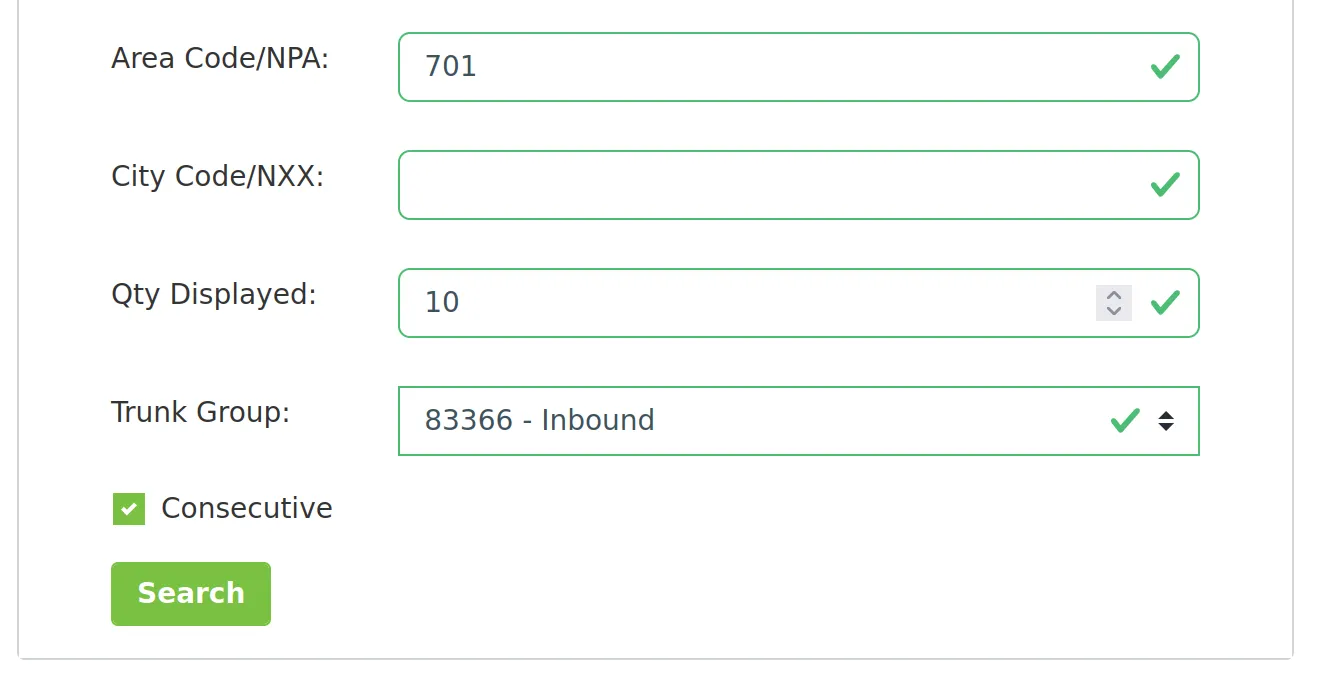
- Area Code/NPA: Type in the area code.
- City Code/NXX: Type in the city code. It is for a specific search and may filter out available numbers in your area.
- Qty Displayed: Select the quantity of numbers displayed in your search.
- Trunk Group: Make sure you select a trunk group. Please reach out to Voxtelesys Support if you do not have one.
- Consecutive: Check this option to view consecutive numbers or uncheck it to view nonconsecutive numbers.
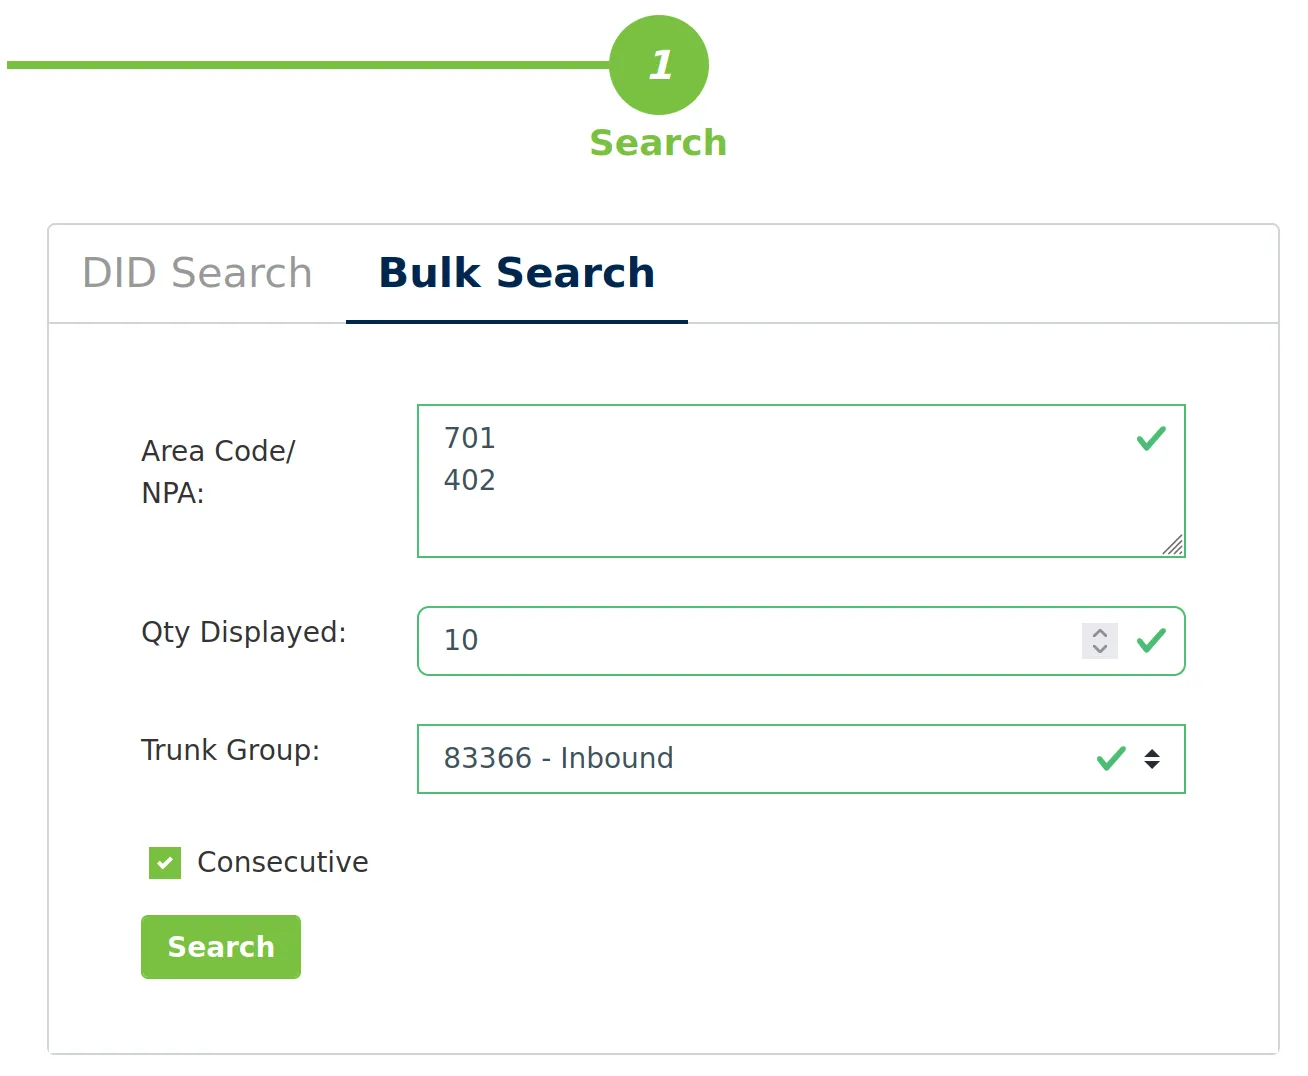
Bulk Search allows you to view numbers from multiple area codes to make your search quicker and easier!
Enter the following:
- Area Code/NPA: Search multiple area codes at the same time by entering each one on a new line.
- Qty Displayed: Select the quantity of numbers displayed in your search. The maximum is 30 per area code.
- Trunk Group: Make sure you select a trunk group. Please reach out to Voxtelesys Support if you do not have one.
- Consecutive: Check this option to view consecutive numbers or uncheck it to view nonconsecutive numbers.
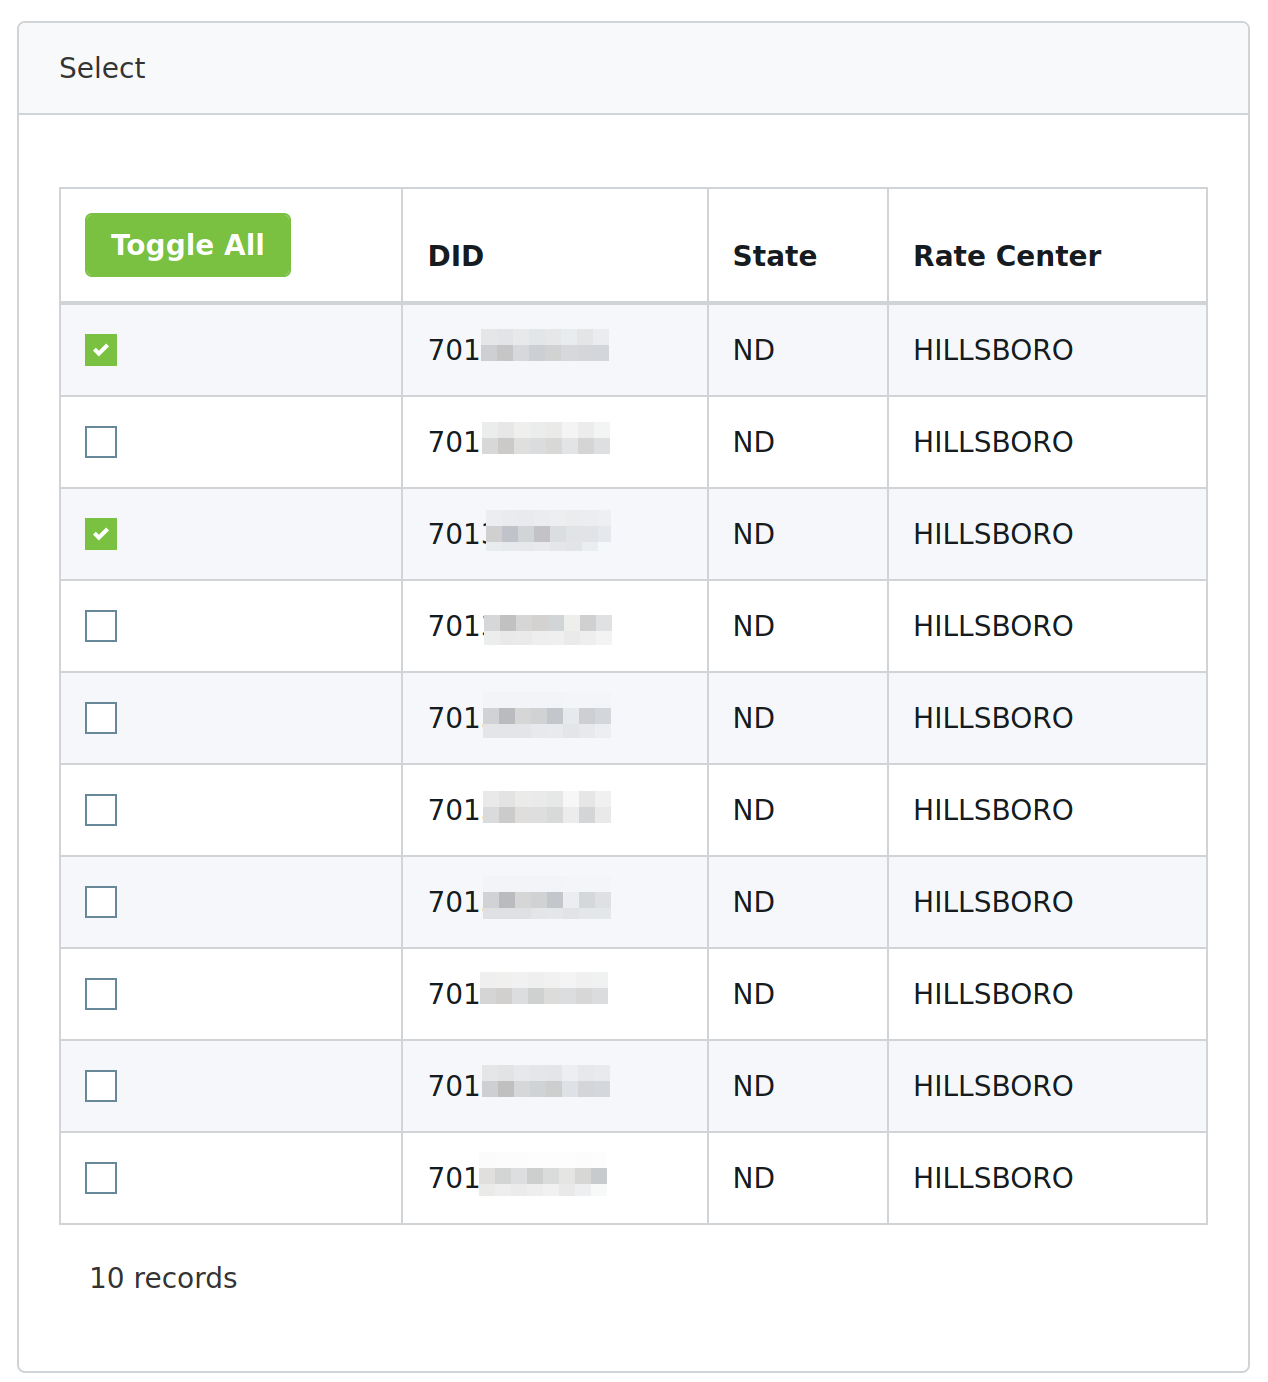
Select the phone number(s) you want to order/setup and click on "Next" to review your order.
Payment Information: Select When to Pay
Under payment information, select when to process the payment, there are 2 options available:
- Pay Now: Charge immediately to a selected card.
- Pay Later: Bill to account at the end of cycle.
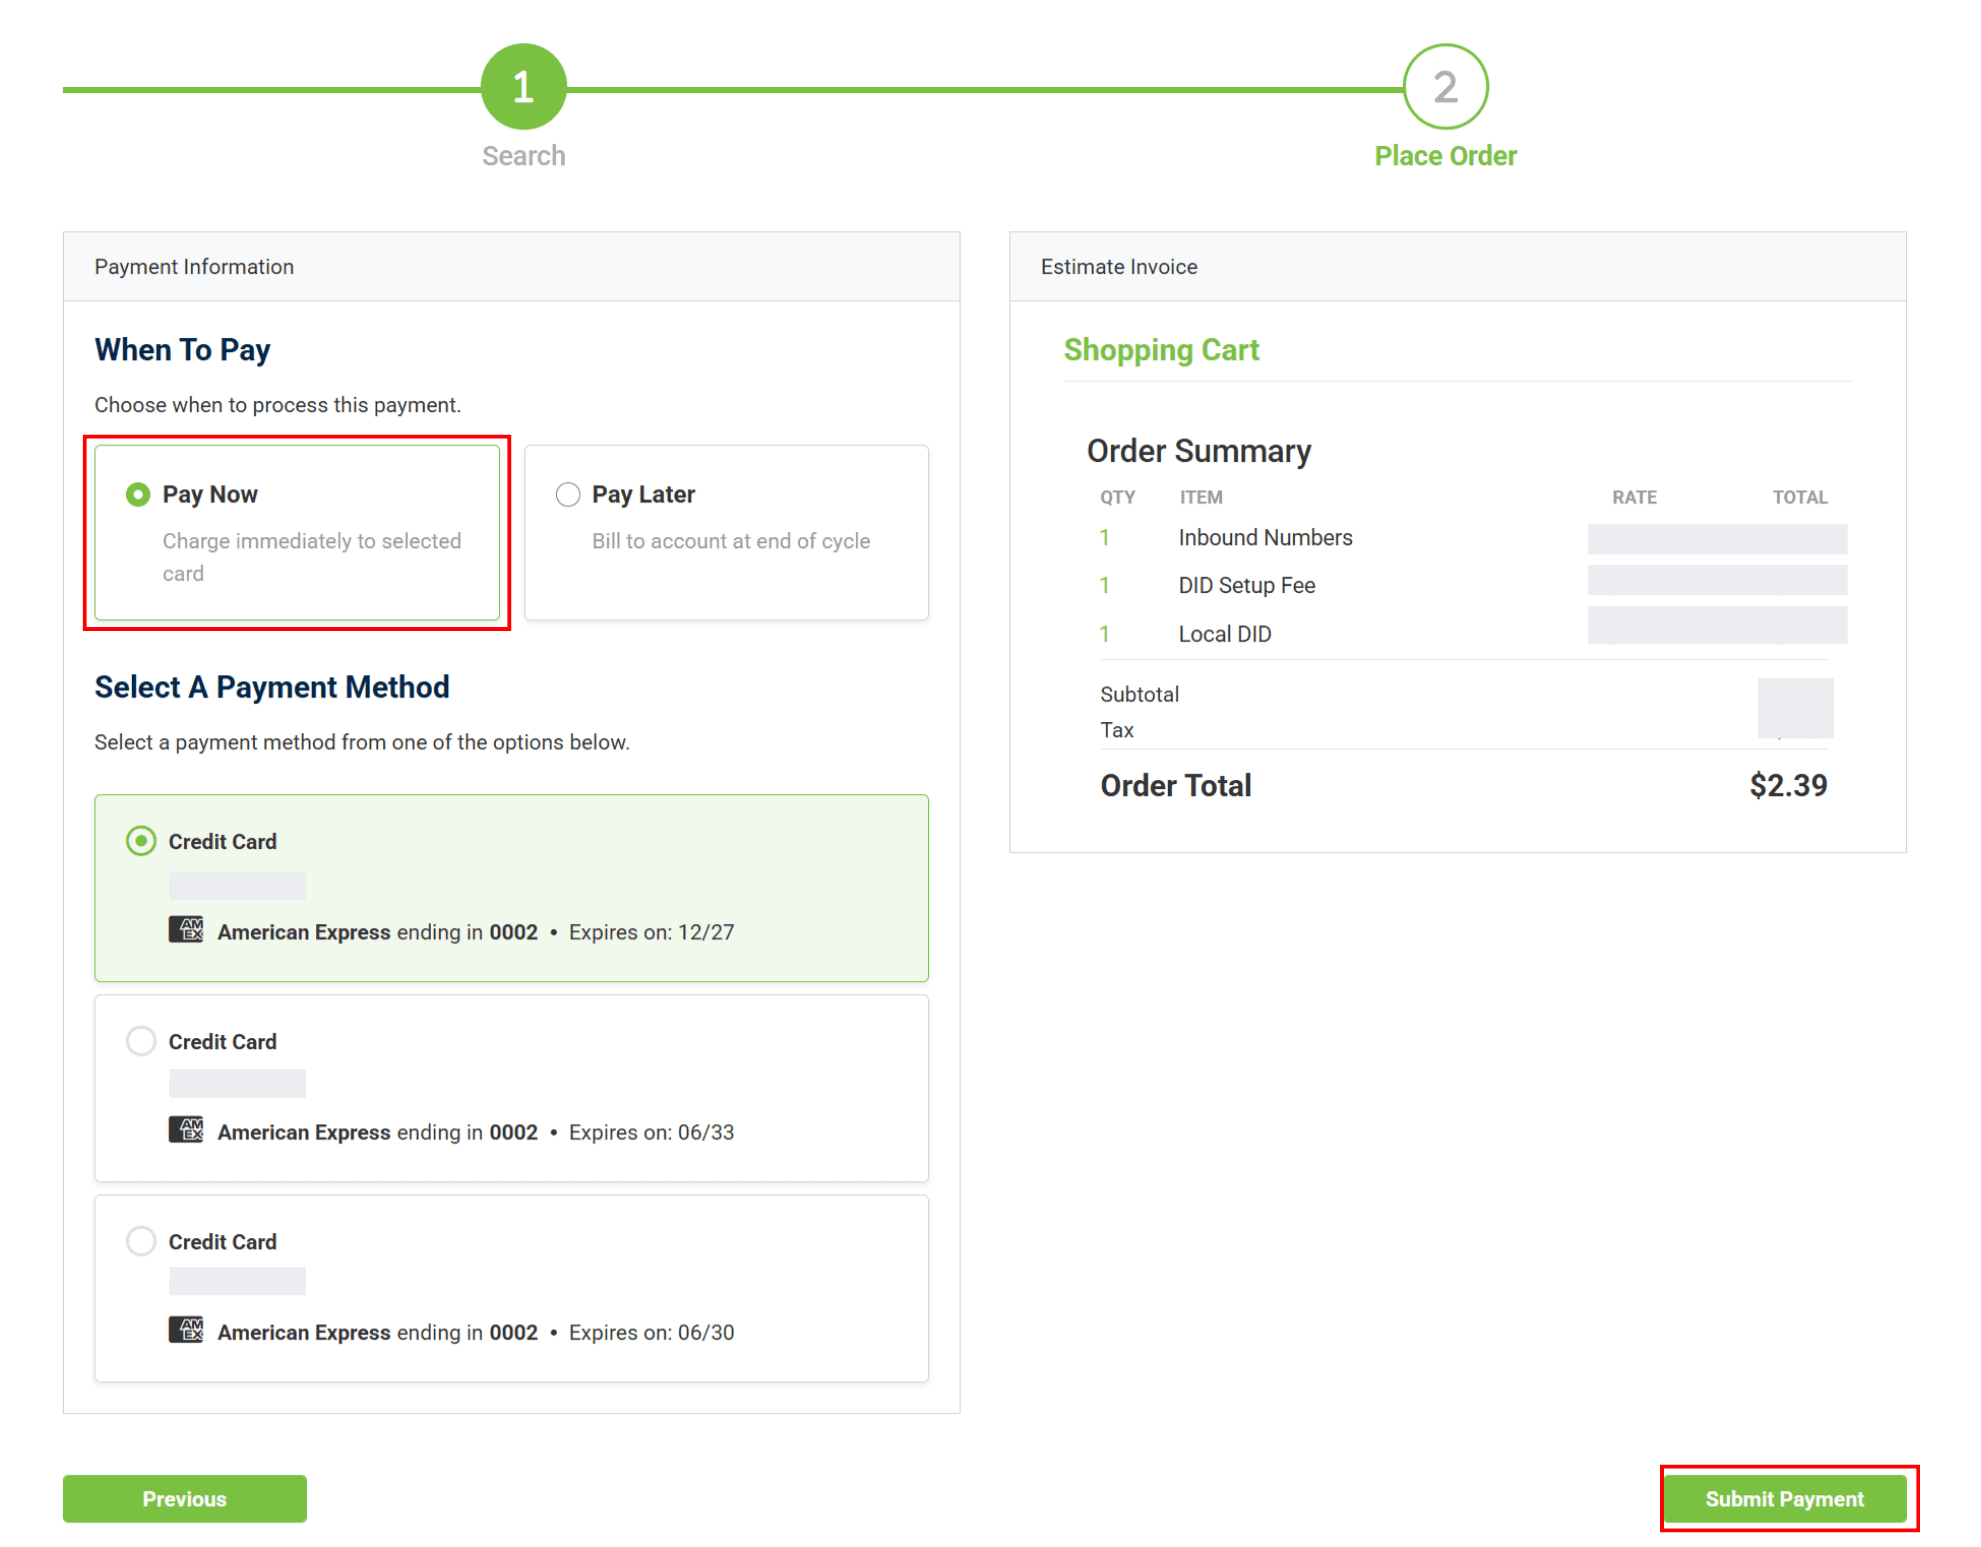
Select “Pay Now” to use the credit card (or current balance) on file to pay immediately. Only prepaid customers can pay with their current balance.
Select your preferred payment method and click “Submit Payment."

If you select “Pay Later” and the total of the invoice exceeds the available credit limit, then an “Invoice Total Exceeds Credit Limit” message will appear. To complete the order, select the “Pay Now” option.
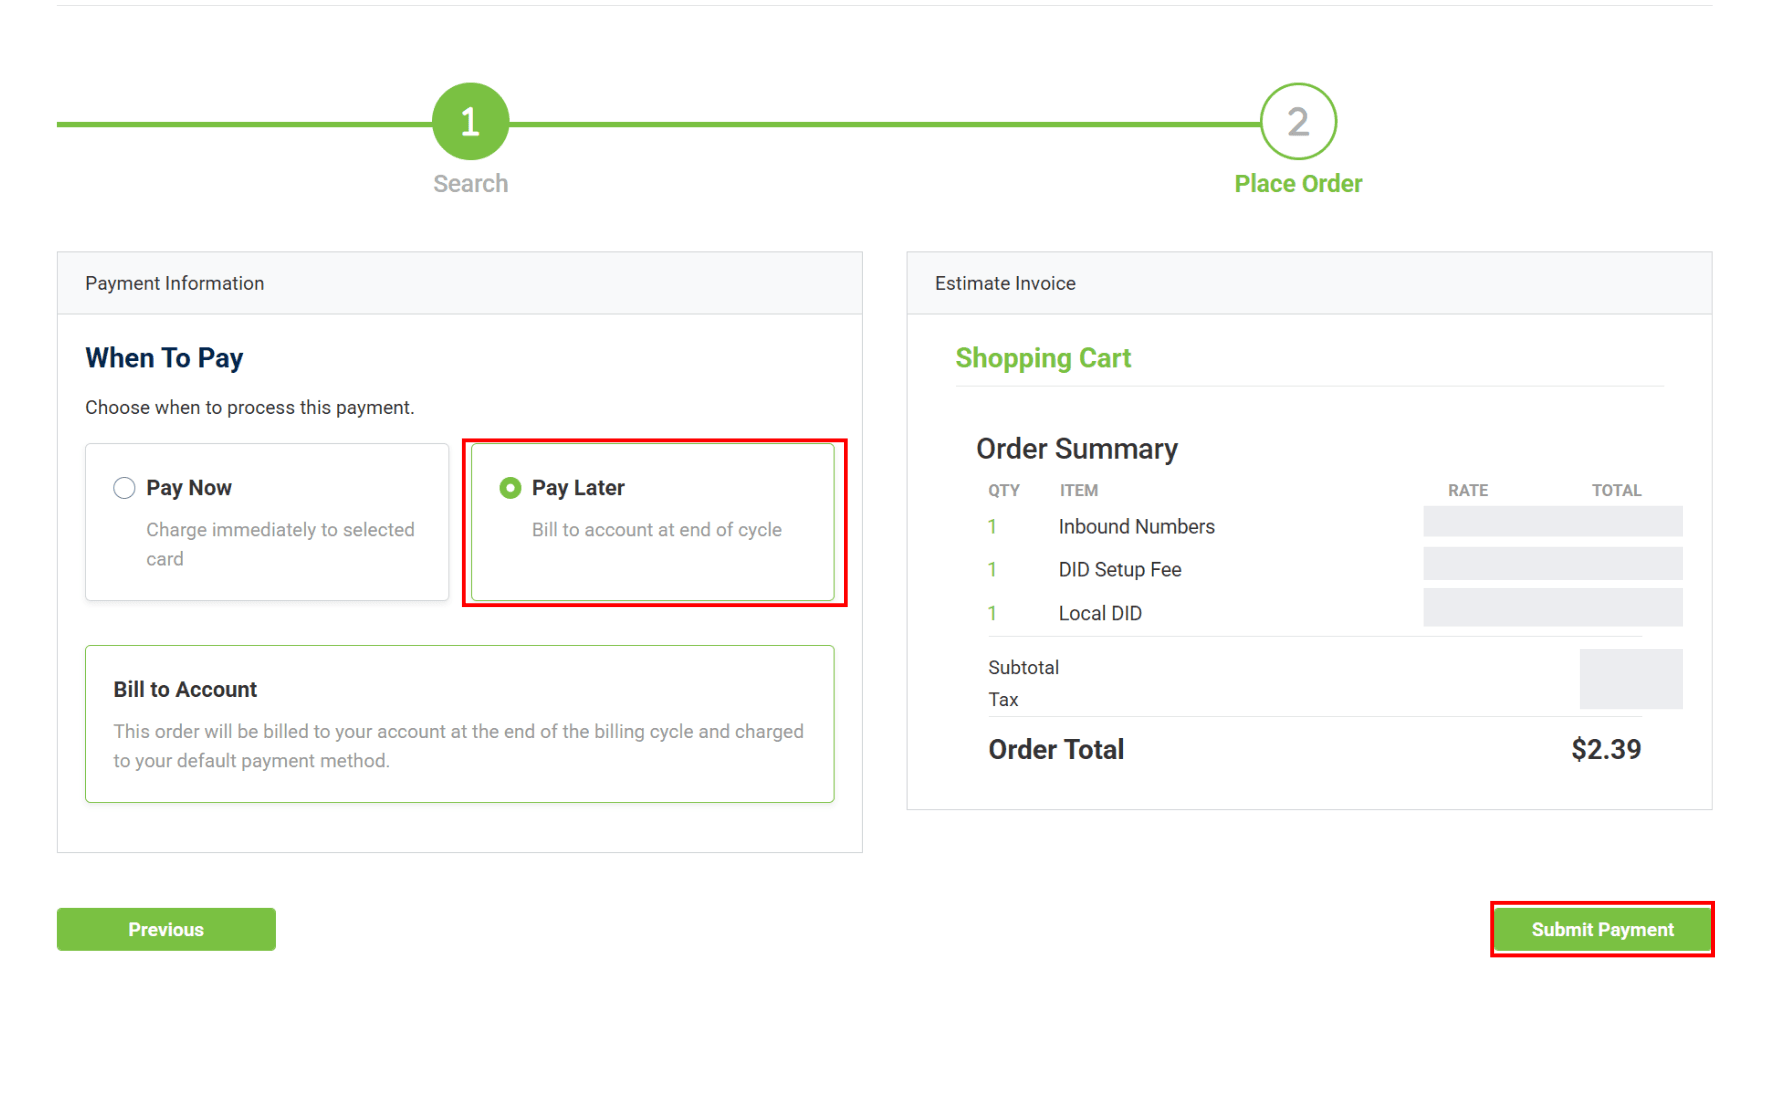
If you select “Pay Later,” then the payment will be added to your invoice at the end of the billing cycle and charged to your default payment method.
Once completed, click “Submit Payment."
After the order is submitted, a One-Time Charge Approval Notification will be sent to the accounting email on file. Please note, this One-Time Charge email is not an invoice.
The numbers are now assigned to your account!
Test them by setting up the numbers in your phone system and making some calls!


