Tutorials: Add IP Address
Required Access: Voxtelesys Portal
Last Updated: 7/11/2025
Go to the Voxtelesys Portal and log in.
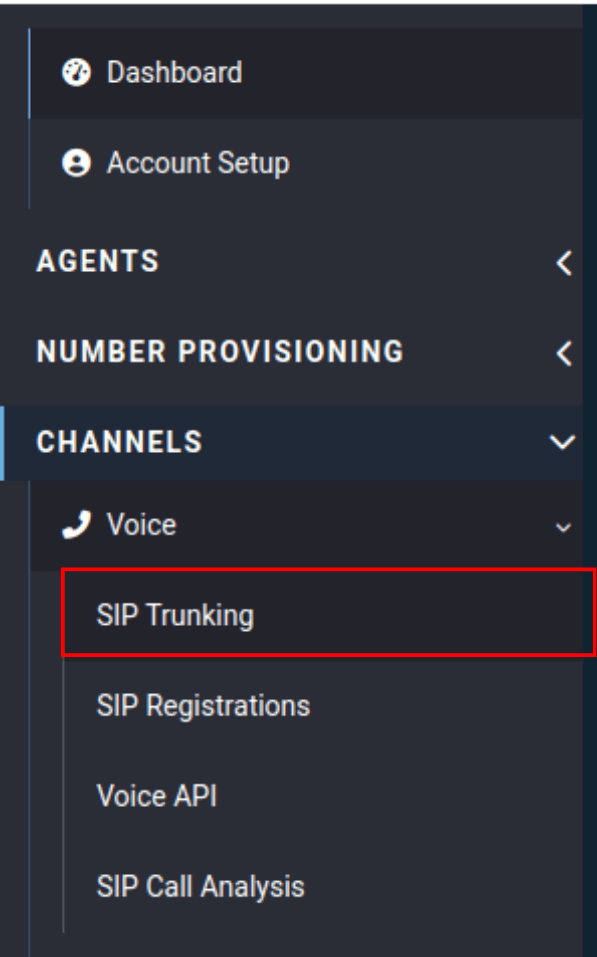
Go to the Channels category, open the Voices drop-down, and select "SIP Trunking".
Open the outbound trunk group and press the "IP Addresses" tab, then click on the green plus sign.

Your outbound trunk group is used for outbound calling.

Fill in the following information:
- IP: Enter your static public IP address
- Tech Prefix: Set to "none" by default. If you want to add a prefix for another SIP Trunk, add it here.
- Enabled: Check this box to enable this IP address.

If you want your incoming calls to also use this IP address, you will need to update the inbound trunk group.
Open the inbound trunk group and press the "Routing" tab.

Then click on the plus sign next to the route and press the green plus sign.
Your inbound trunk group is used for inbound calling and may have multiple routes, so make sure you are on the correct route.

Fill in the following information:
- Priority: Adjust the priority of this route.
- Destination Type: Set this to the Customer IP.
- Destination: Type in your static public IP address.

Press the "Edit priorities" button to adjust the routes’ priorities.

Change the Customer IP’s position with the priority drop-down menu to change how Voxtelesys reaches you!

Click on "Confirm Changes" to complete the process.


