Tutorials: Add Auto Attendant
Required Access: Microsoft Teams
Table of Contents:
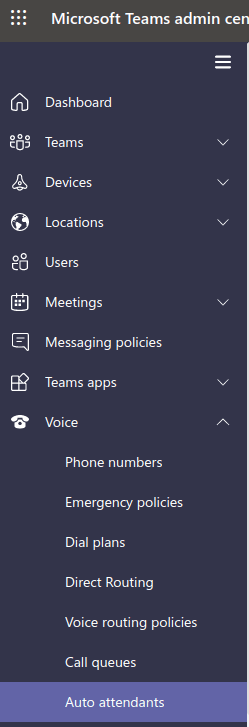
Select the Side Panel and under the "Voice" tab, click on "Auto attendants" from the drop-down menu.
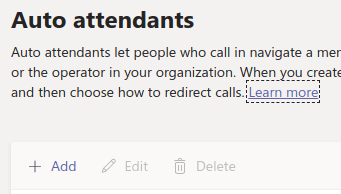
Click on "+ Add" to add an auto attendant.
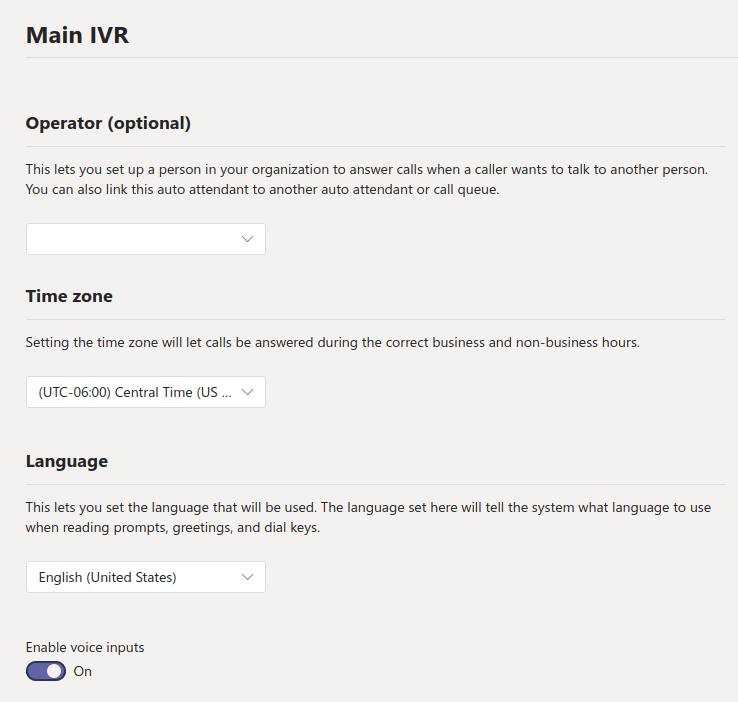
Enter the following:
- Name Auto Attendant: Name of IVR.
- Operator: optional.
- Time Zone: Time zone for IVR.
- Language: Language for IVR.
- Enable voice inputs: Allow/disallow voice commands in IVR.
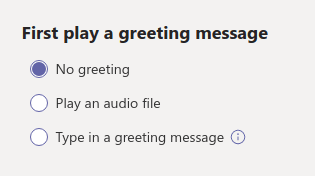
Select setting for "First play a greeting message"
If you are playing a message for press 1, 2, etc. then set as no greeting.
The radio button options include:
- "No greeting"
- "Play an audio file"
- "Type in a greeting message"
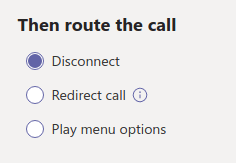
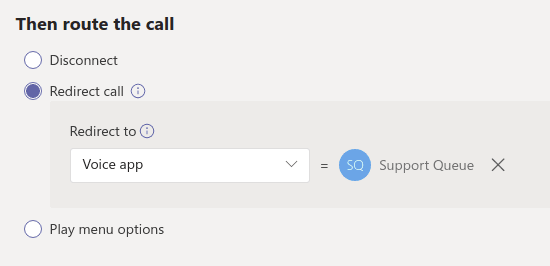
After the first greeting, configure "Then route the call"
The radio button options include:
- "Disconnect"
- "Redirect call"
- "Play menu options"
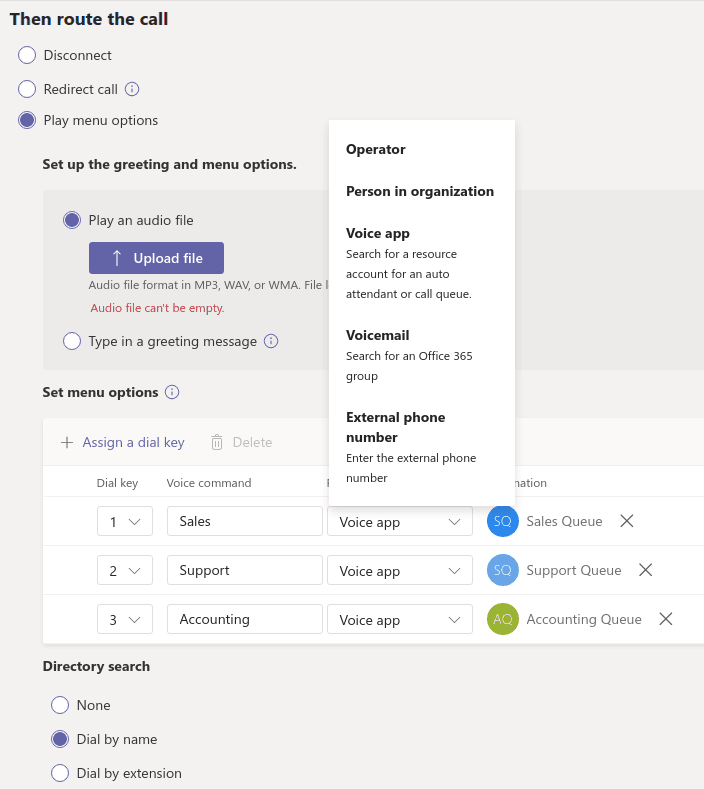
This is where you can upload your press 1, 2, etc. file and setup. You can also set up greeting and menu options.
The two options include:
- "Play an audio file"
- "Type in a greeting message"
You can then set menu options.
Directory search radio button options include ("Dial by name" selected):
- "None"
- "Dial by name"
- "Dial by extension"
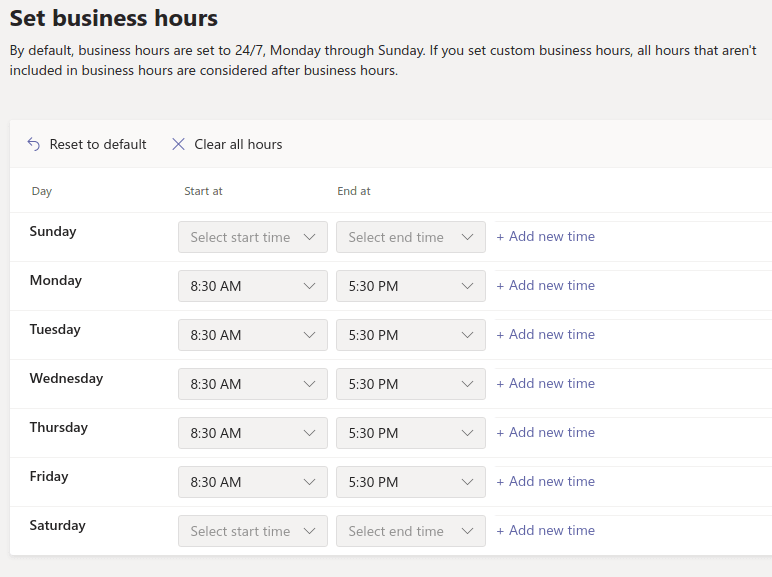
Set up your business hours for this IVR. By default, business hours are set to 24/7, Monday through Sunday. If you set custom business hours, all hours that aren't included in business hours are considered after business hours.
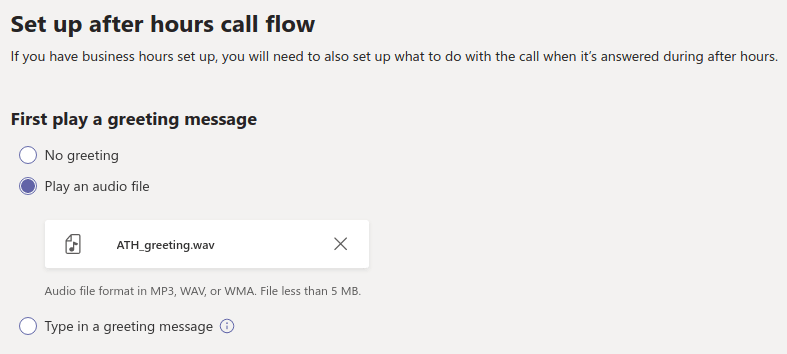
Set up after hours call flow. If you have business hours set up, you will need to also set up what to do with the call when it's answered during after hours.
After configuring the "First play a greeting message" setting, select how to route the call.
The following are the radio button options:
- "Disconnect"
- "Redirect call"
- "Play menu options"
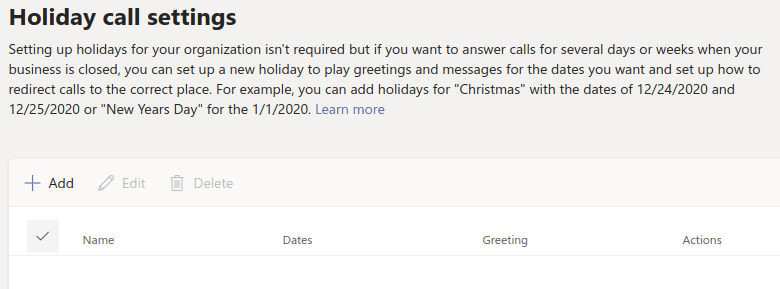
Set up known holidays or holidays for the year. Setting up holidays for your organization isn't required but if you want to answer calls for several days or weeks when your business is closed, you can set up a new holiday to play greetings and messages for the dates you want and set up how to redirect calls to the correct place.
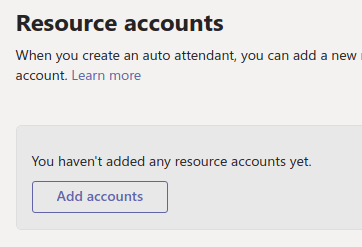
Add your IVR/Auto Attendant Resource account.
Make sure you select "Save" after adding a resource account.


