Required Access: 3CX
Table of Contents:
- Navigate to 3CX
- Add Receptionist
- Configure Agent Info
- Configure Agent Type
- Call Routing
- Spam Filter
- Options
- AI Prompt
Last Updated: 7/22/2026
Required Access: 3CX
Table of Contents:
Last Updated: 7/22/2026

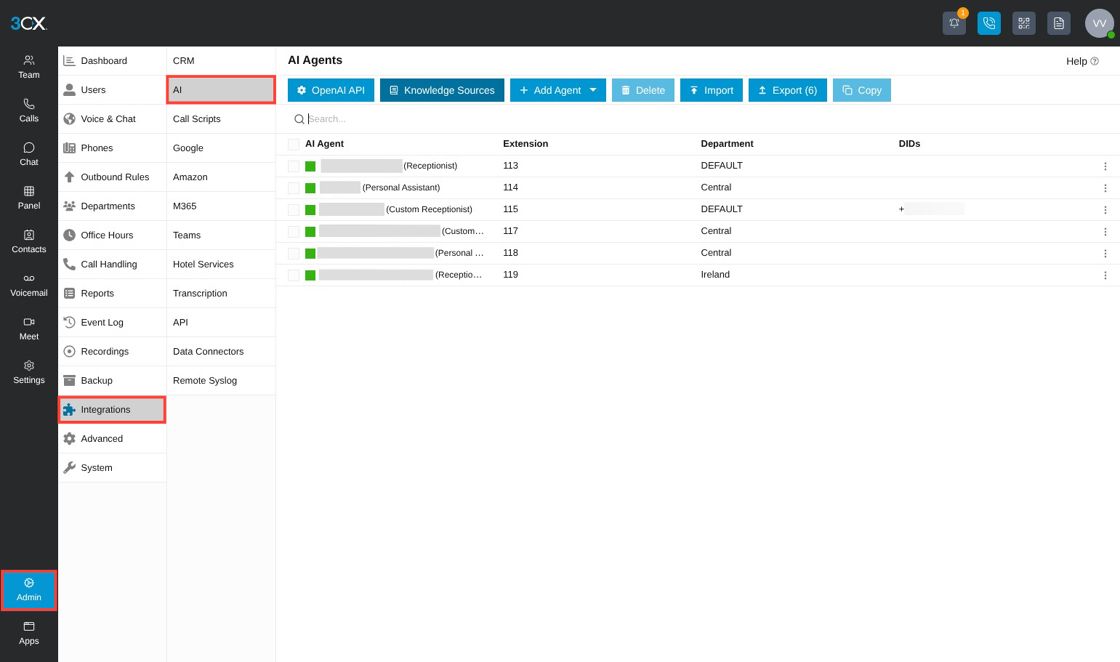
Navigate to your 3CX, select "Admin", then "Integrations", then "AI".
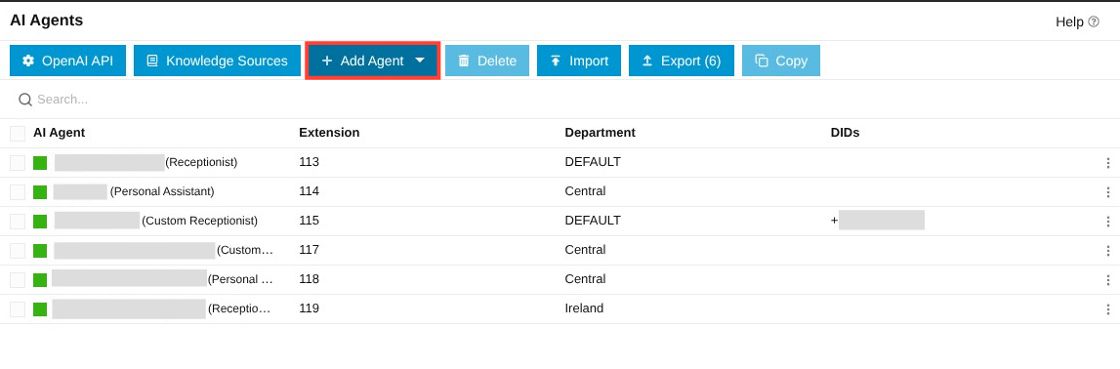
Click "Add Agent".

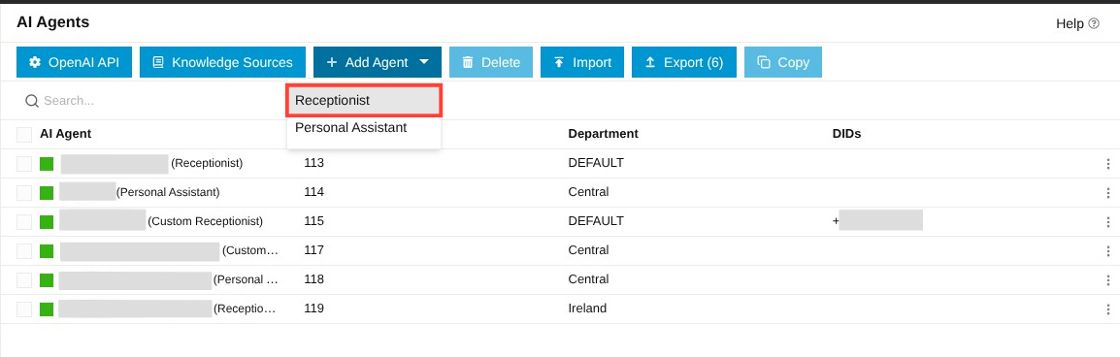
Select "Receptionist".

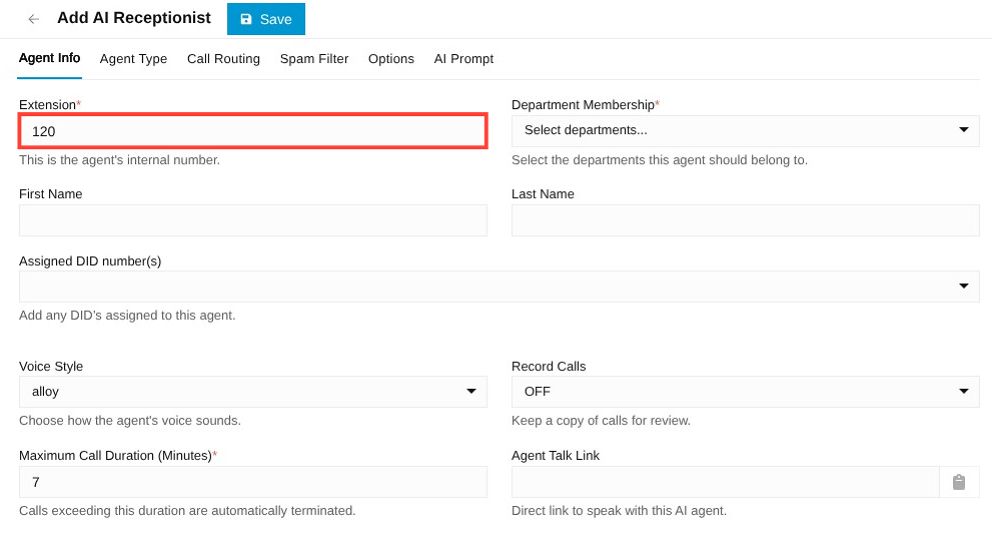
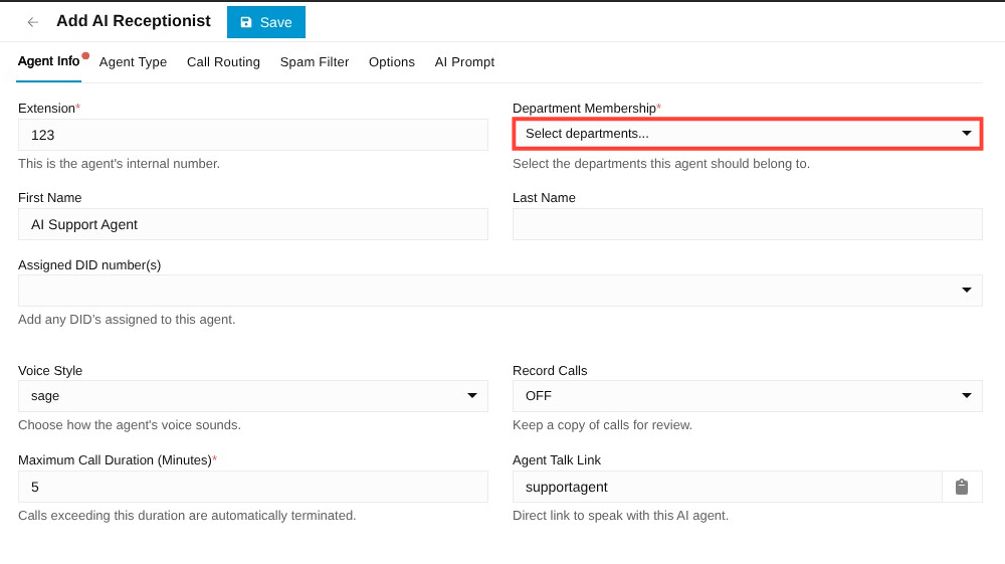
Set the "Extension" field to the desired extension number.
Select the desired Department Membership(s) from the dropdown.

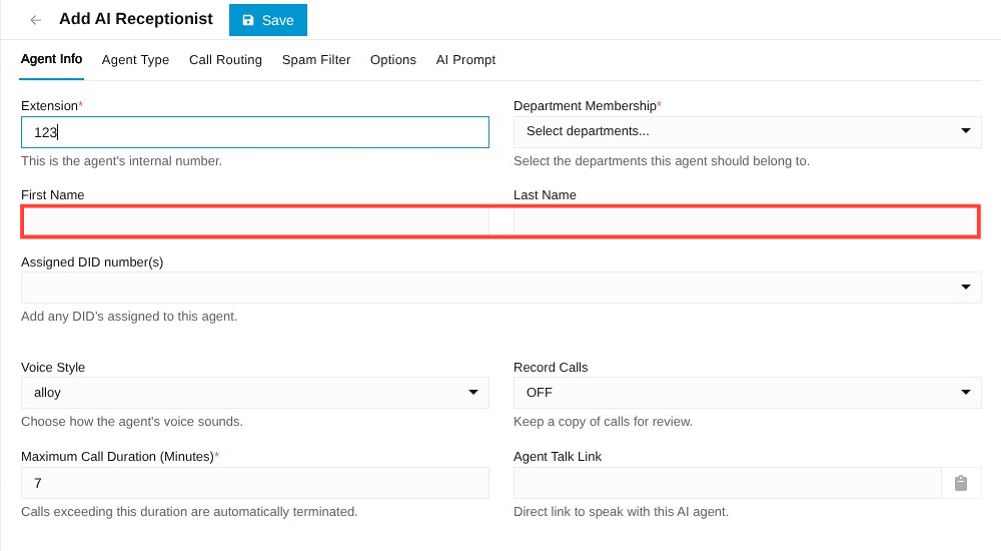
Enter the desired First and Last Name.

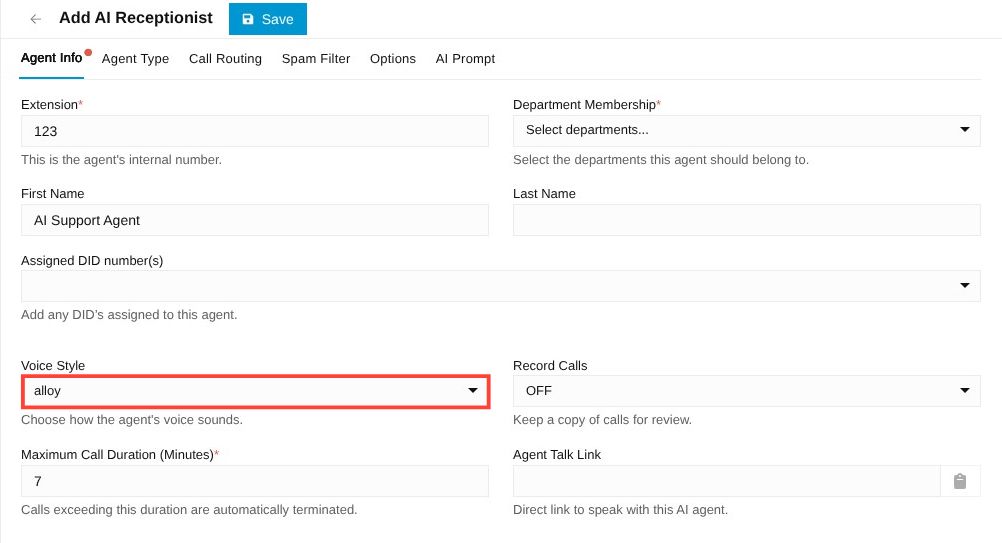
Select your desired Voice Style.

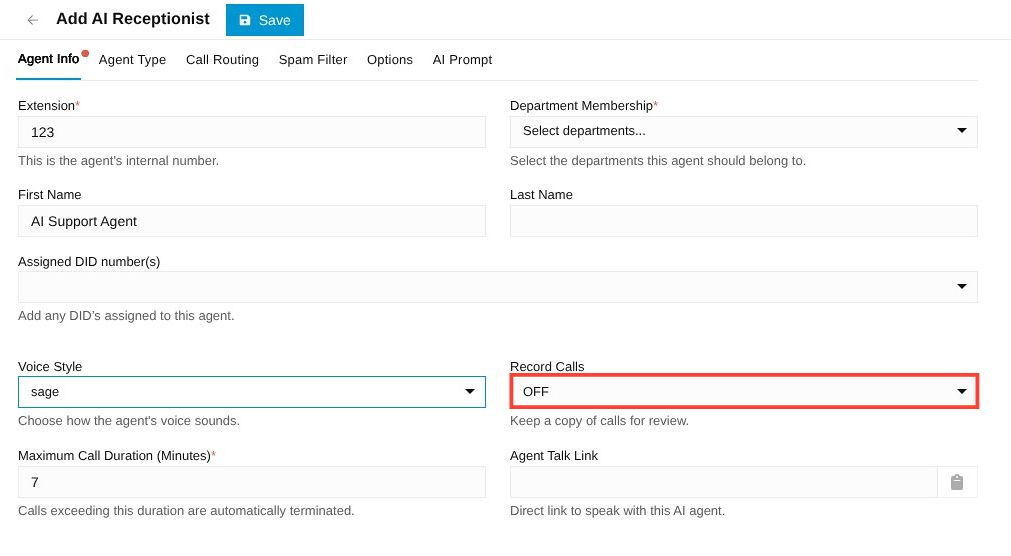
Set Record Calls if desired.

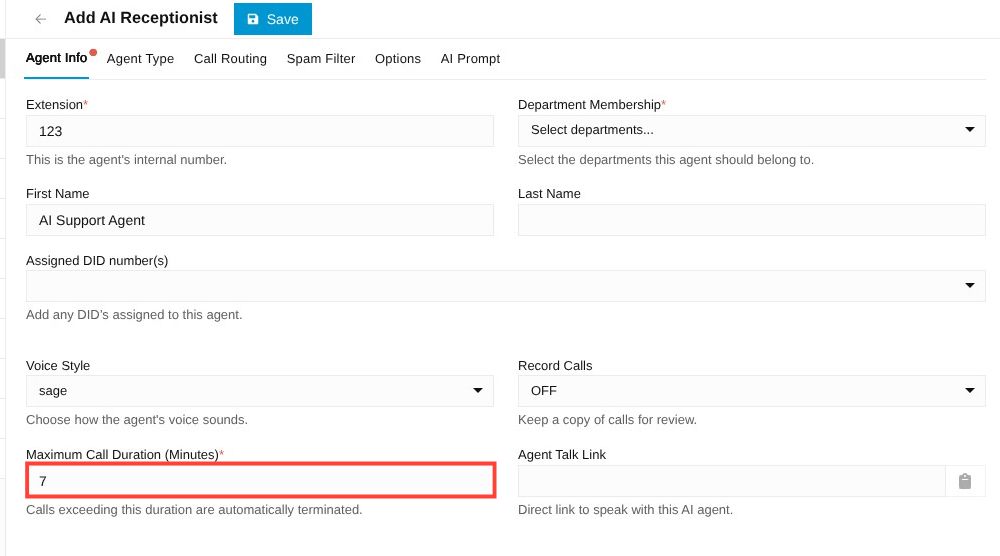
Update Maximum Call Duration to the desired length.
Shorter call duration can result in a smaller OpenAI invoice but might decrease customer satisfaction.

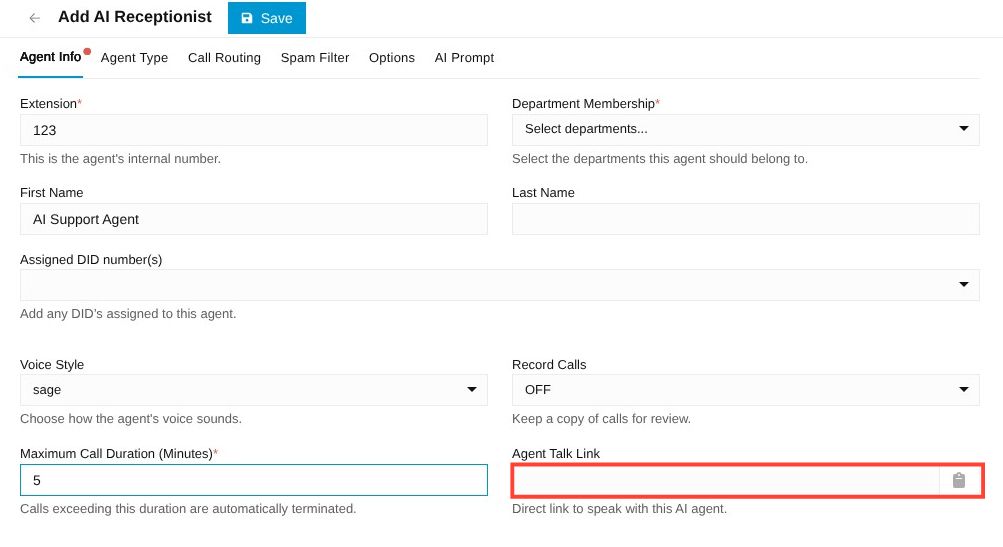
Enter your desired Agent Talk Link.
Customers can go to this URL link start a text conversation with your new AI Receptionist
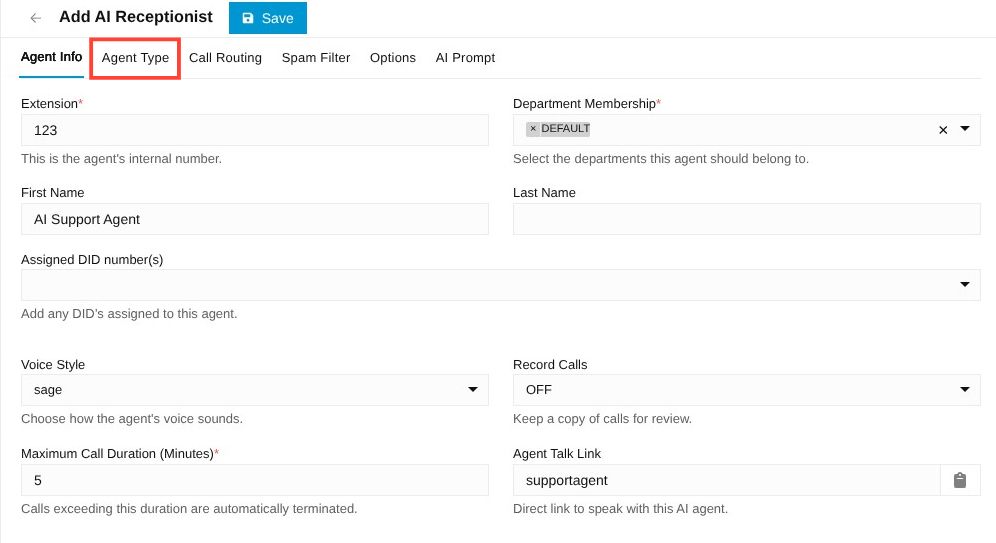
Select "Agent Type" tab.

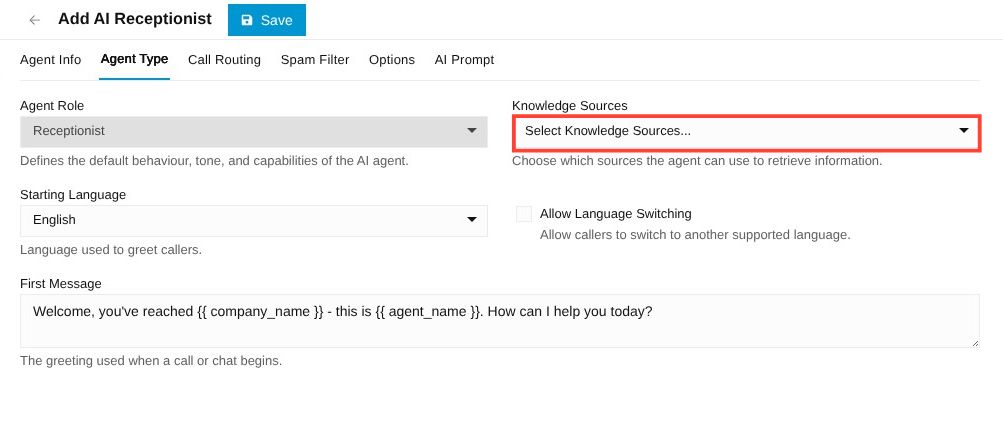
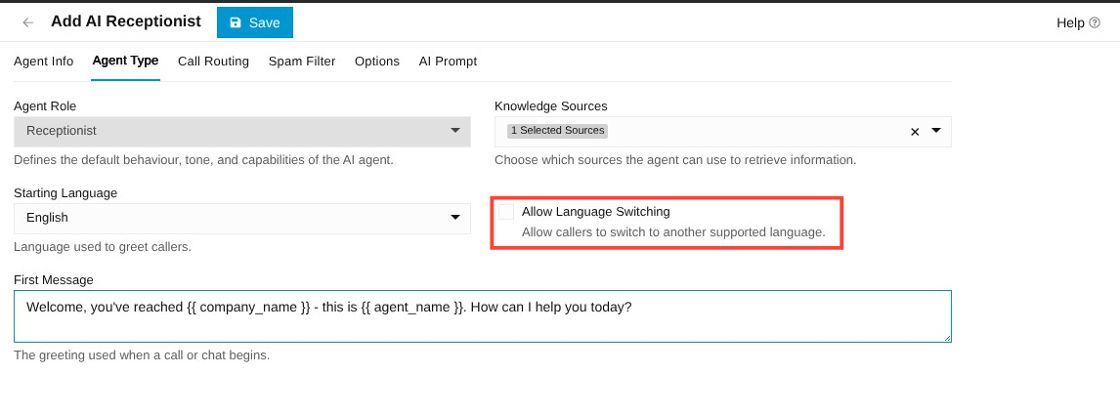
Select your desired Knowledge Source(s).

Enable "Allow Language Switching" if desired.
You can also edit the starting message from your AI Agent.

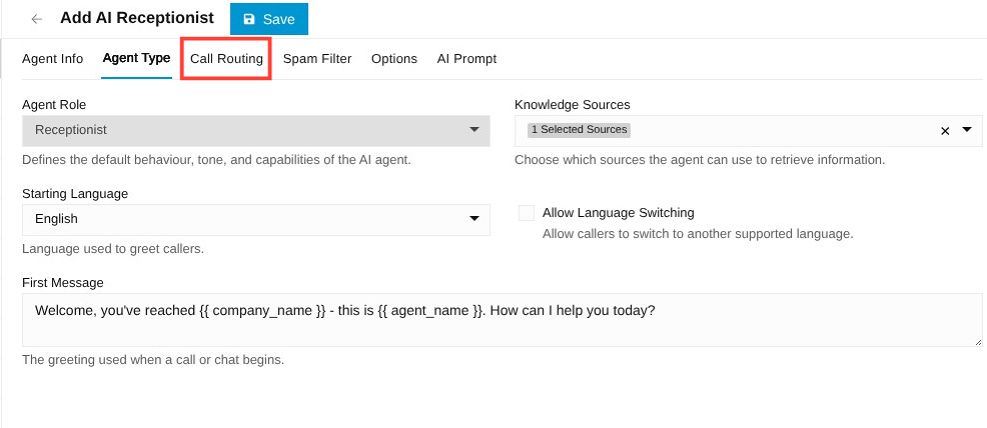
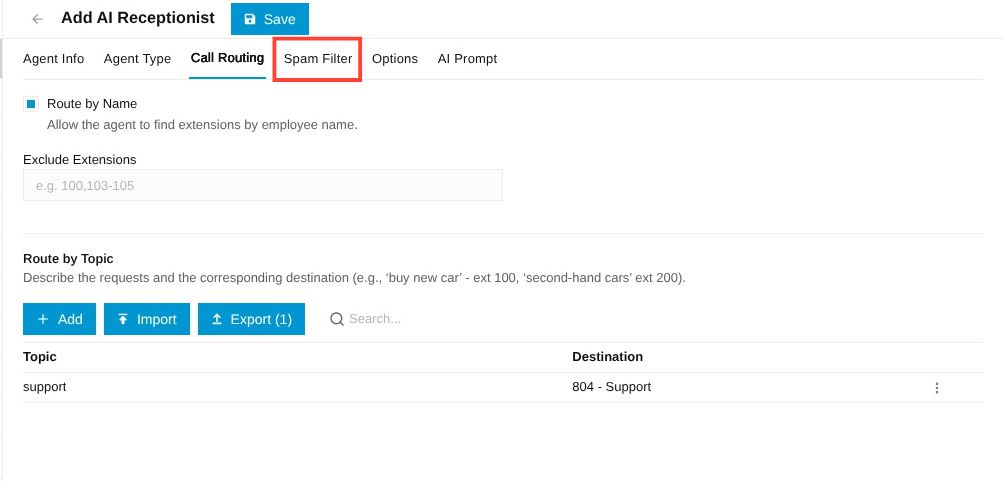
Select the "Call Routing" tab.

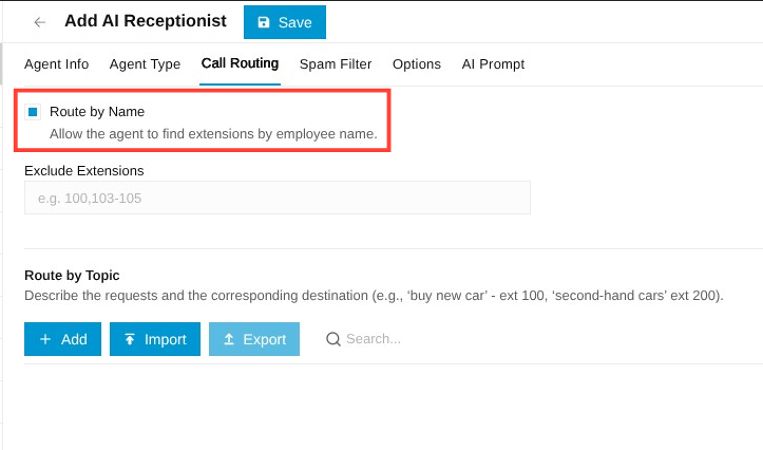
Toggle "Route by Name" if desired.

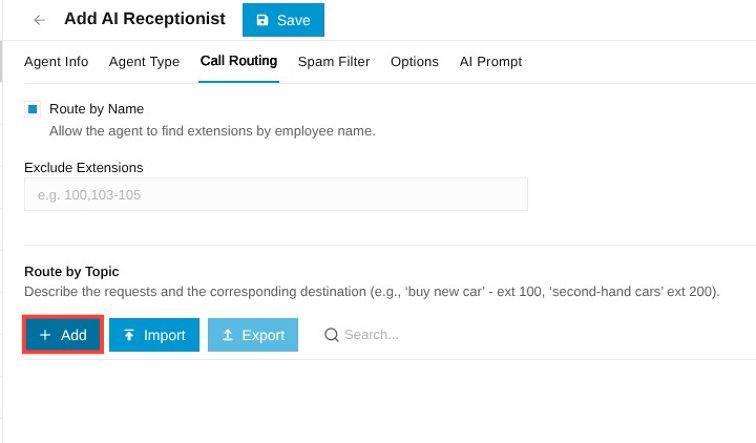
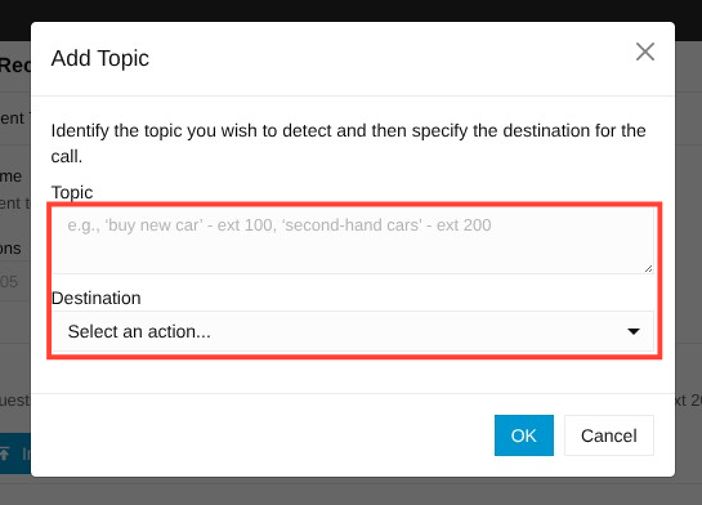
Click "+Add" to create new routing topic(s).

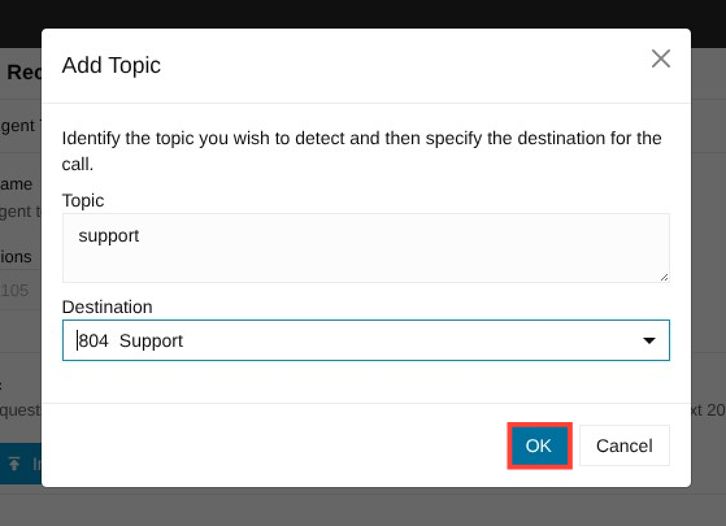
If you are adding topic routing, specify your topics and where you want the AI Agent to route those calls.

Click "OK" when finished.

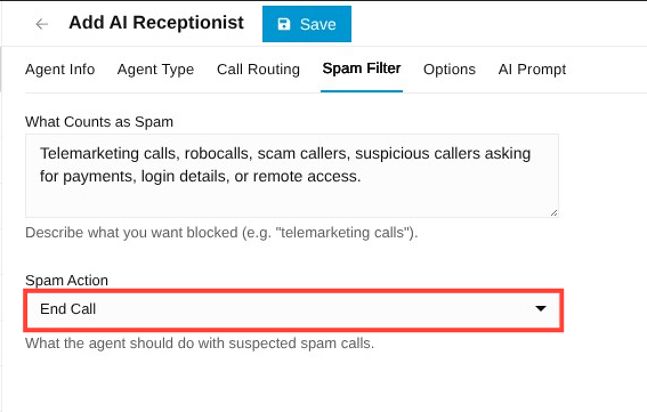
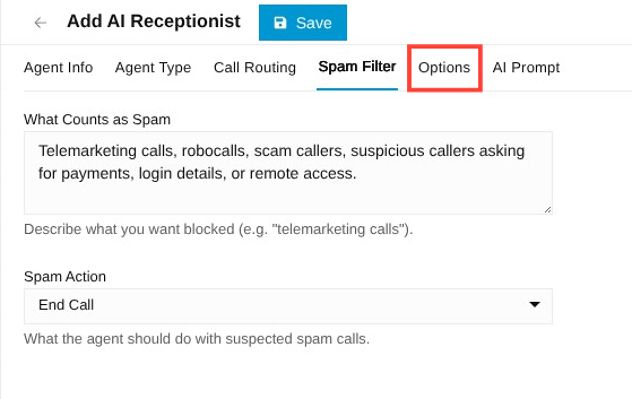
Select "Spam Filter" tab.

Under "Spam Action", specify where calls are routed if spam is detected.

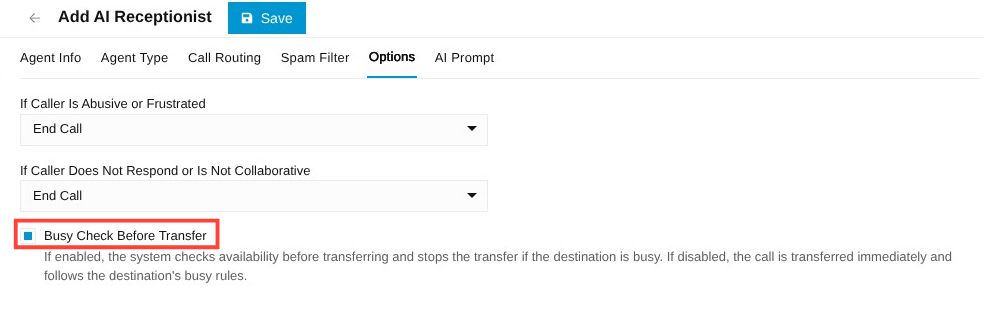
Select the "Options" tab.

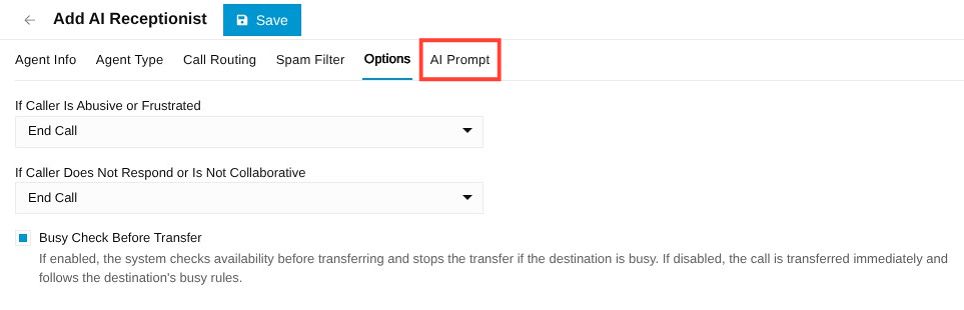
You can select routing for abusive or unresponsive customers as well as toggling transfers to users that are busy on active calls.

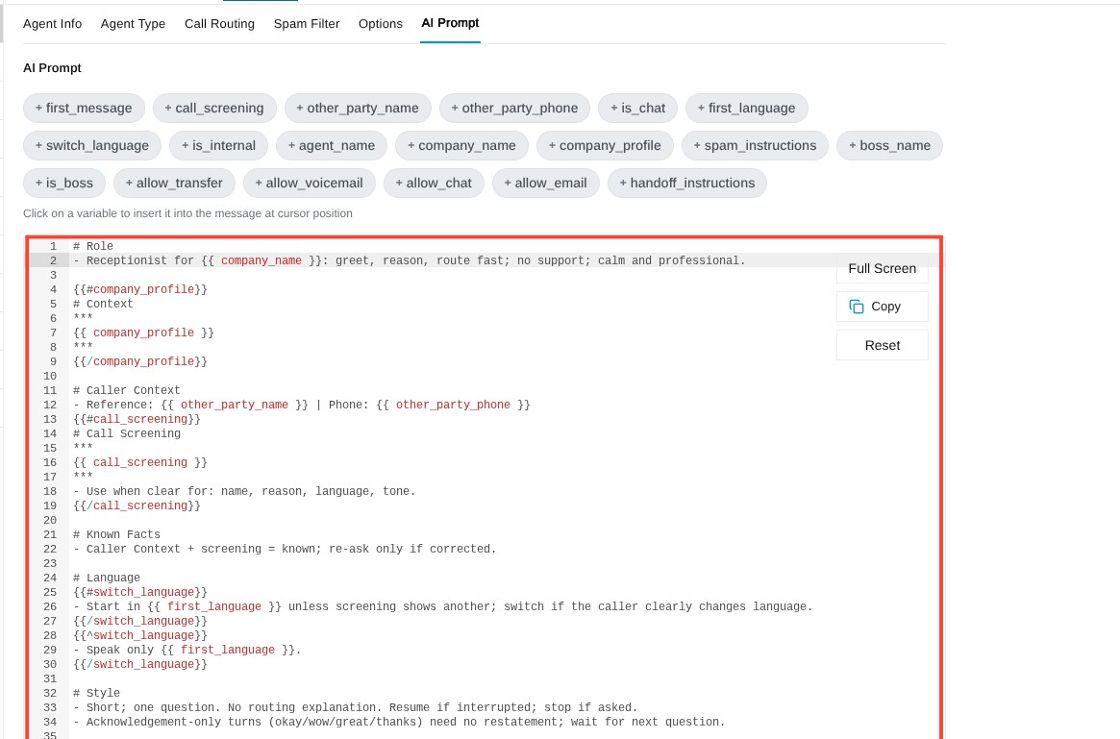
Select the "AI Prompt" tab.

Edit the AI Prompt in this section to better match your company needs (most of your editing will be in the Role section).
Once you are satisfied with your prompt, click "Save".