Tutorials: How to Configure a Stripe Payment Connector in the Voxtelesys Portal
Required Access: Voxtelesys Portal, Stripe
Last Updated: 9/5/2025
Navigate to the Voxtelesys Portal

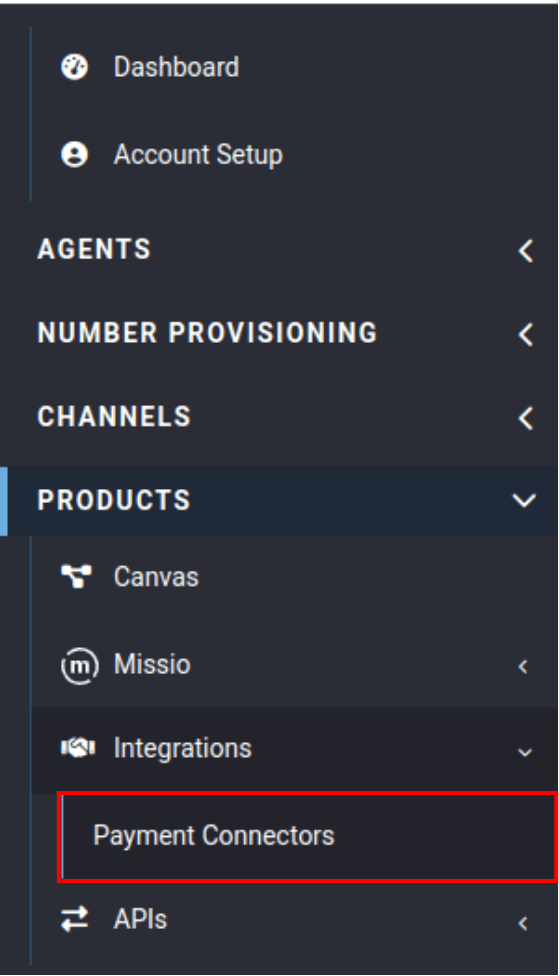
Go to the Products category, click on the “Integrations” drop-down, then select “Payment Connectors.”

Select “Add Connector”

The mode indicates whether payments will use the test or live environment. It cannot be changed after the payment connector has been connected.

Enter the Name: Give the pay connector an unique name.
Select the Mode: There are two available modes, test and live.

Press “Confirm.”

Click “Connect Stripe Account.”

Continue in Stripe to connect the account. Follow the instructions in the Stripe form. If you experience issues, please refer to our Stripe Payment Integration Documentation
In the Voxtelesys Portal, you can also click “see documentation” to view the Stripe Payment Integration Documentation.

Once you have connected your Stripe Account, the pay connector status will appear as “connected” in the Voxtelesys Portal.
Your Stripe Account is now connected!