Tutorials: Grandstream Device to 3CX V20 System
Required access: 3CX Admin Access, Grandstream device web interface
Estimated time to complete tutorial: 10 min
Table of Contents
*Disclaimer: If your 3CX is hosted in the cloud you must have an SBC or Router phone to connect the ATA device.
Last Updated: 5/16/2025
Navigate to your 3CX.
Log in to your 3CX.

Click on the "Admin" gear.
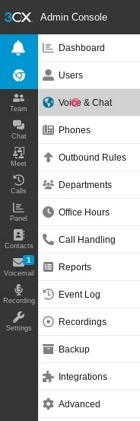
Click "Voice & Chat."
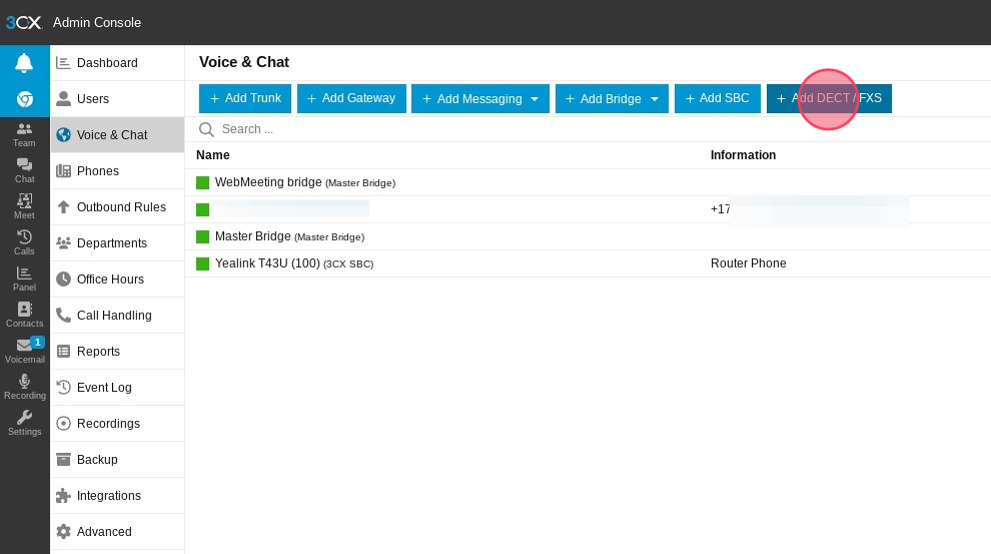
Click "Add DECT / FXS."

Click on "DECT/FXS Model" dropdown.

Select your Grandstream Device.

Click the "MAC Address" field.
Enter the MAC Address on the back of the device.
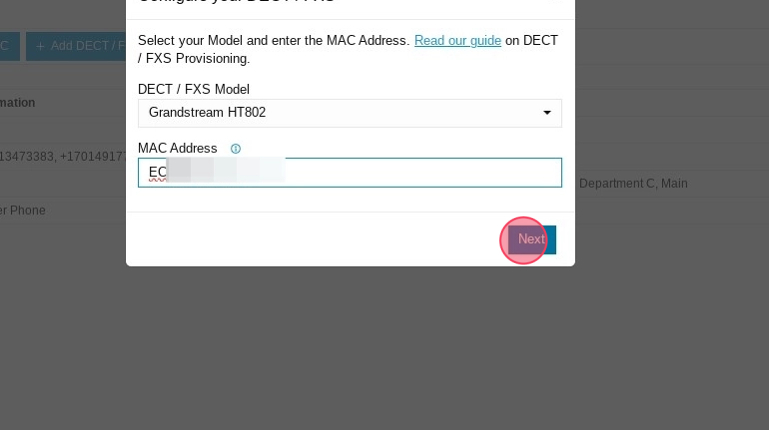
Click "Next."
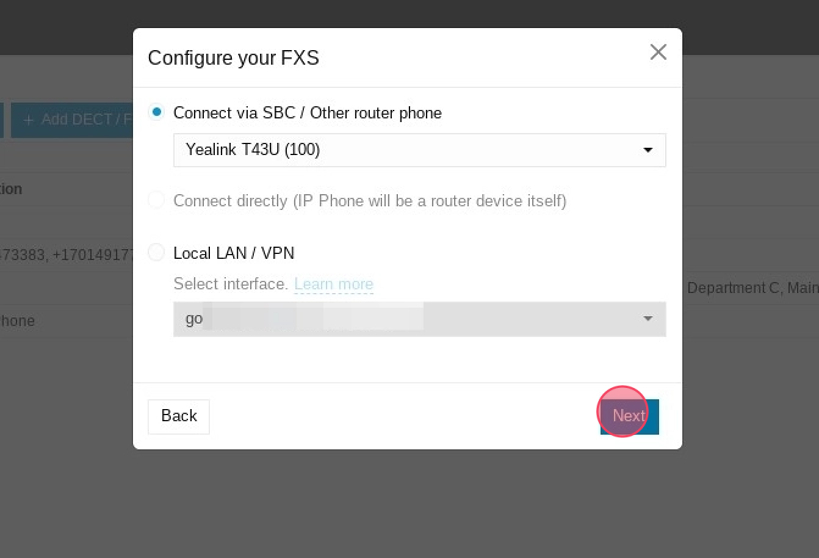
Select the SBC you want to connect it to.
If you are hosting on premise you can select "Local LAN/VPN."

Click "Next."
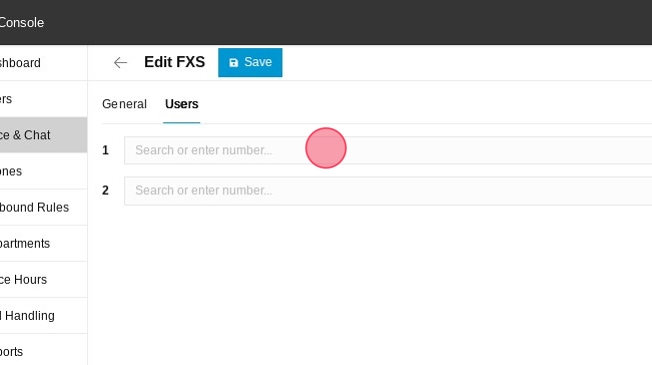
Select the Configure Users Dropdown.
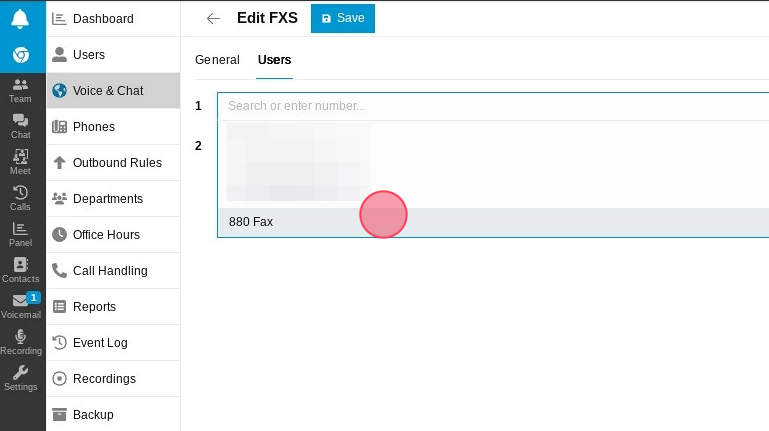
Select the user that will be using the device.
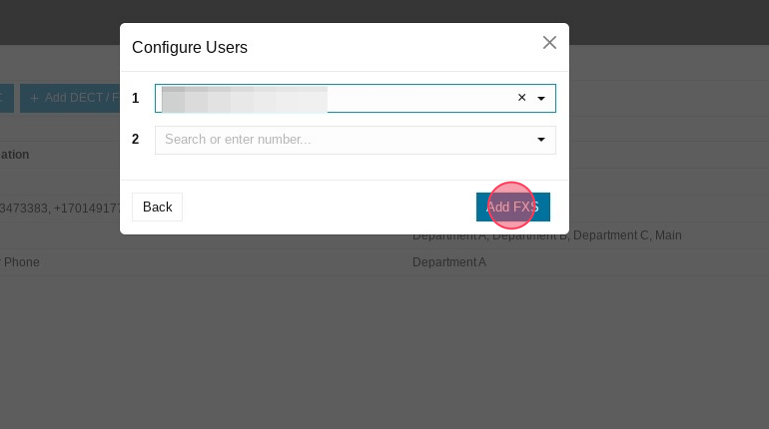
Click "Add FXS."
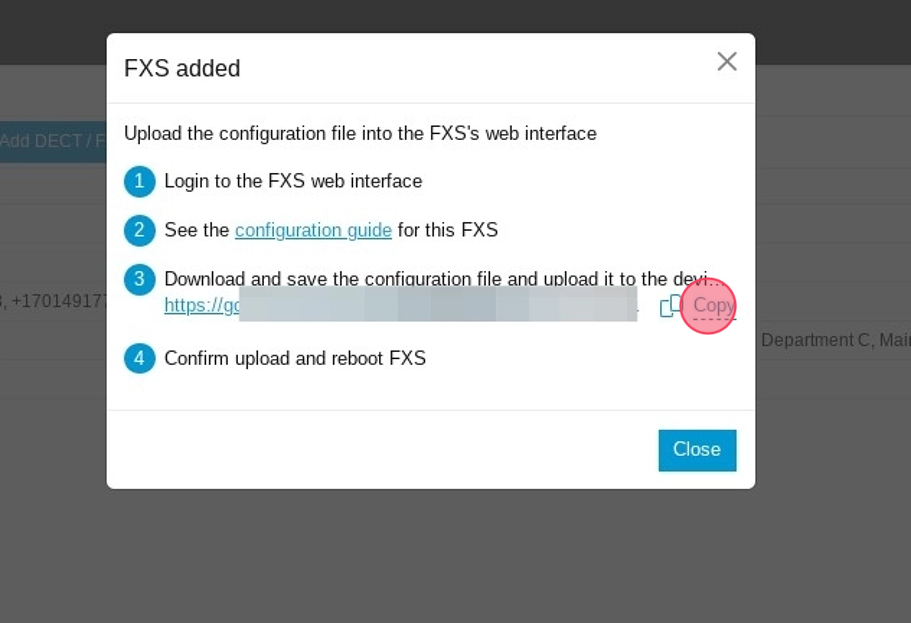
Copy the provisioning URL.
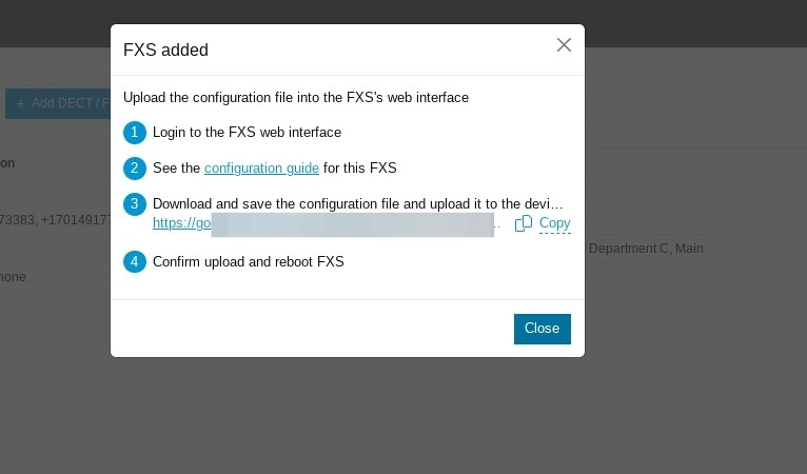
Click "Close."

If you do not know the IP address, you can do a network scan or plug in an analog phone. If you use an analog phone, dial ***, then wait for the IVR menu to play. When the IVR menu plays dial 02.
Log in to the Grandstream GUI
Put the private IP address of the Grandstream device into your web browser.
Now type the IP address into your web browser. Example: 192.168.1.100
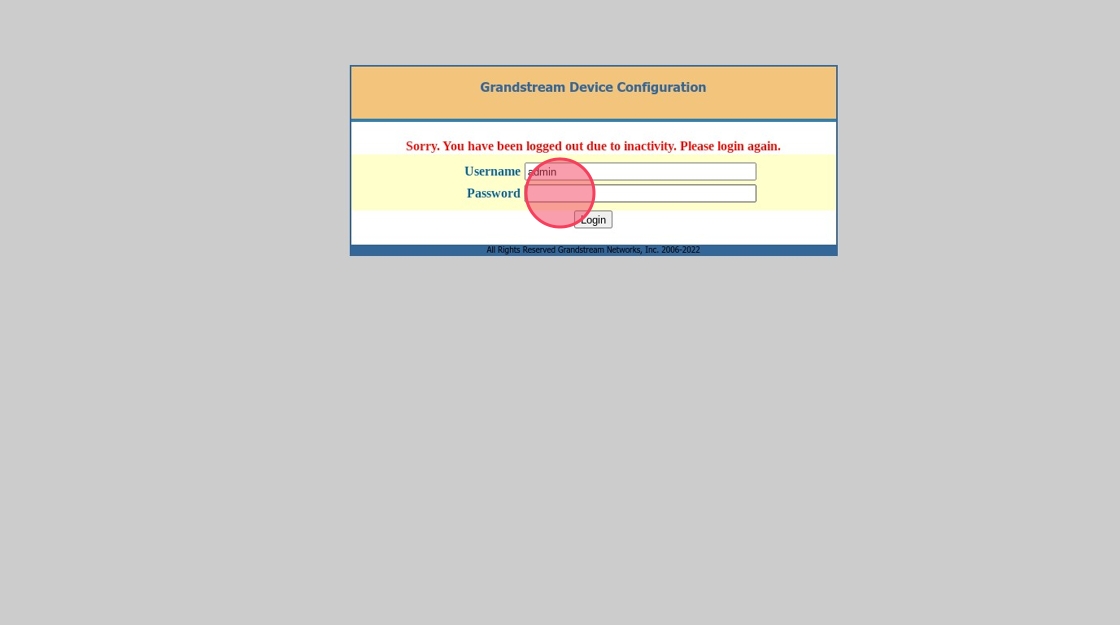
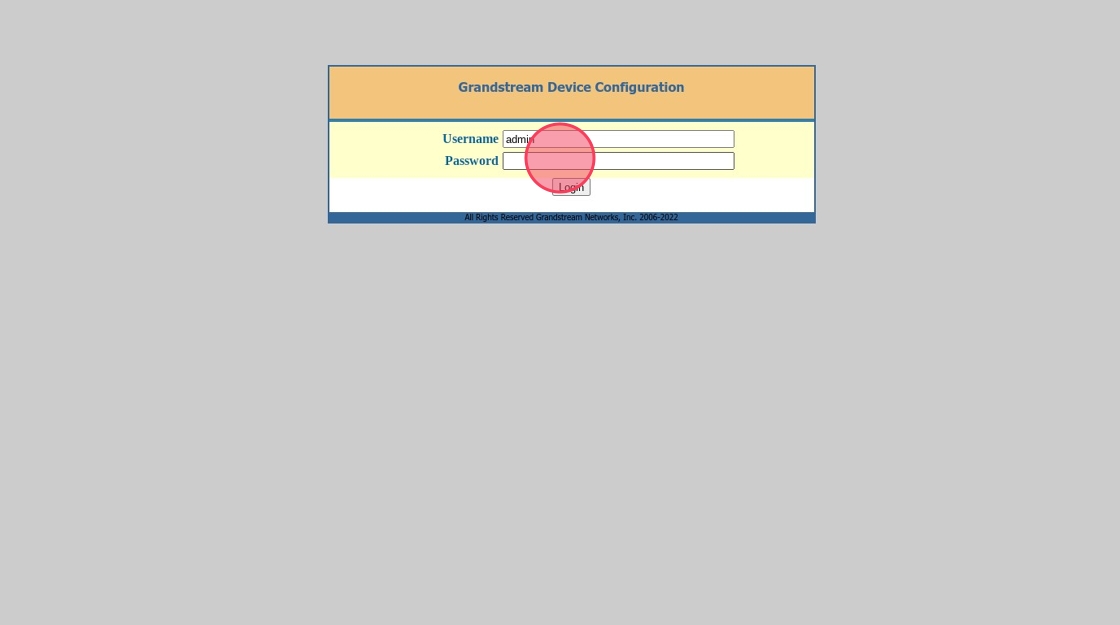
Click this password field.
Enter "admin"
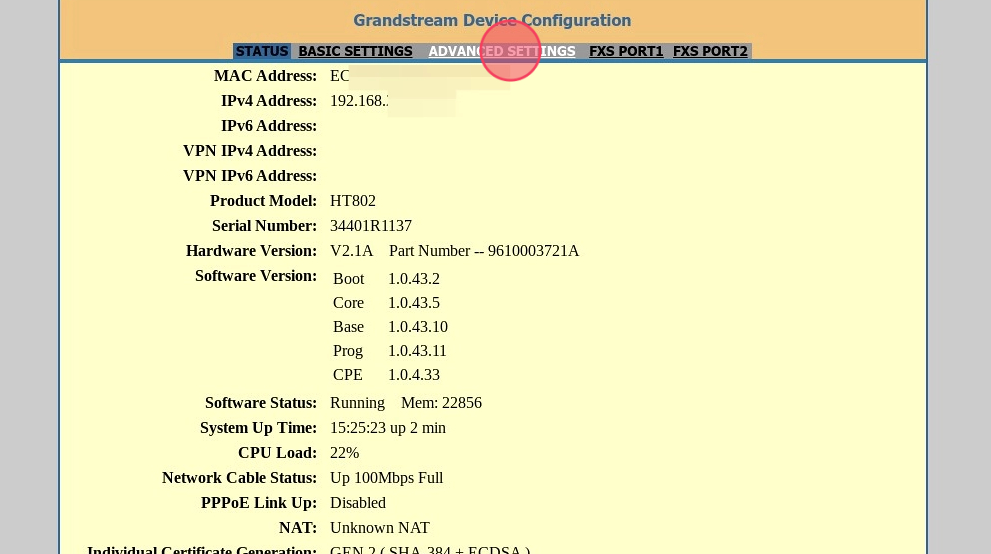
Click "ADVANCED SETTINGS."
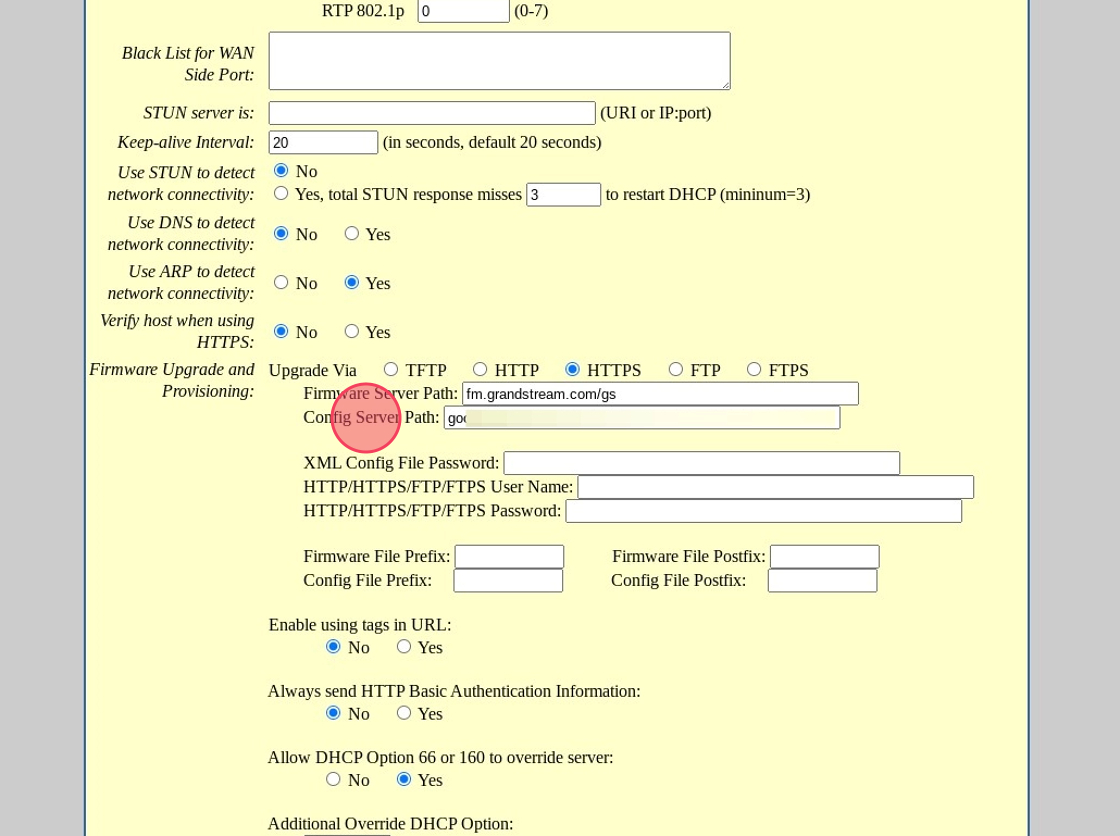
Copy the provisioning URL without the https:// in the "Config Server Path:"
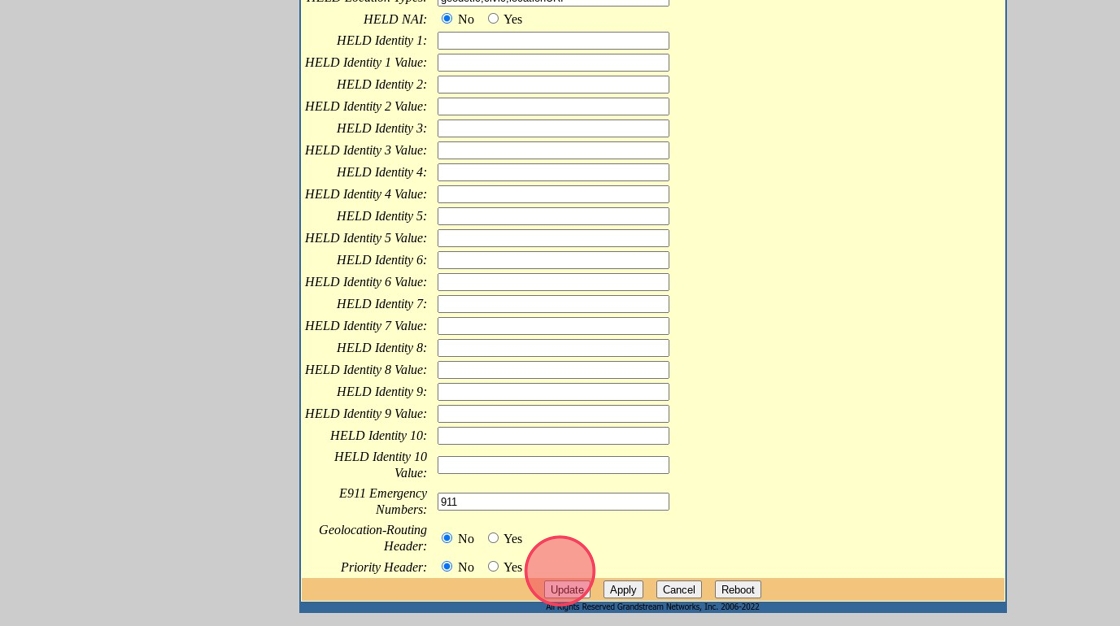
Click "Update."
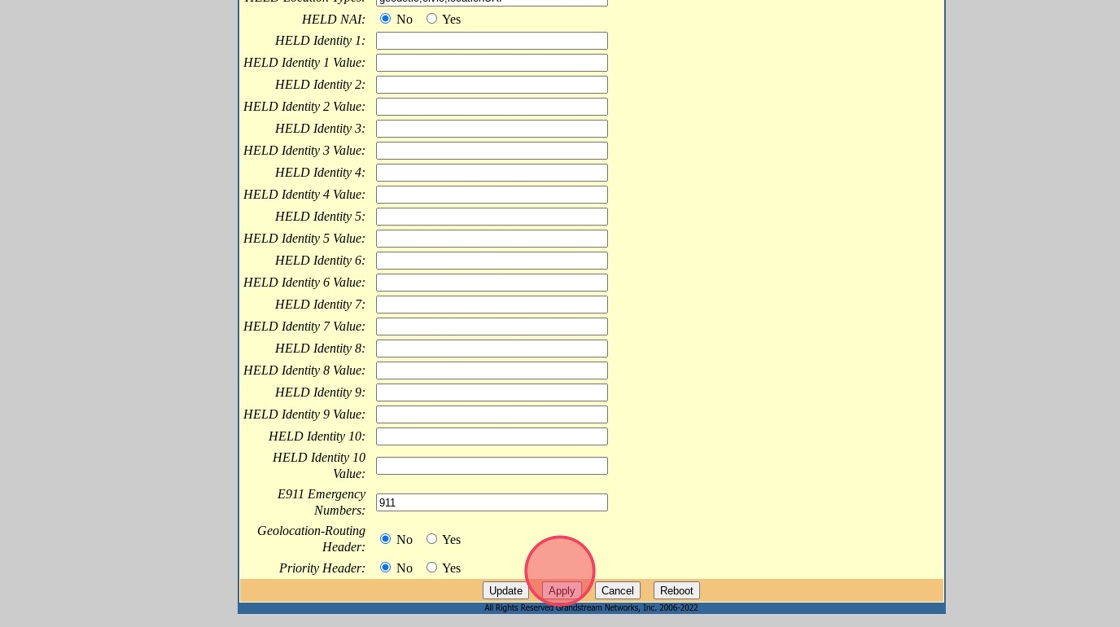
Click "Apply."
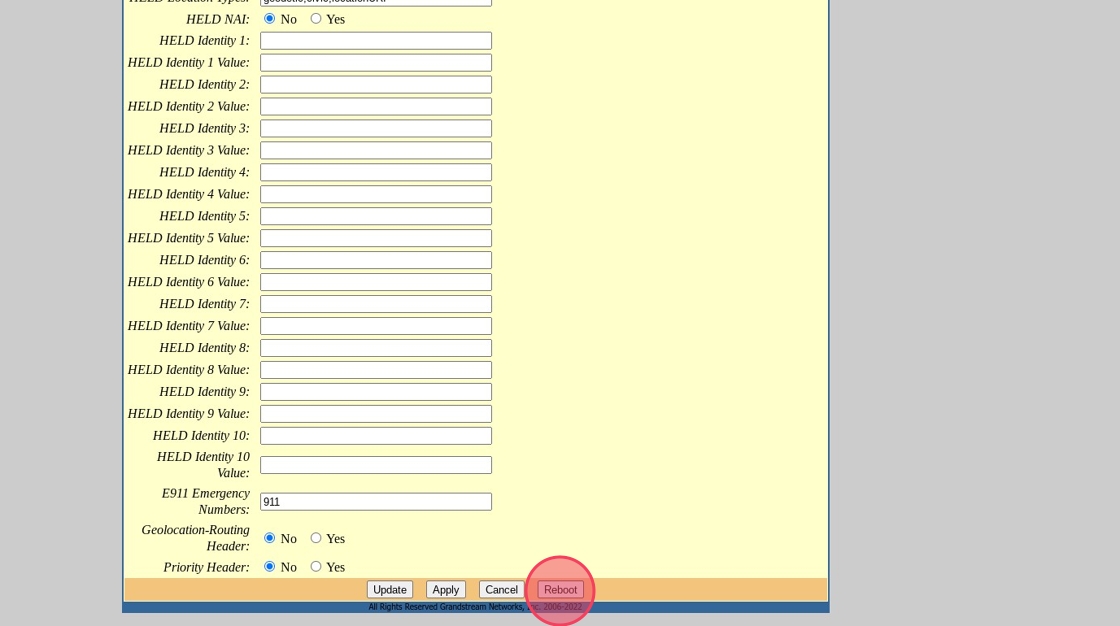
Reboot your Grandstream Device.
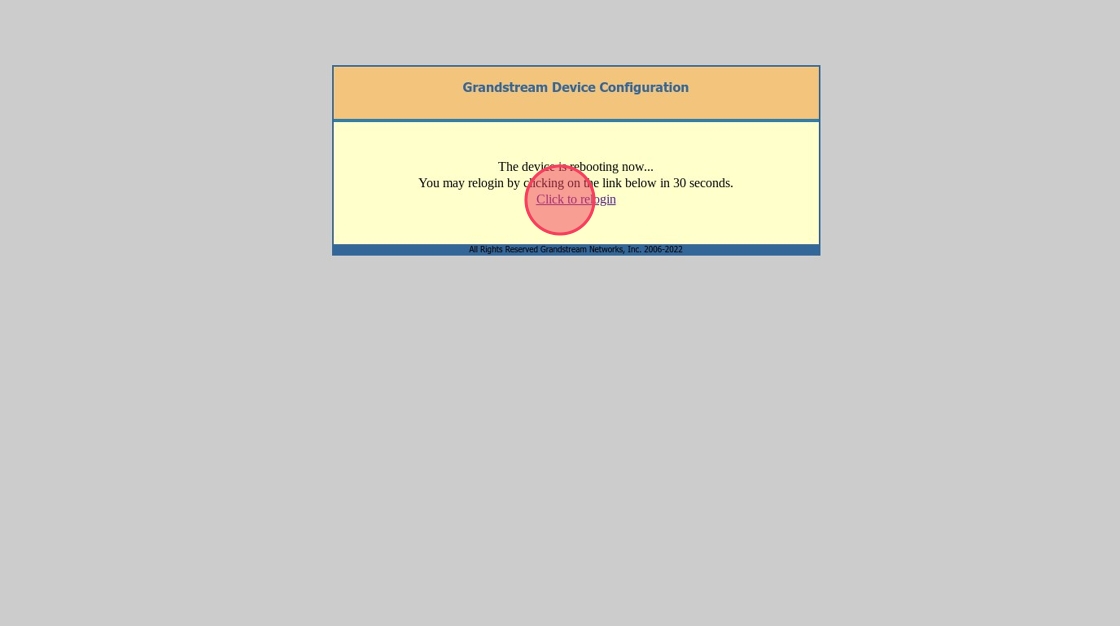
Once your device comes back up you can click "Click to relogin."
Your password should now be changed to the one for the device in your 3CX.
Move back to your 3CX Tab.
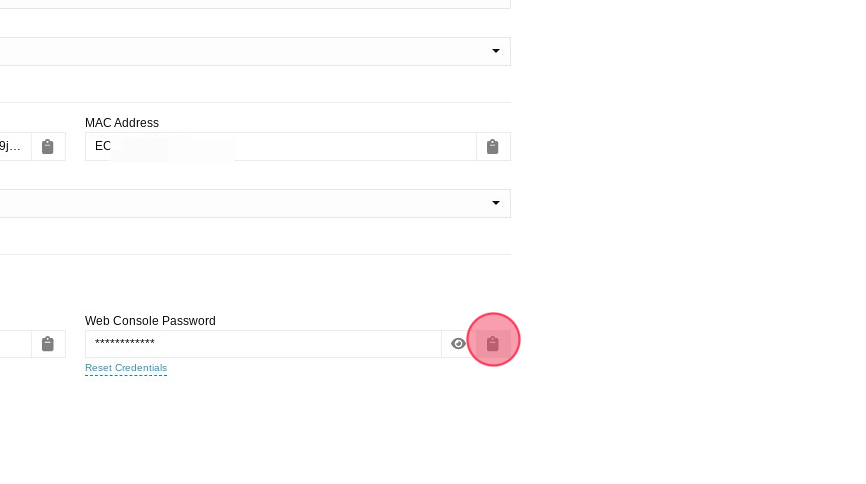
Copy "Web Console Password."
Navigate back to the Grandstream interface.
Click this password field. Paste the password.
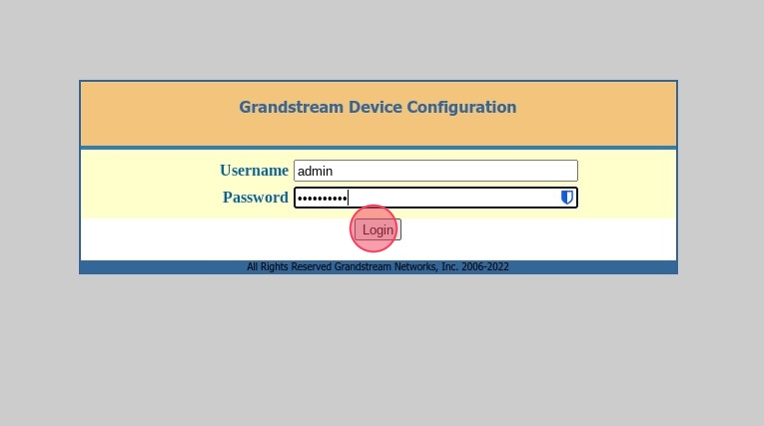
Click "Login."
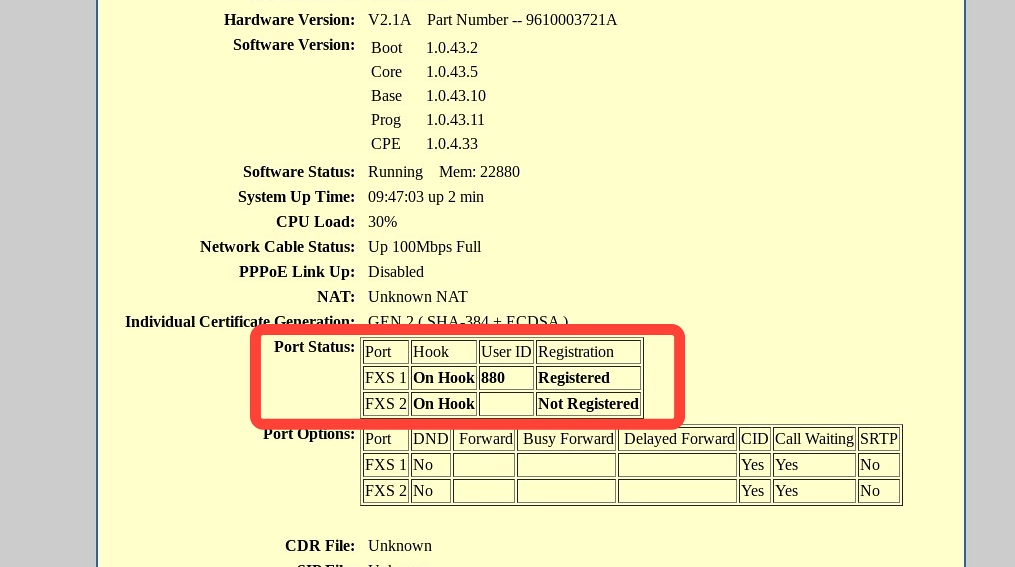
Verify that the "Port Status" field "Registration" shows as Registered.


