Learning Hub / Tutorials / FreePBX / Add Voicemail to an Extension (V16)FAQs
Tutorials: Add Voicemail to an Extension (V16)
Learn how to add voicemail to an extension in FreePBX!
Required Access: FreePBX
Last Updated: 7/25/2025

Enter your credentials.
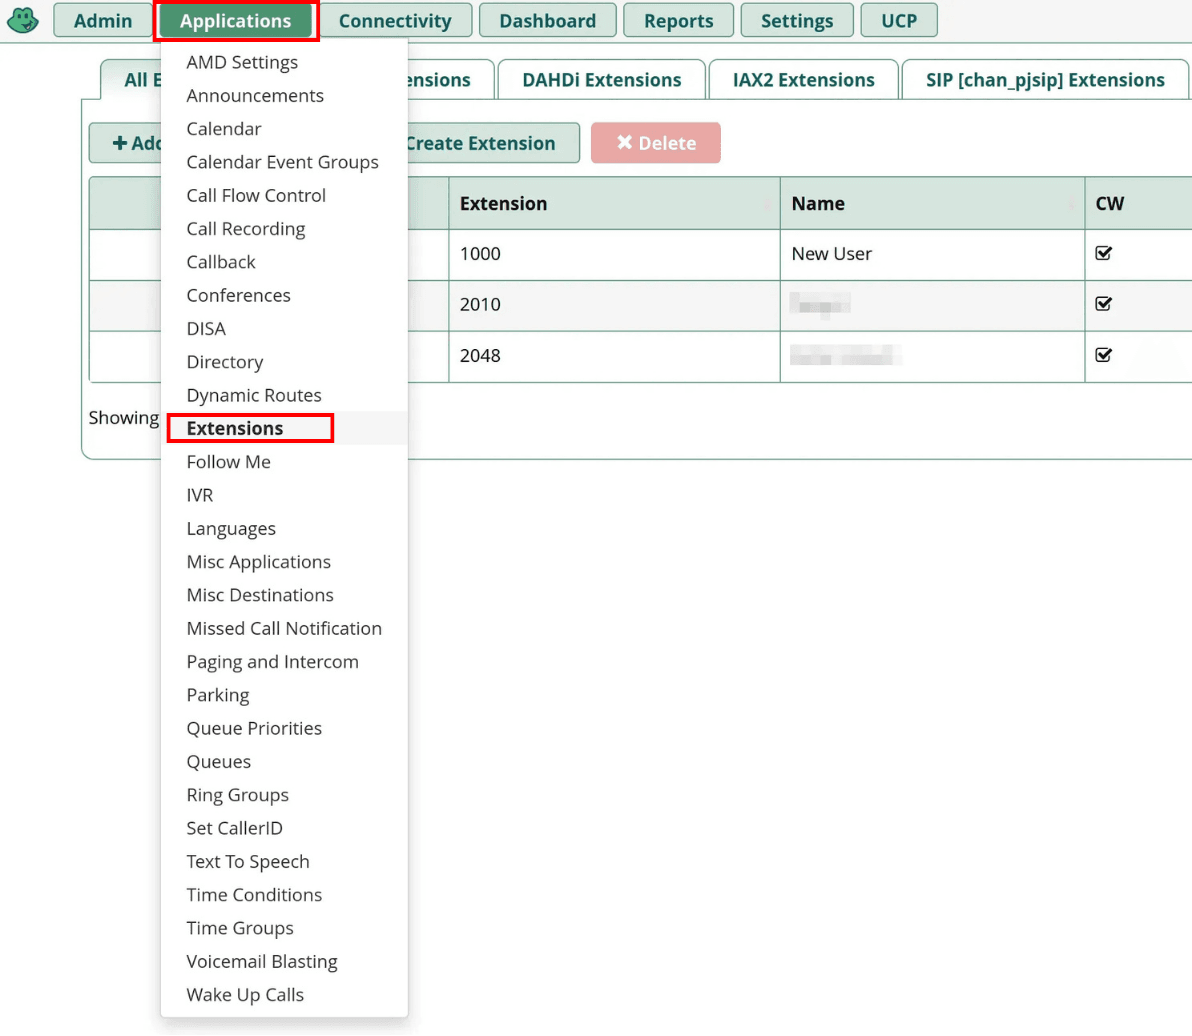
Select the "Applications" tab, then click on "Extensions" from the drop-down menu.
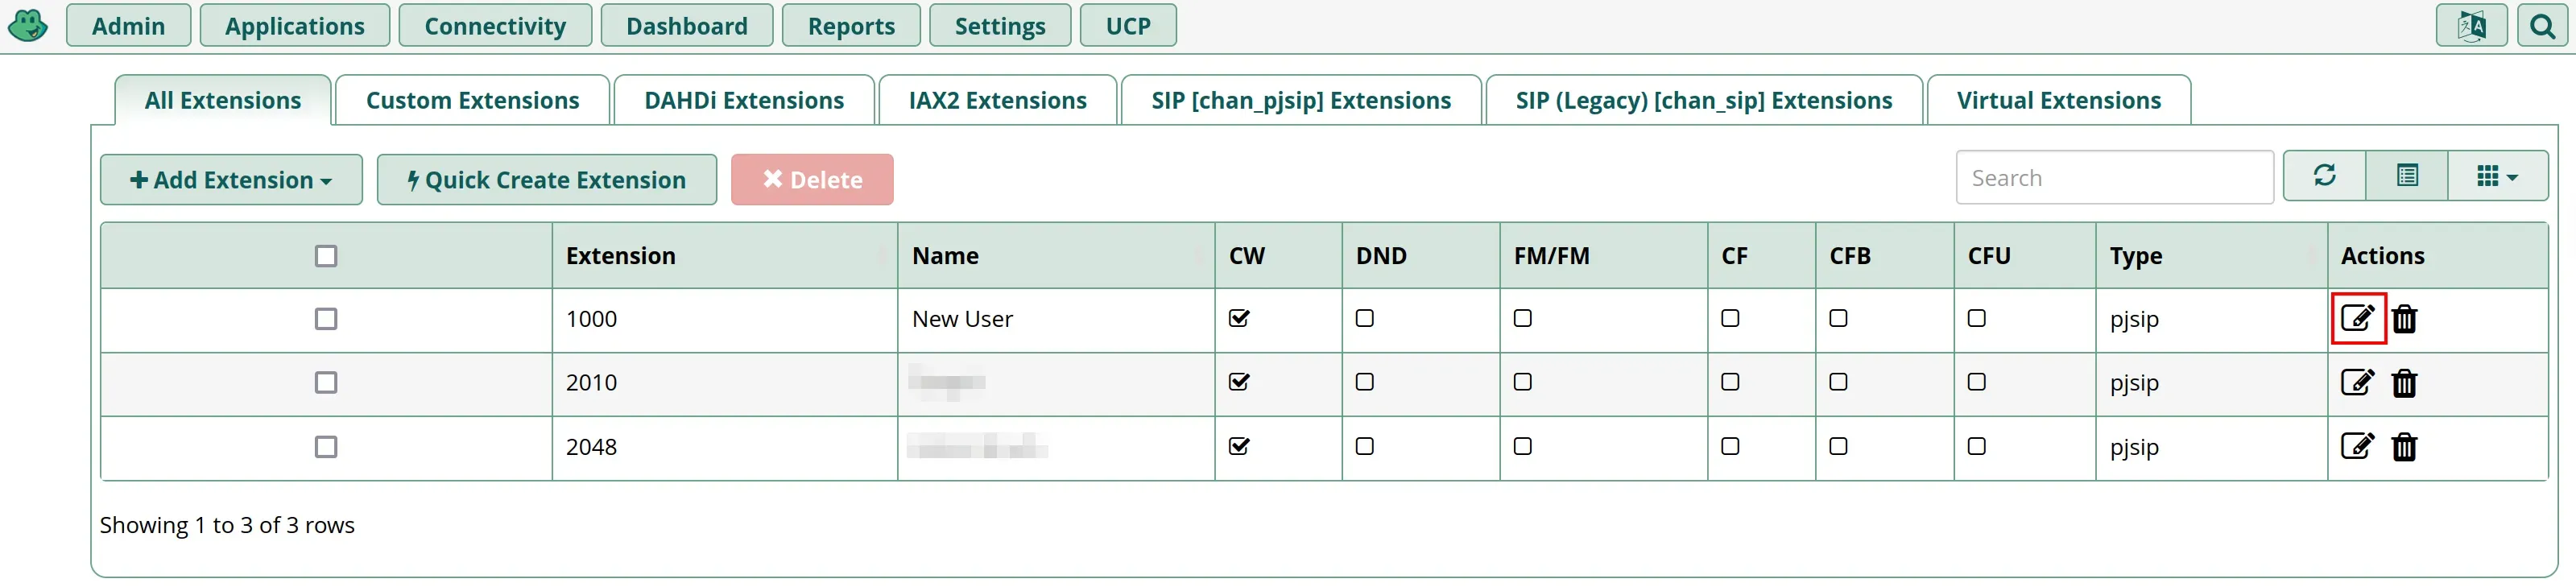
Select the edit icon next to the extension you want to add Voicemail to.
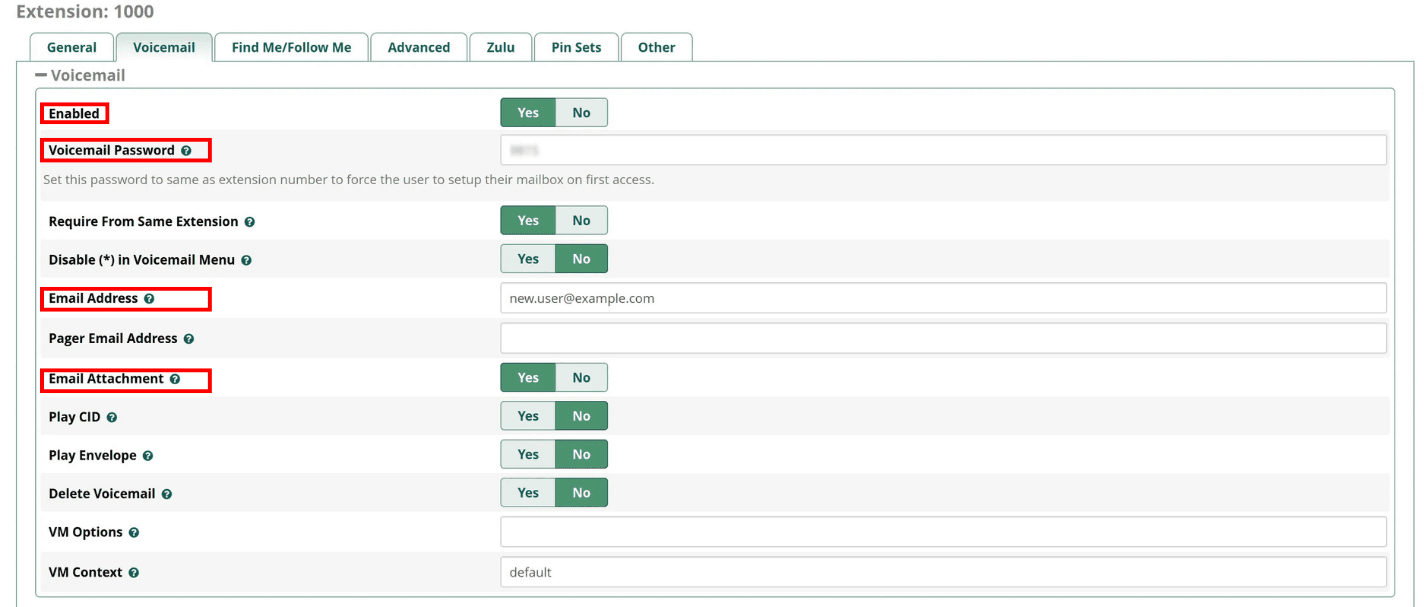
Switch over to the "Voicemail" tab.
Configure the following settings:
- Enabled: Set it to "Yes" to enable voicemail on this extension.
- Voicemail Password: If this is required, enter a numeric password.
- Email Address: Enter your email address if you would like your voicemail to be sent to your email.
- Email Attachment: Set it to "Yes" if you want an audio file of the voicemail to be sent to your email address.

Click on "Submit" when you are finished.

After that, select "Apply Config" to reload FreePBX and finalize your changes.
Dial *97 when you want to access the voicemail of your current extension.
Dial *98 when you want to access another extension’s voicemail from your current extension.
Learning Hub / Tutorials / FreePBX / Add Voicemail to an Extension (V16)FAQs


