Learning Hub / Tutorials / FreePBX / Add Inbound Routes (V16)FAQs
Tutorials: Add Inbound Routes (V16)
Learn how to add inbound routes in FreePBX! This tutorial provides a guide to add an inbound route in FreePBX. Learn how to configure your system to direct incoming calls to the right destination, whether it's an extension, an IVR, or a call queue.
Required Access: FreePBX
Last Updated: 6/9/2025

Enter your credentials.
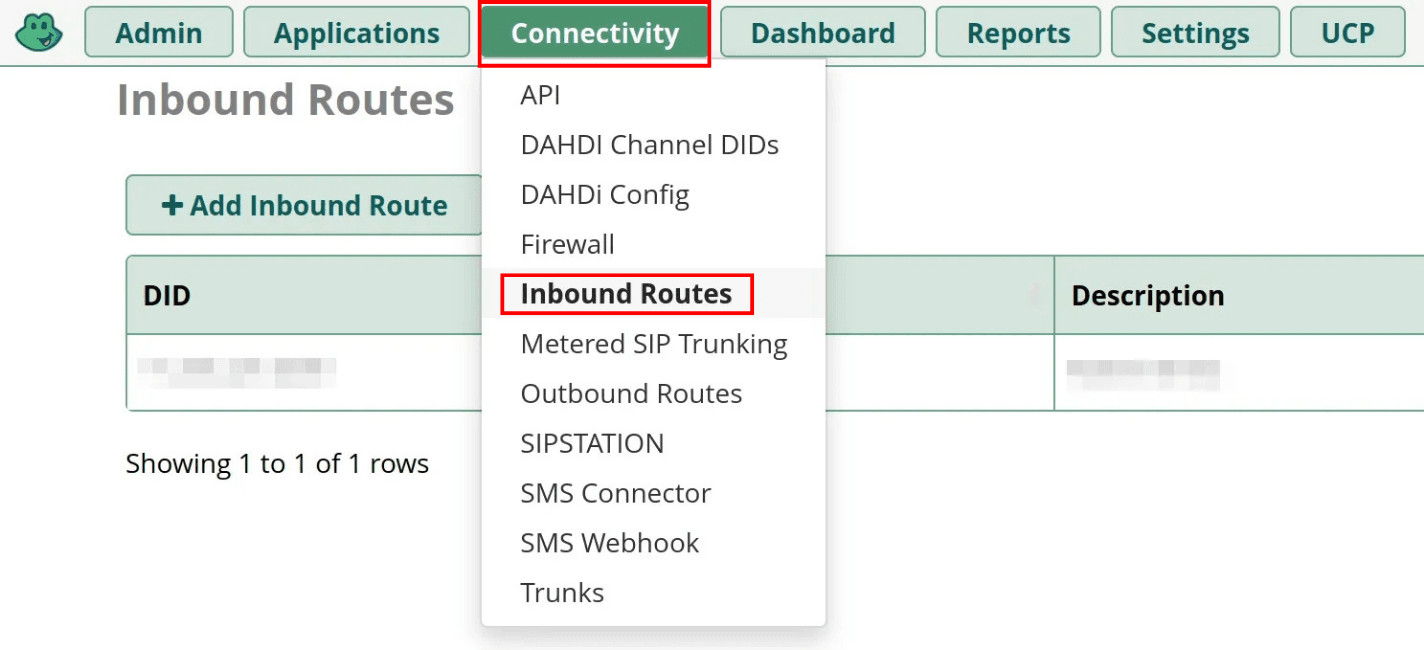
Select the "Connectivity" tab, then click on "Inbound Routes" from the drop-down menu.

Select "+ Add Inbound Route" to begin your configuration.

Enter General settings:
- Description: Enter a name for the inbound route.
- DID Number: Add a DID number from your Voxtelesys account.
- Set Destination: Pick where this DID number will route. Examples: Extension, Call queue, IVR, etc.

Click on "Submit" when you are finished.

After that, select "Apply Config" to reload FreePBX and finalize your changes.
Learning Hub / Tutorials / FreePBX / Add Inbound Routes (V16)FAQs


