Tutorials: Initial Installation
What you need to install FreePBX software:
- Physical hardware or virtual machine.
- A copy of the FreePBX ISO.
Last Updated: 5/19/2025

Boot your FreePBX ISO. Choose FreePBX 14 Installation (Asterisk 13).
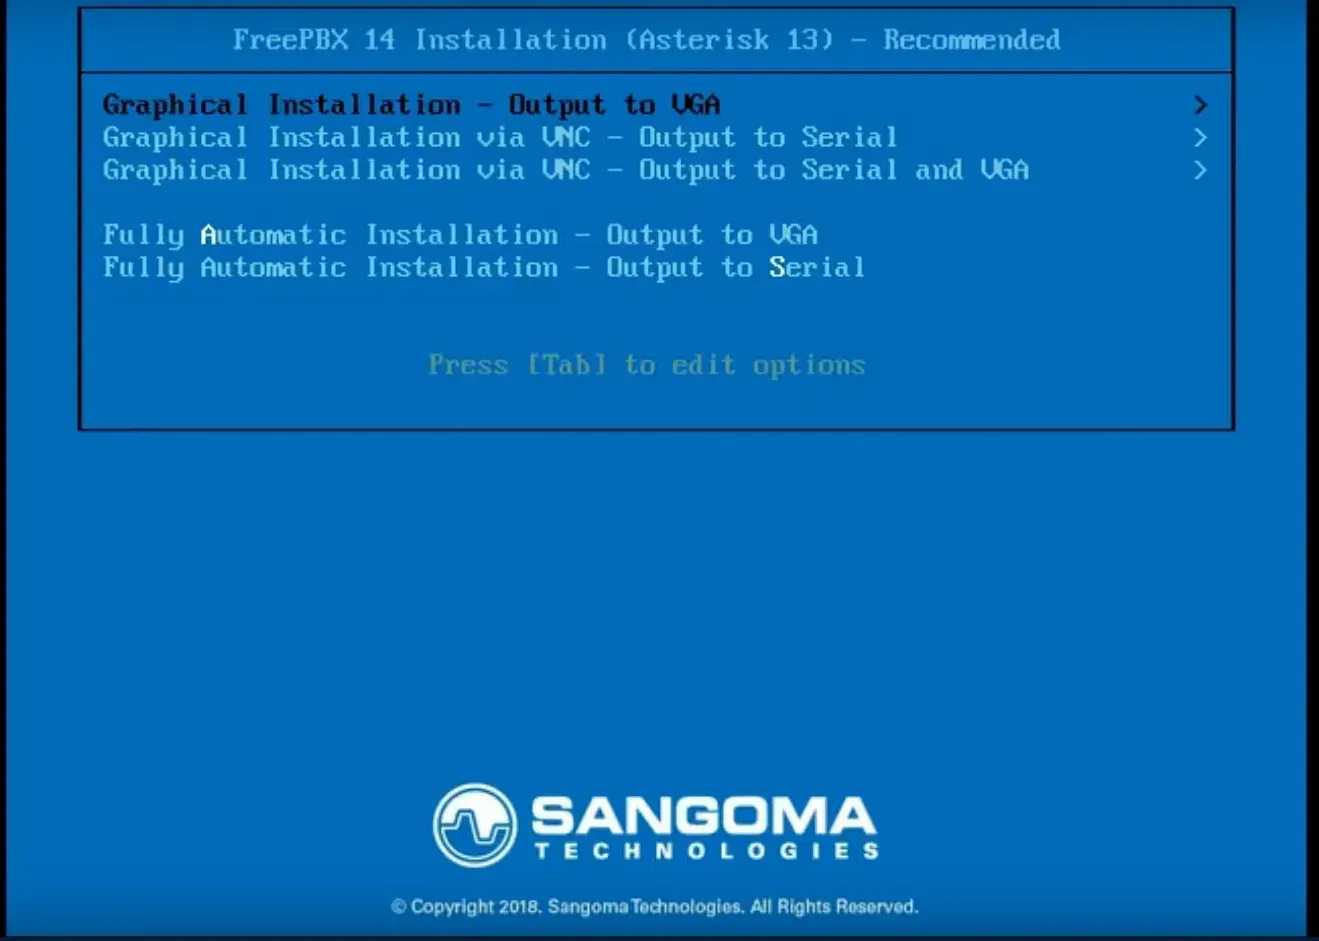
Choose Graphic Installation - Output
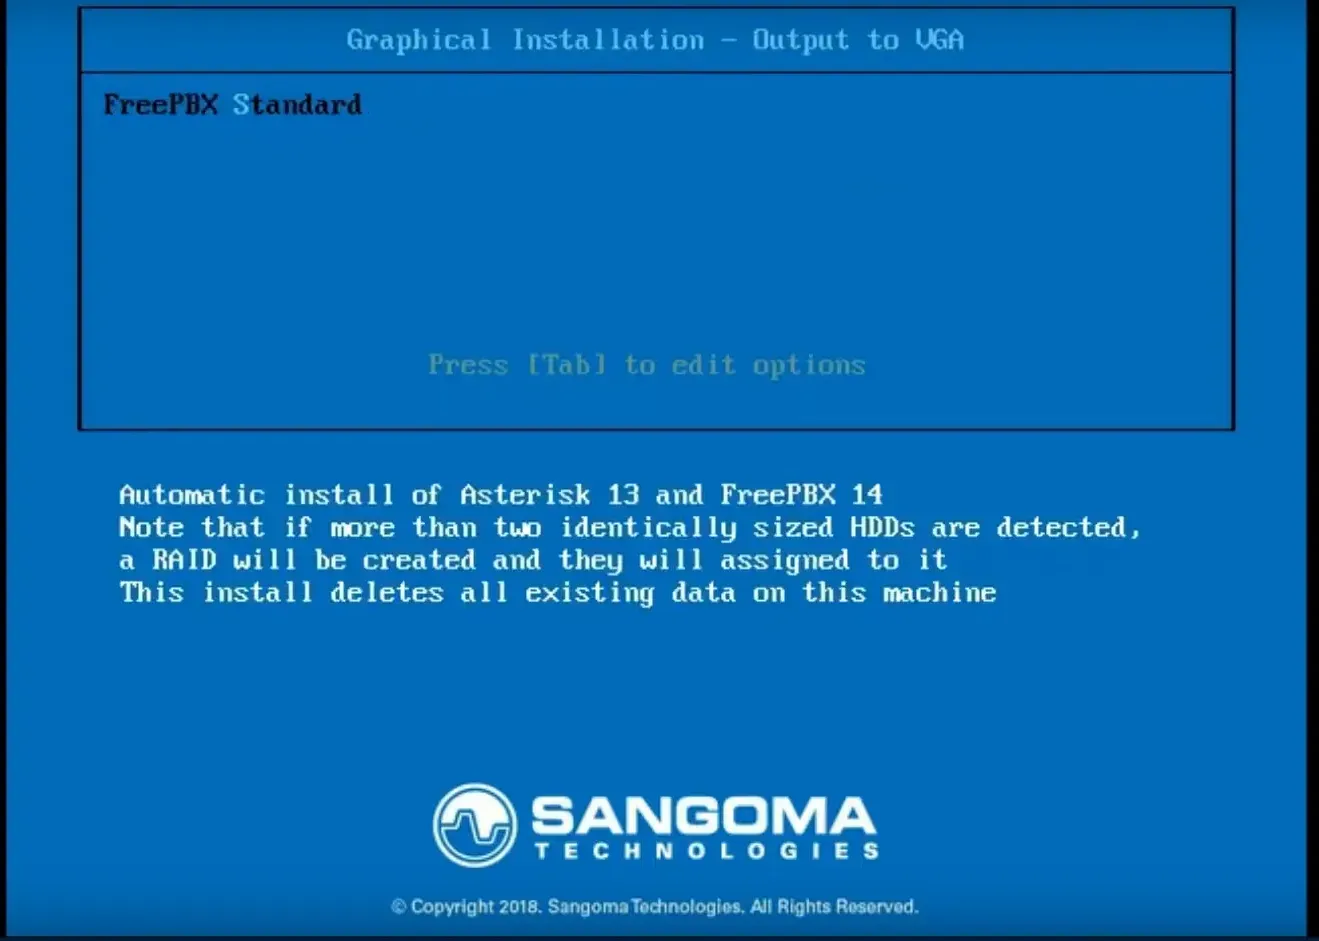
Choose FreePBX Standard.

Enter the root password.

When FreePBX is done installing, remove the installation download.
Select "Reboot"

Type "root" in the FreePBX login field, and enter the password you chose during the installation.

Select "Enter" under the IP Address assigned to your machine.
Go to a computer connected to the same local network as your PBX account.
Enter the IP Address in the address bar.

Enter a username, password, and email on the FreePBX admin page.
Select "Create Account" when you are finished.
You will be redirected to the FreePBX landing page.


Select the FreePBX Administration option.

Enter your credentials.

Select "Activate"

Fill in the email address, name, and password of your choosing.

Select an option for which best describes you in the drop-down menu.
Make sure to check the box next to "I agree to the terms and conditions."

Then select "Create"

Fill in the Location Name with the name of your choosing.
Select "Activate"

Select "Skip" on the pop-up menu.

Choose the time zone for your region.

Select "Abort" on the firewall activation page.
You will be directed to the FreePBX dashboard.
Select "Apply Config" to ensure all changes are saved.

To get a static IP address, which is recommended, hover over the admin menu, and select "System Admin" from the drop-down menu.

Go to the Network settings.
Under IP assignment, select the static button, and enter the static IP Address.

Select "Save and Apply" when you are finished.

Enter the static IP Address in the address bar.


