Tutorials: Configure E911 Geolocation in 3CX
Required access: Voxtelesys Portal, 3CX Admin Access
Additonal Requirements: Dynamic E911 allowed and set up with Voxtelesys, 3CX is on Versions 20 Update 3 or later. 911 and 922 Rule set up under Emergency and not Outbound Rules.
Estimated time to complete tutorial: 5-10 minutes, the time is dependent on how many addresses you need to add and users to assign them too.
*Disclaimers:
Having Dynamic e911 on your account can result in rouge 911 calls which will cost you $125 per call.
Before you can add Geo911 to your 3CX you will need to have Dynamic E911 enabled on your Voxtelesys account and the addresses added in the Voxtelesys Portal.
Last Updated: 8/29/2024
Navigate to your 3CX system

Click "Voice & Chat"

Click "Voxtelesys Trunk"
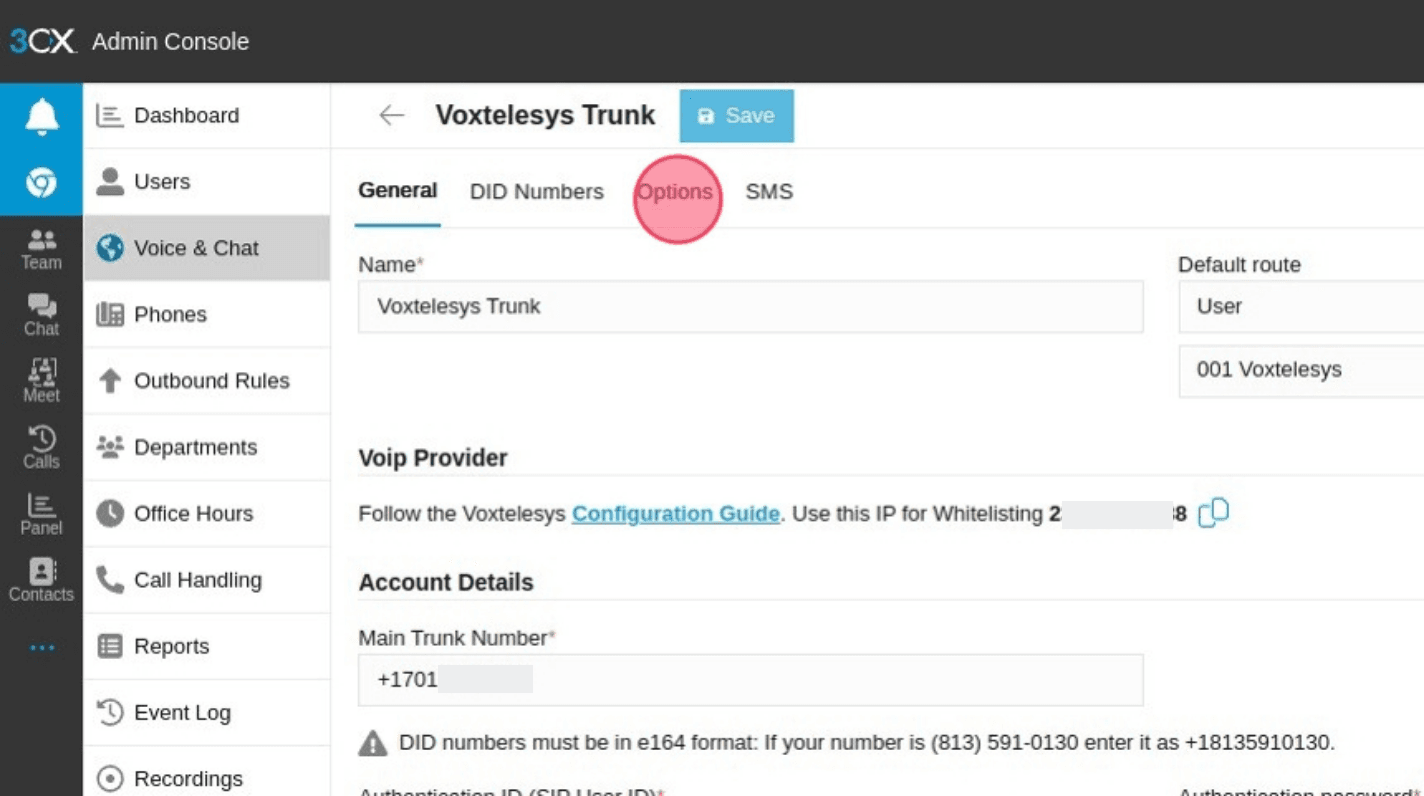
Click "Options"

Click "E911 Geolocation"

Click "Add"

Create a new location or select one from the drop-down.
Next, we will show adding a new location

Click "Add new location"

Click the "e.g Headquarters Offices" field. and Enter your location Name

Click the "Geolocation URI / ID" field.
Enter https://emergency.voxtelesys.com/locations/ [URI from Voxtelesys Portal]
Get your URI from the Voxtelesys Portal.
Navigate to the Voxtelesys Portal
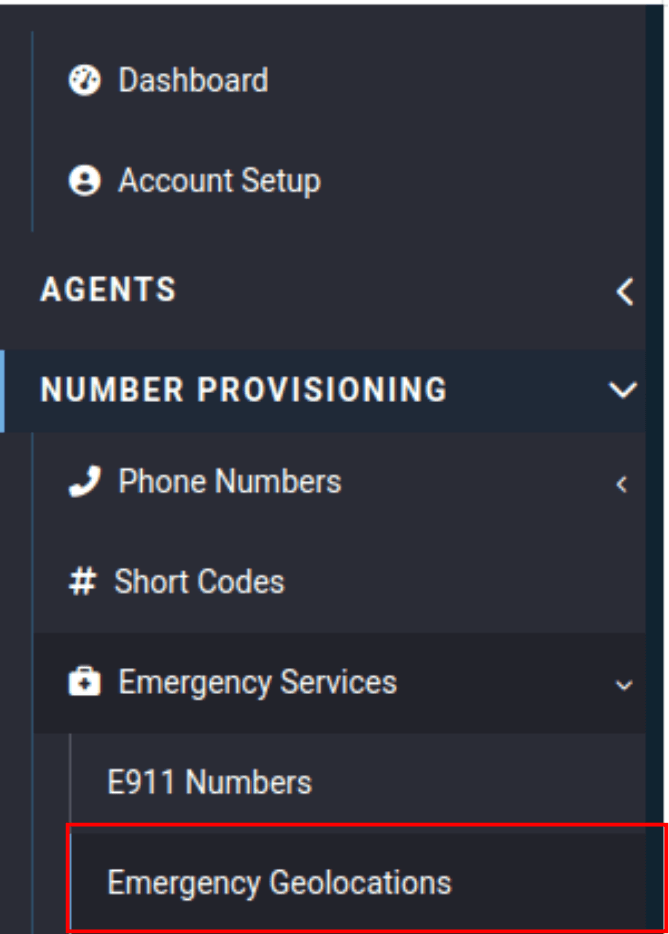
Under the Number provisioning category, click on the Emergency Services drop-down.
Click "Emergency Geolocations"

Click the copy button for the URI you need
Move back to your 3CX

Click the "Geolocation URI / ID" field.

Paste the copied URI at the end of the URL
Click "OK"

Click "Add" for each location and repeat steps 2-4

Click "Save" when you have added all your locations

Click "Users"

Open the user you want to add a location to

Click "Options"

Scroll to the bottom of the page. Click the location drop down.

Select your location

Add Additional Information (Optional)

Example

Click "Save"


