Tutorials: Web Client Setup
Configuring your 3CX web client is a breeze, just follow these simple steps and you will be sending and receiving calls in no time!
Last Updated: 2/25/2026
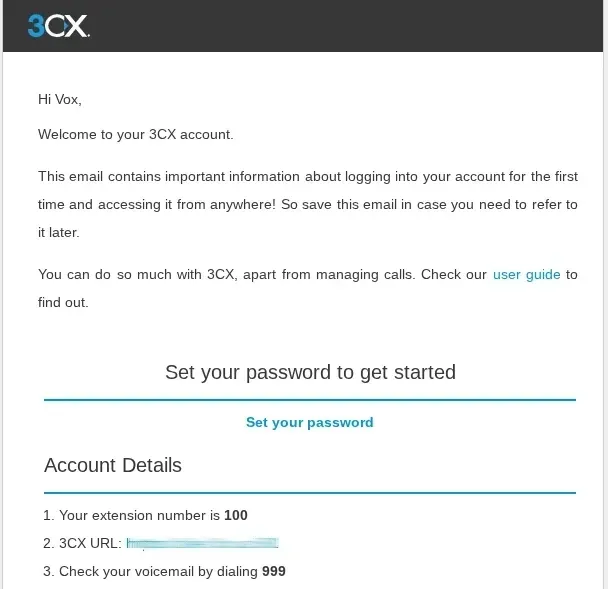
Open your 3CX welcome email. If you do not have a welcome email, please reach out to your system administrator to get a new welcome email.
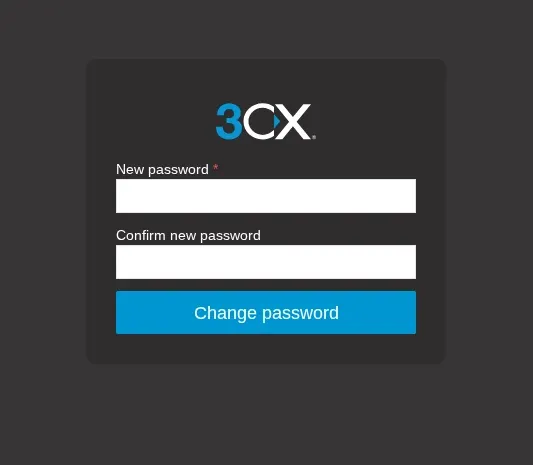
In your 3CX Welcome Email, click on the blue ""Set your password"" link to set your password for your extension.
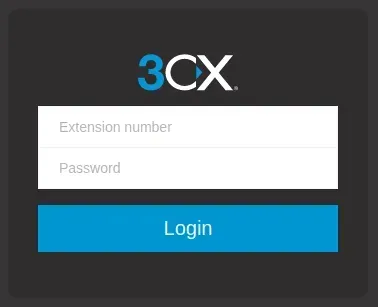
Log in with your email and the password you just created. Please note that if you do too many failed attempts, you could get blacklisted if your admin hasn't already whitelisted your IP address.
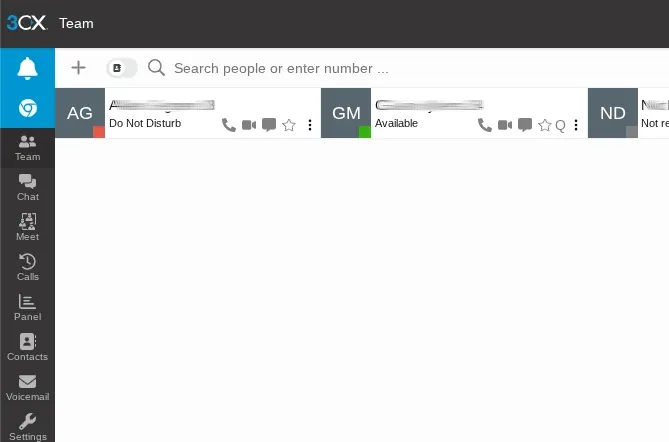
Hit the blue "Bell" icon to enable notifications. (User will show is Unregistered if this step is skipped)
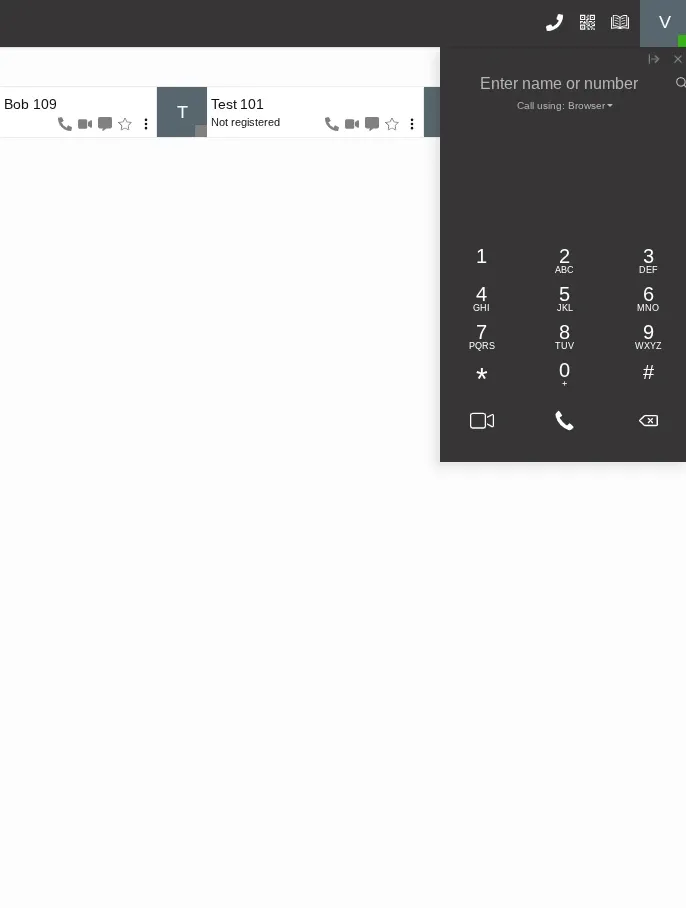
Hit the "Dialer" icon in the top right of the web page to start making calls!


