Tutorials: 3CX Adding a Voxtelesys TLS Trunk
Required Access: 3CX, Voxtelesys Portal
*Disclaimer: For the calls to work with your 3CX, open a Support Ticket with Voxtelesys to enable TLS on your Voxtelesys account.
Last Updated: 6/22/2026
Navigate to your 3CX system.
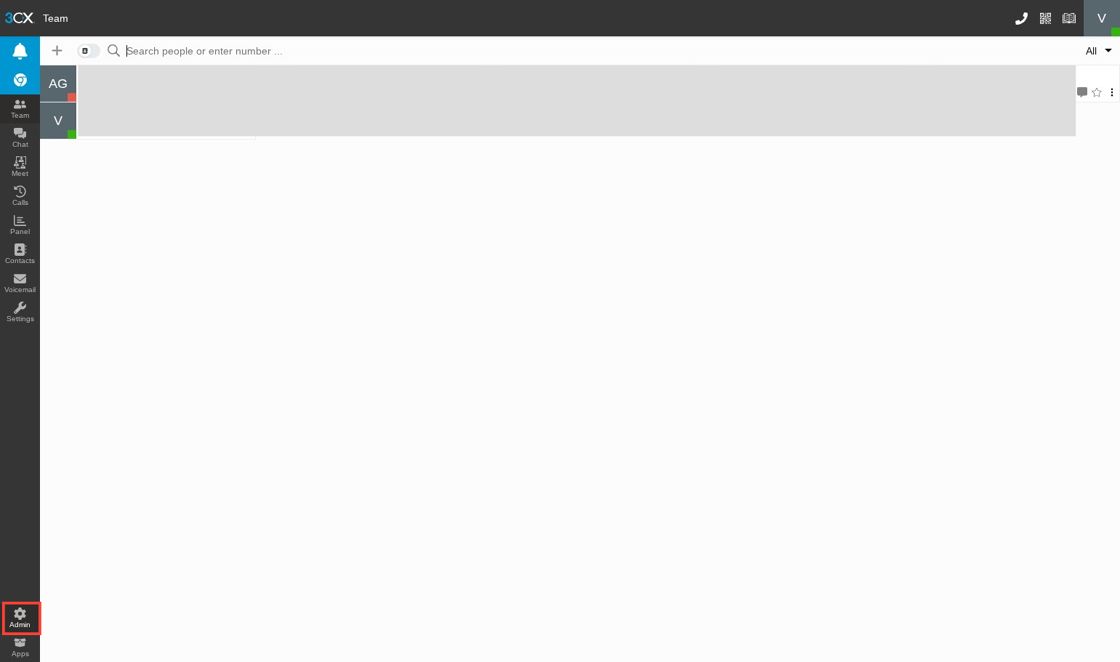
Click the "admin" button.
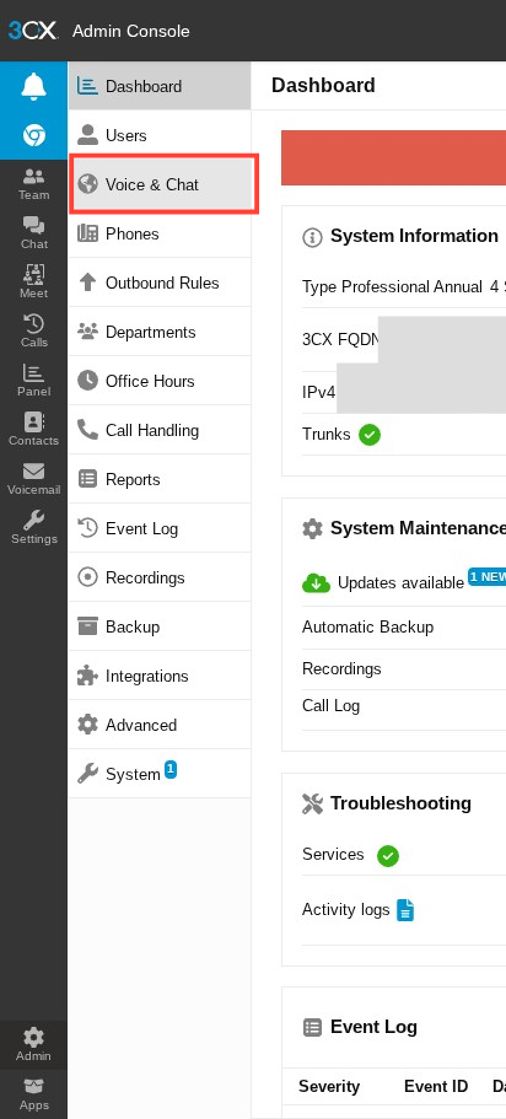
Select "Voice & Chat" from the sidebar.
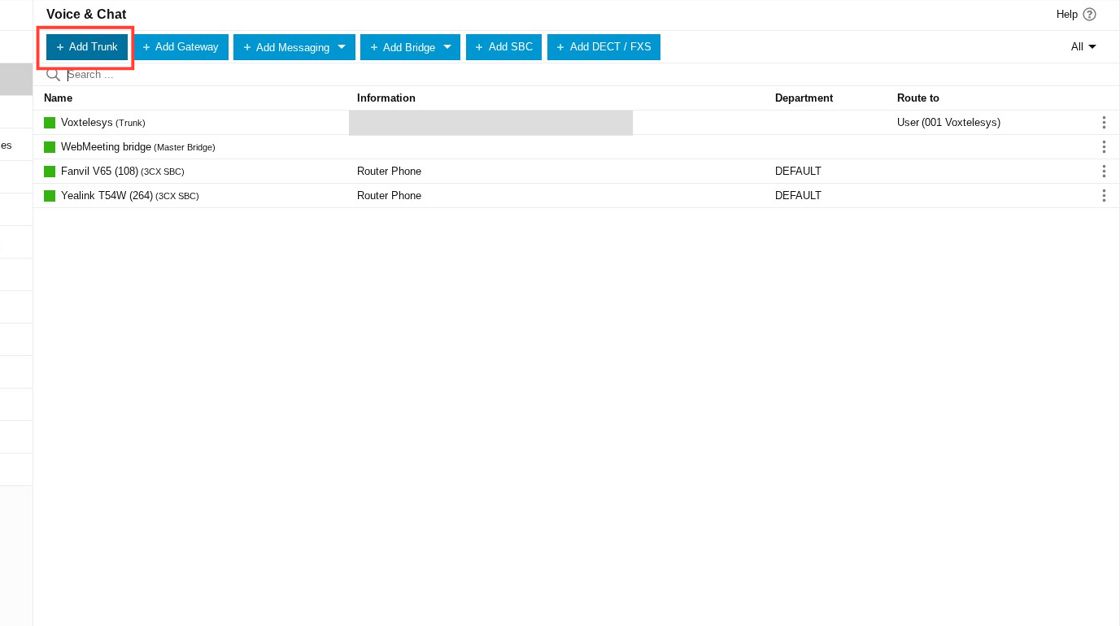
Click "Add Trunk".
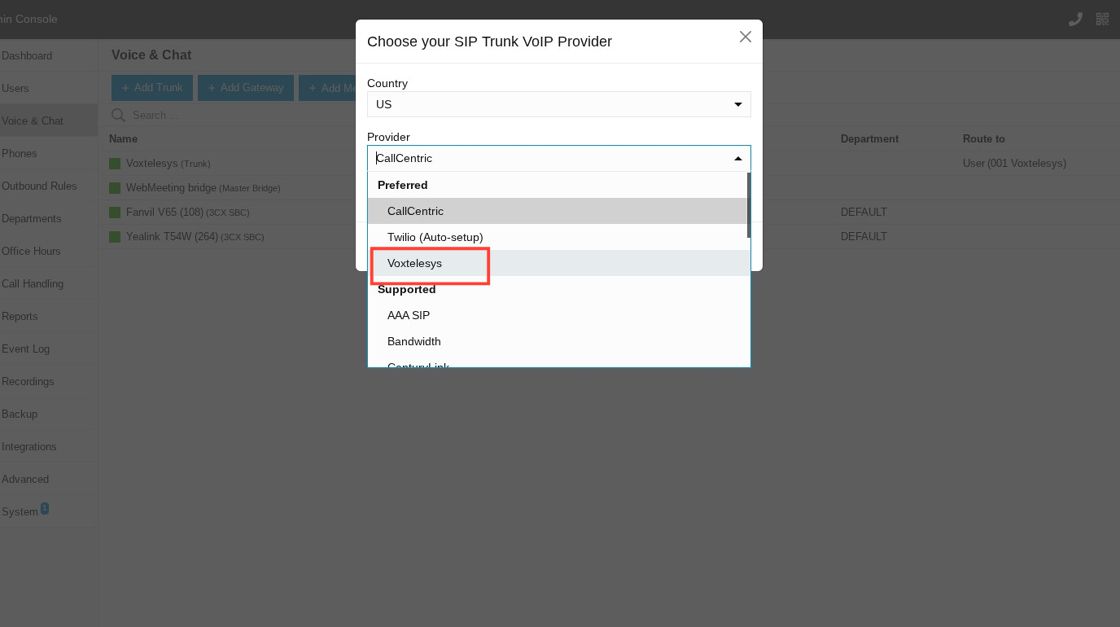
In the provider dropdown, change your provider to "Voxtelesys".
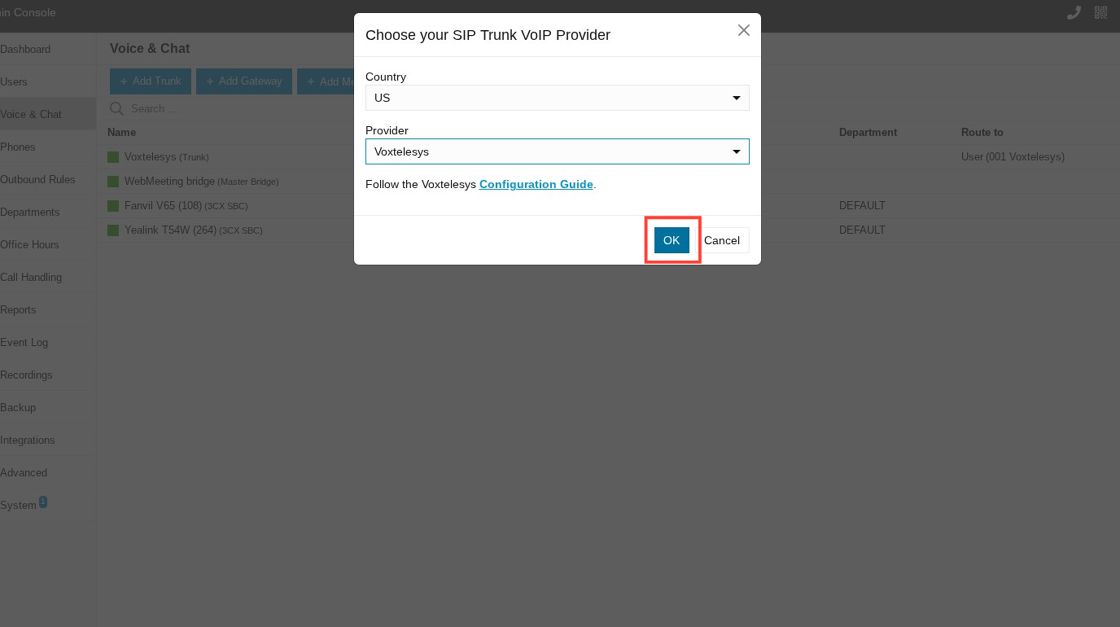
Click "OK".
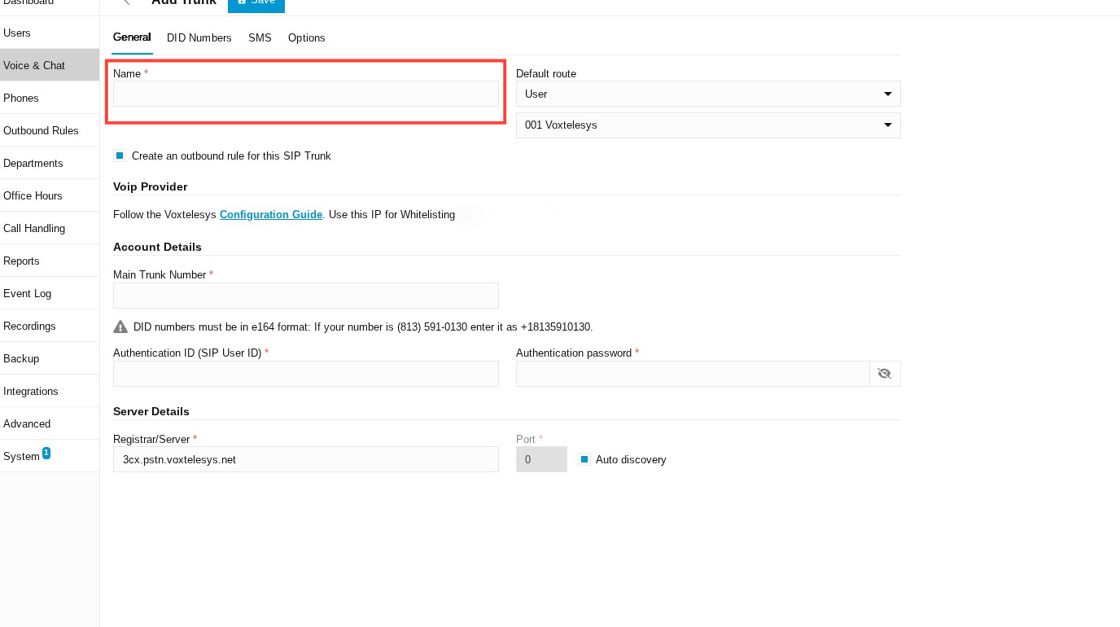
Click the "Name" field. Enter the name you want to identify the trunk by.
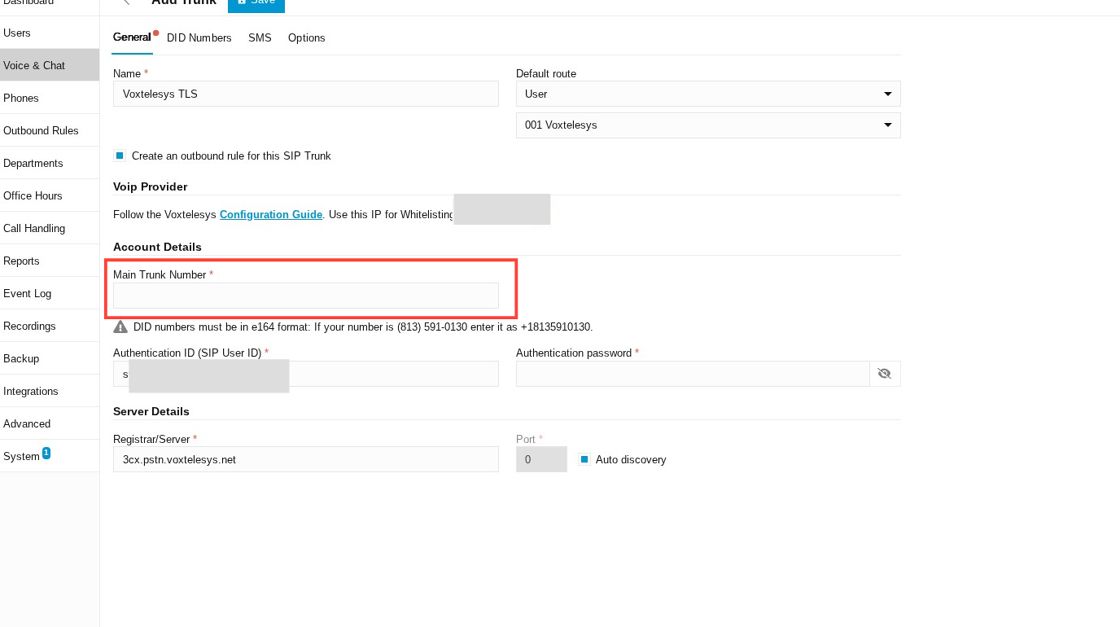
Click the "Main Trunk Number" field and enter your DID with Voxtelesys.
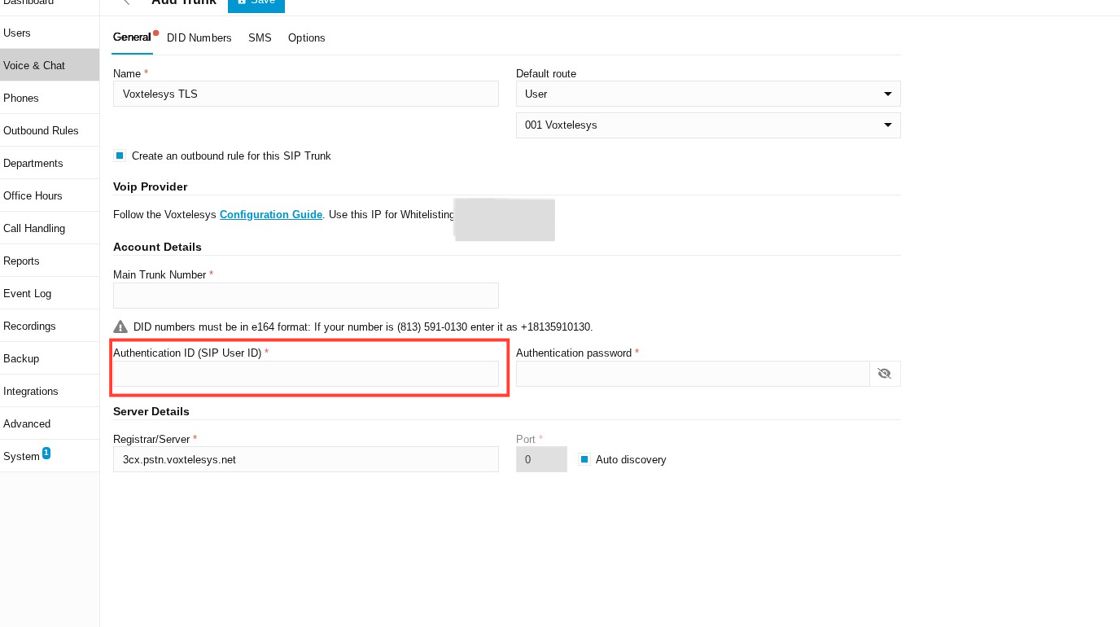
Click the "Authentication ID (SIP User ID)" field and Enter your SIP registration Authentication ID from the Voxtelesys Portal.
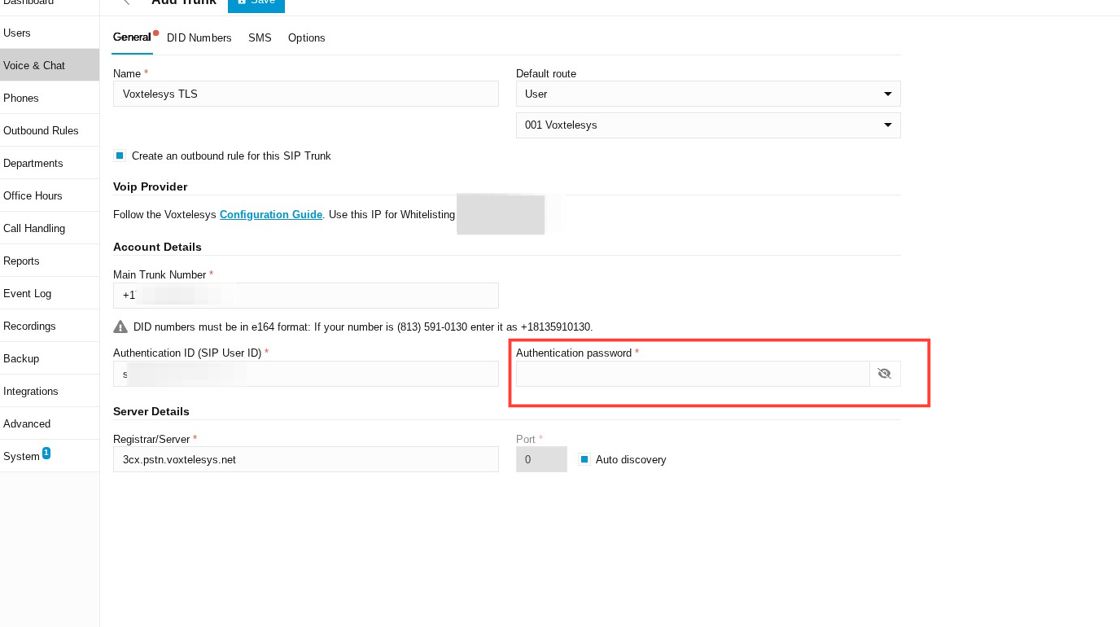
Click the "Authentication password" field and enter your password from the Voxtelesys Portal.

Switch to "Options".
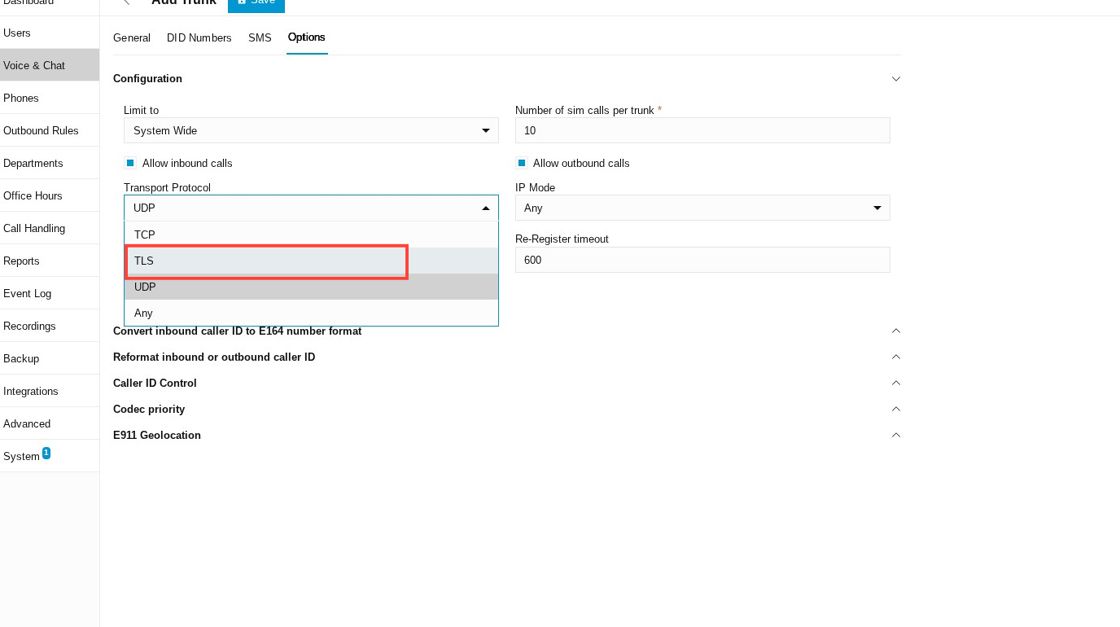
Open the "Transport Protocol" dropdown and select "TLS".
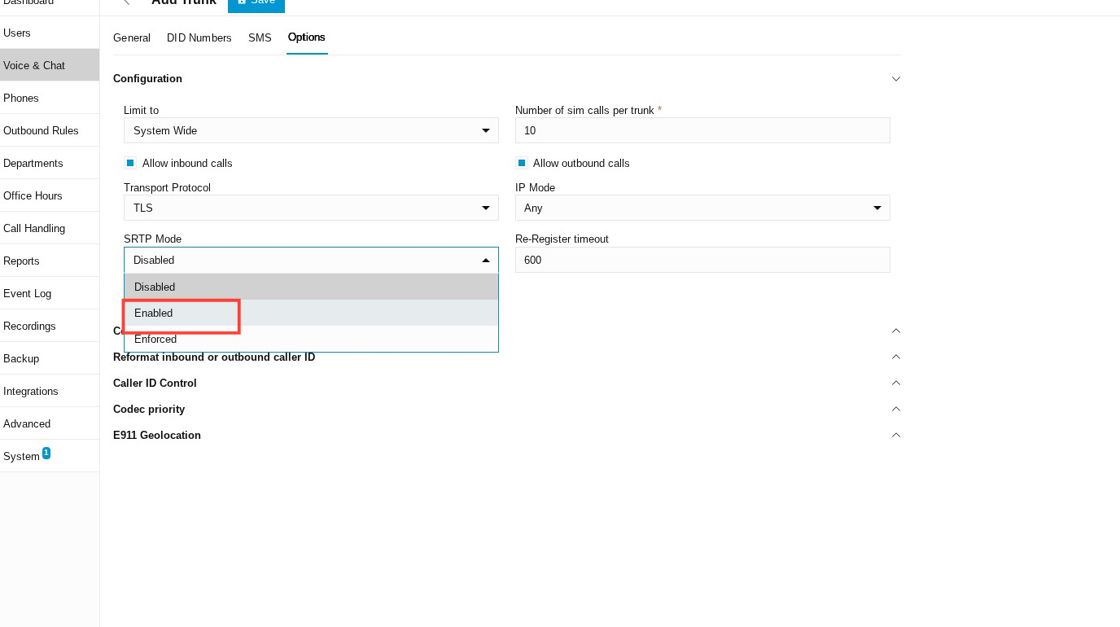
Open the dropdown for "SRTP Mode" and switch to "Enabled".
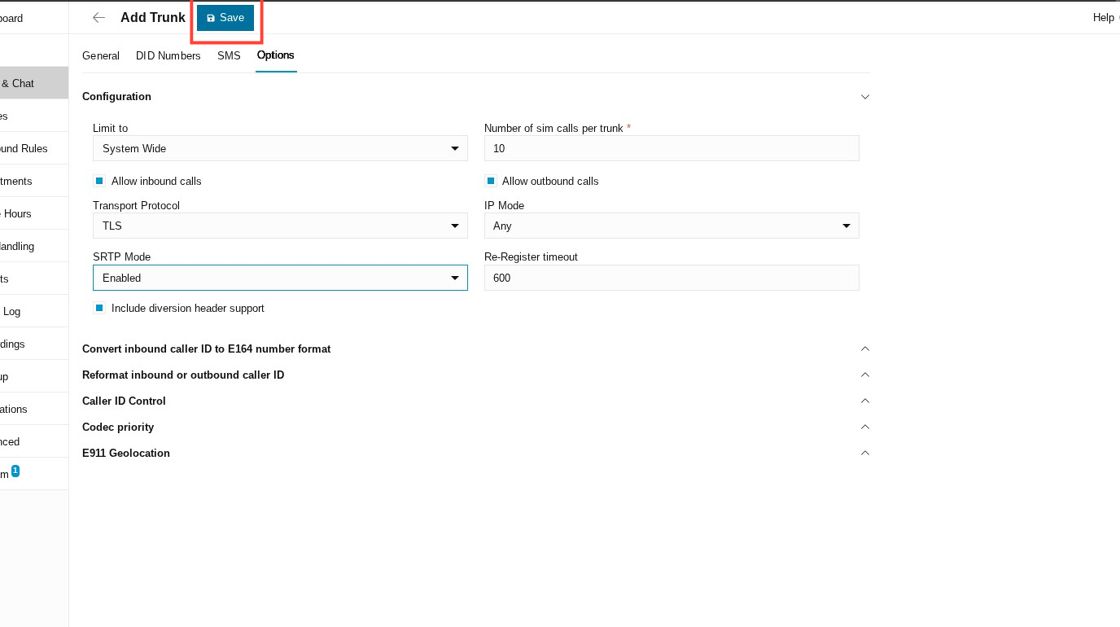
Click "Save".
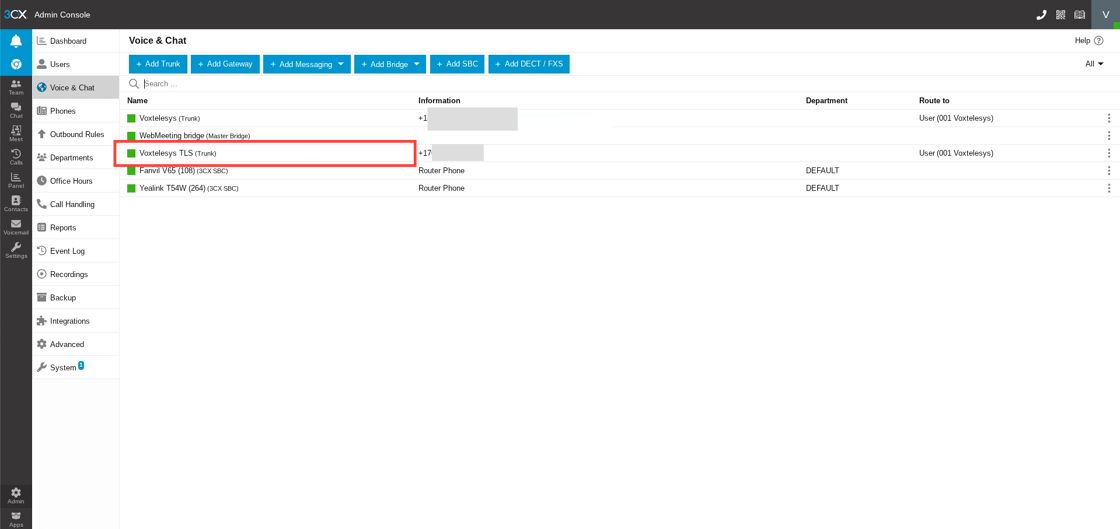
Verify that your new TLS trunk is registered.


